
In this post I'll briefly cover the installation of my Zigbee network in HA which is only the beginning. For years I was always dreaming of the possibility of temperature sensors in each room, wireless and done cheaply. Zigbee as been around for a long time but I've been a late adopter due to not being as seamless as I would have liked in previous years. Now another issue with Zigbee, as a wireless protocol, and in this house is the terrible attenuation caused by the limestone walls. Zigbee will require routers throughout the property which usually come in the form of light bulbs or switches. Neither was an acceptable solution in this place due to lack of neutral wire and that main lights are rarely used. It should be noted Zigbee works on the 2.4Ghz range which is the same as WiFi operating frequencies...roughly WiFi Ch 6. I had to put the WiFi channels on 1 & 13 see here for more info. Thankfully Sonoff have come out with a range of exceptionally cheap and very good coordinators/routers/sensors.

Coordinator/Router
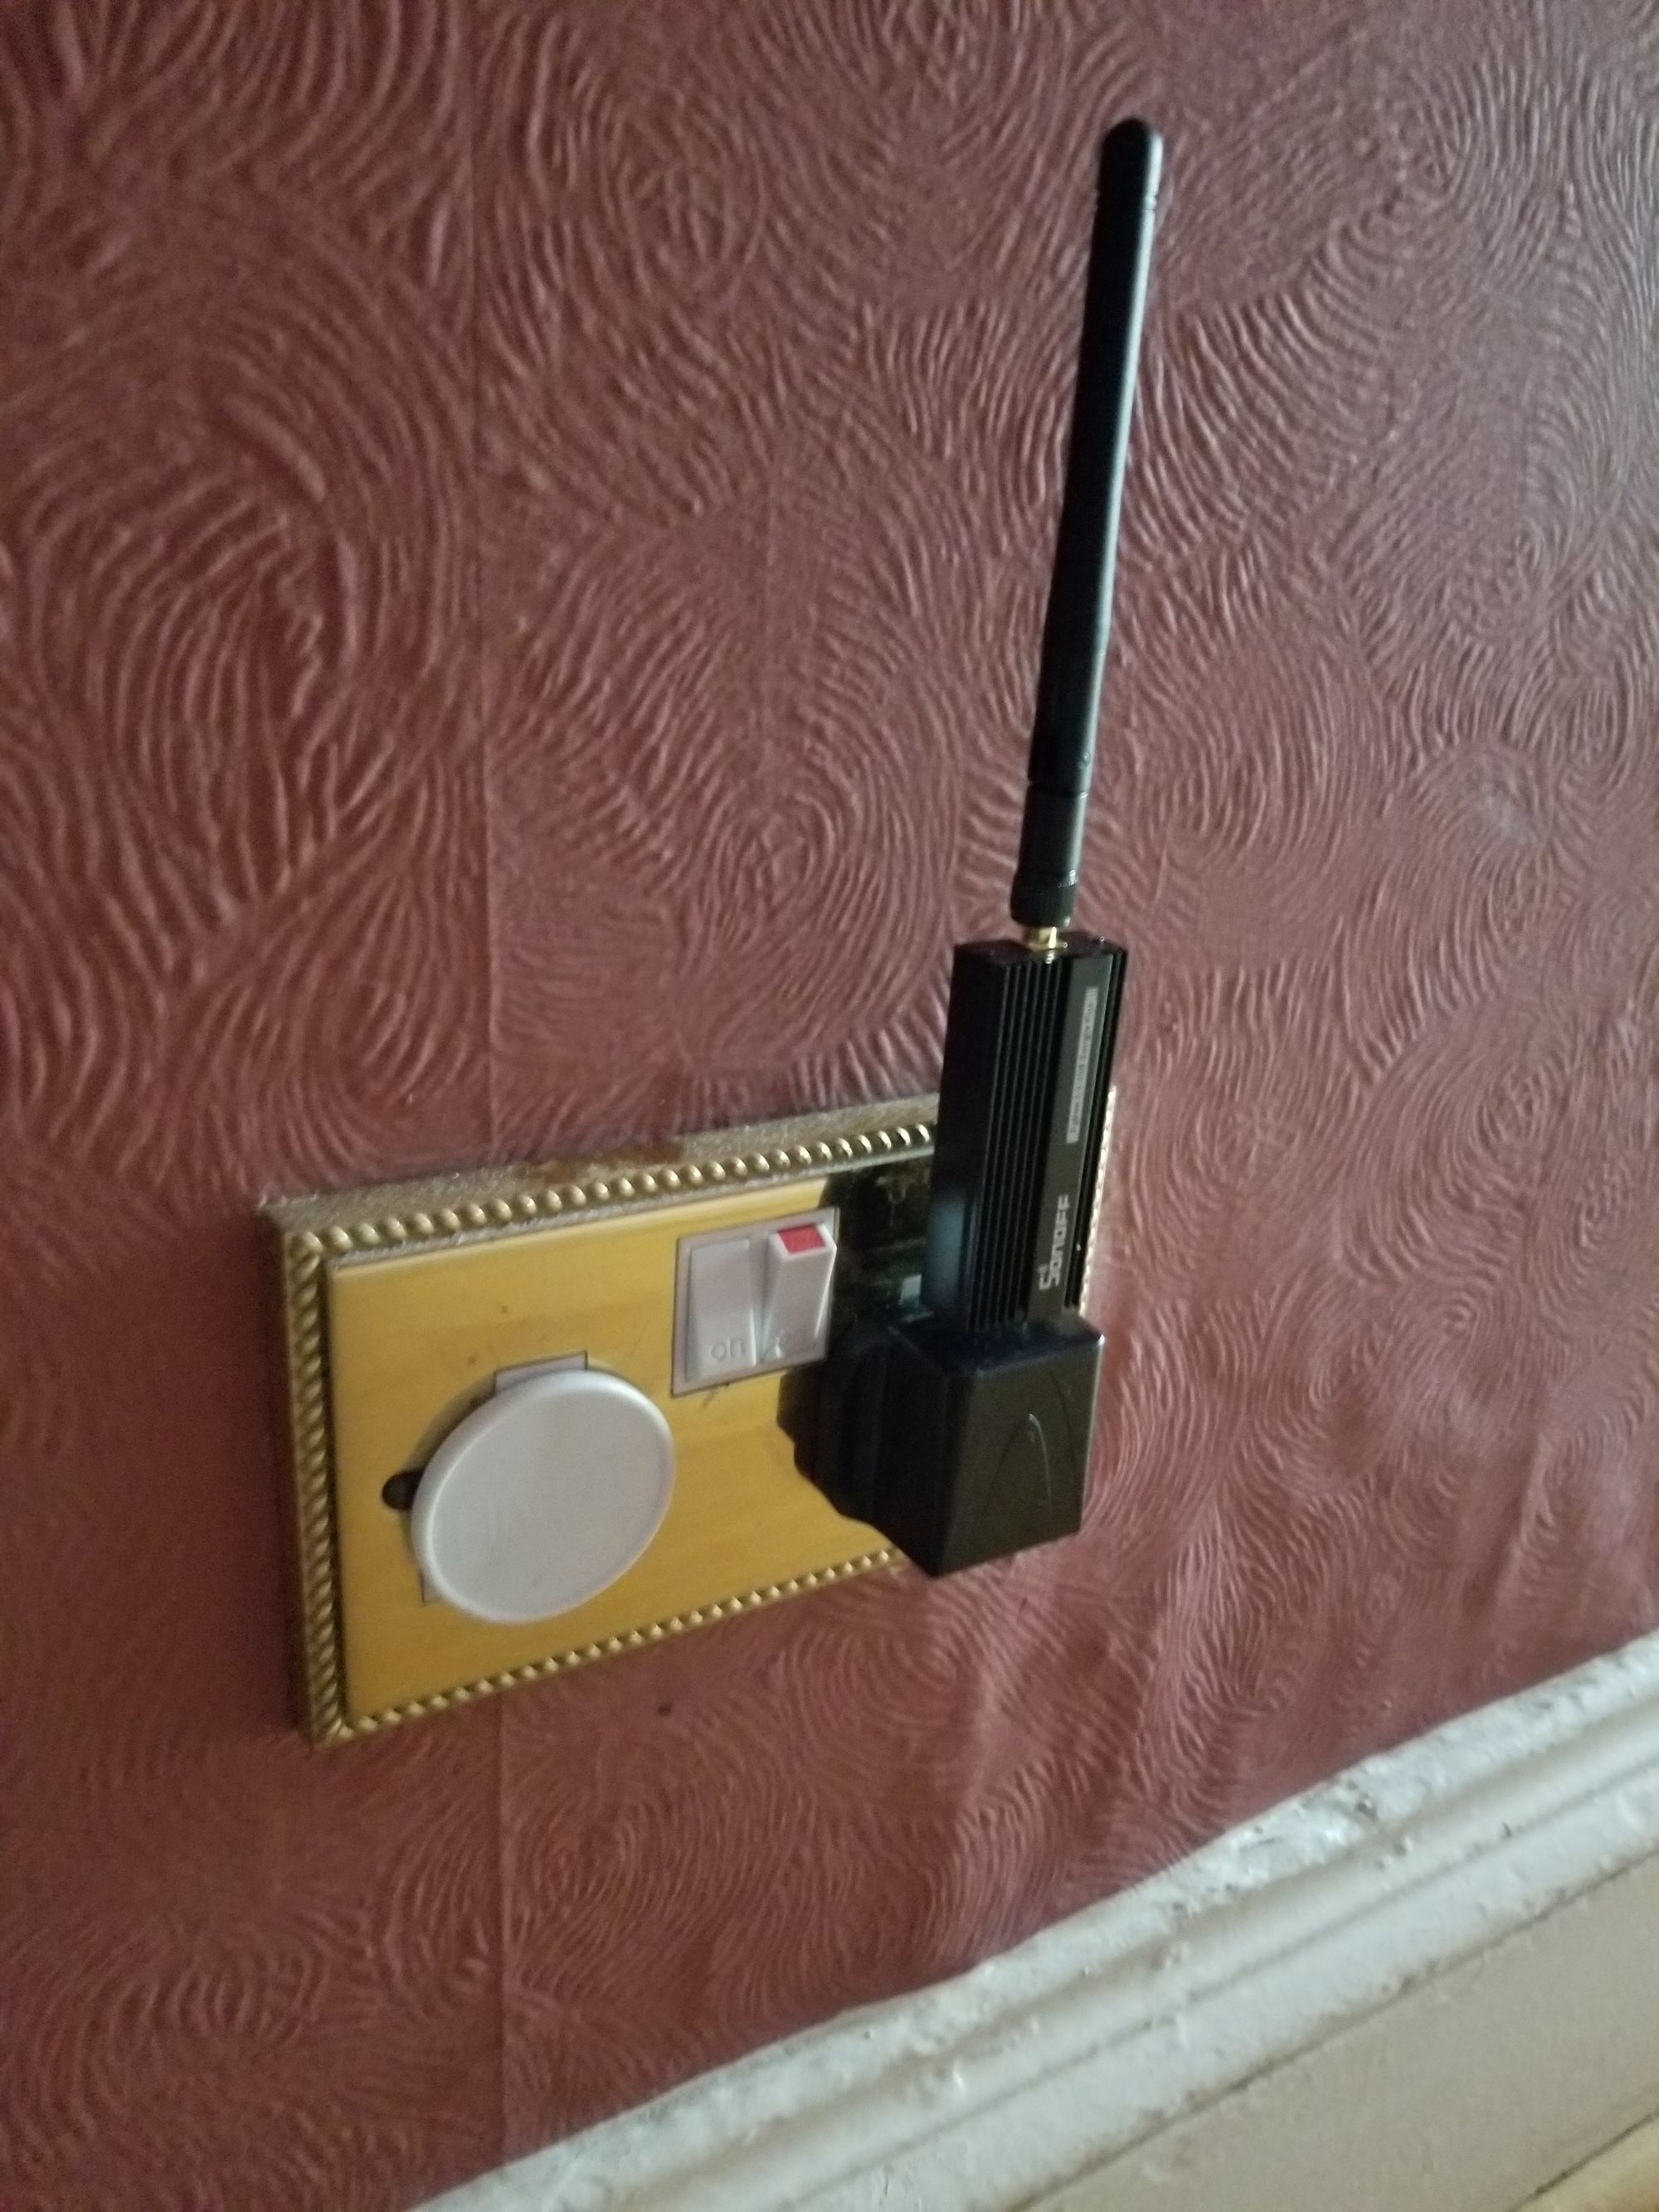
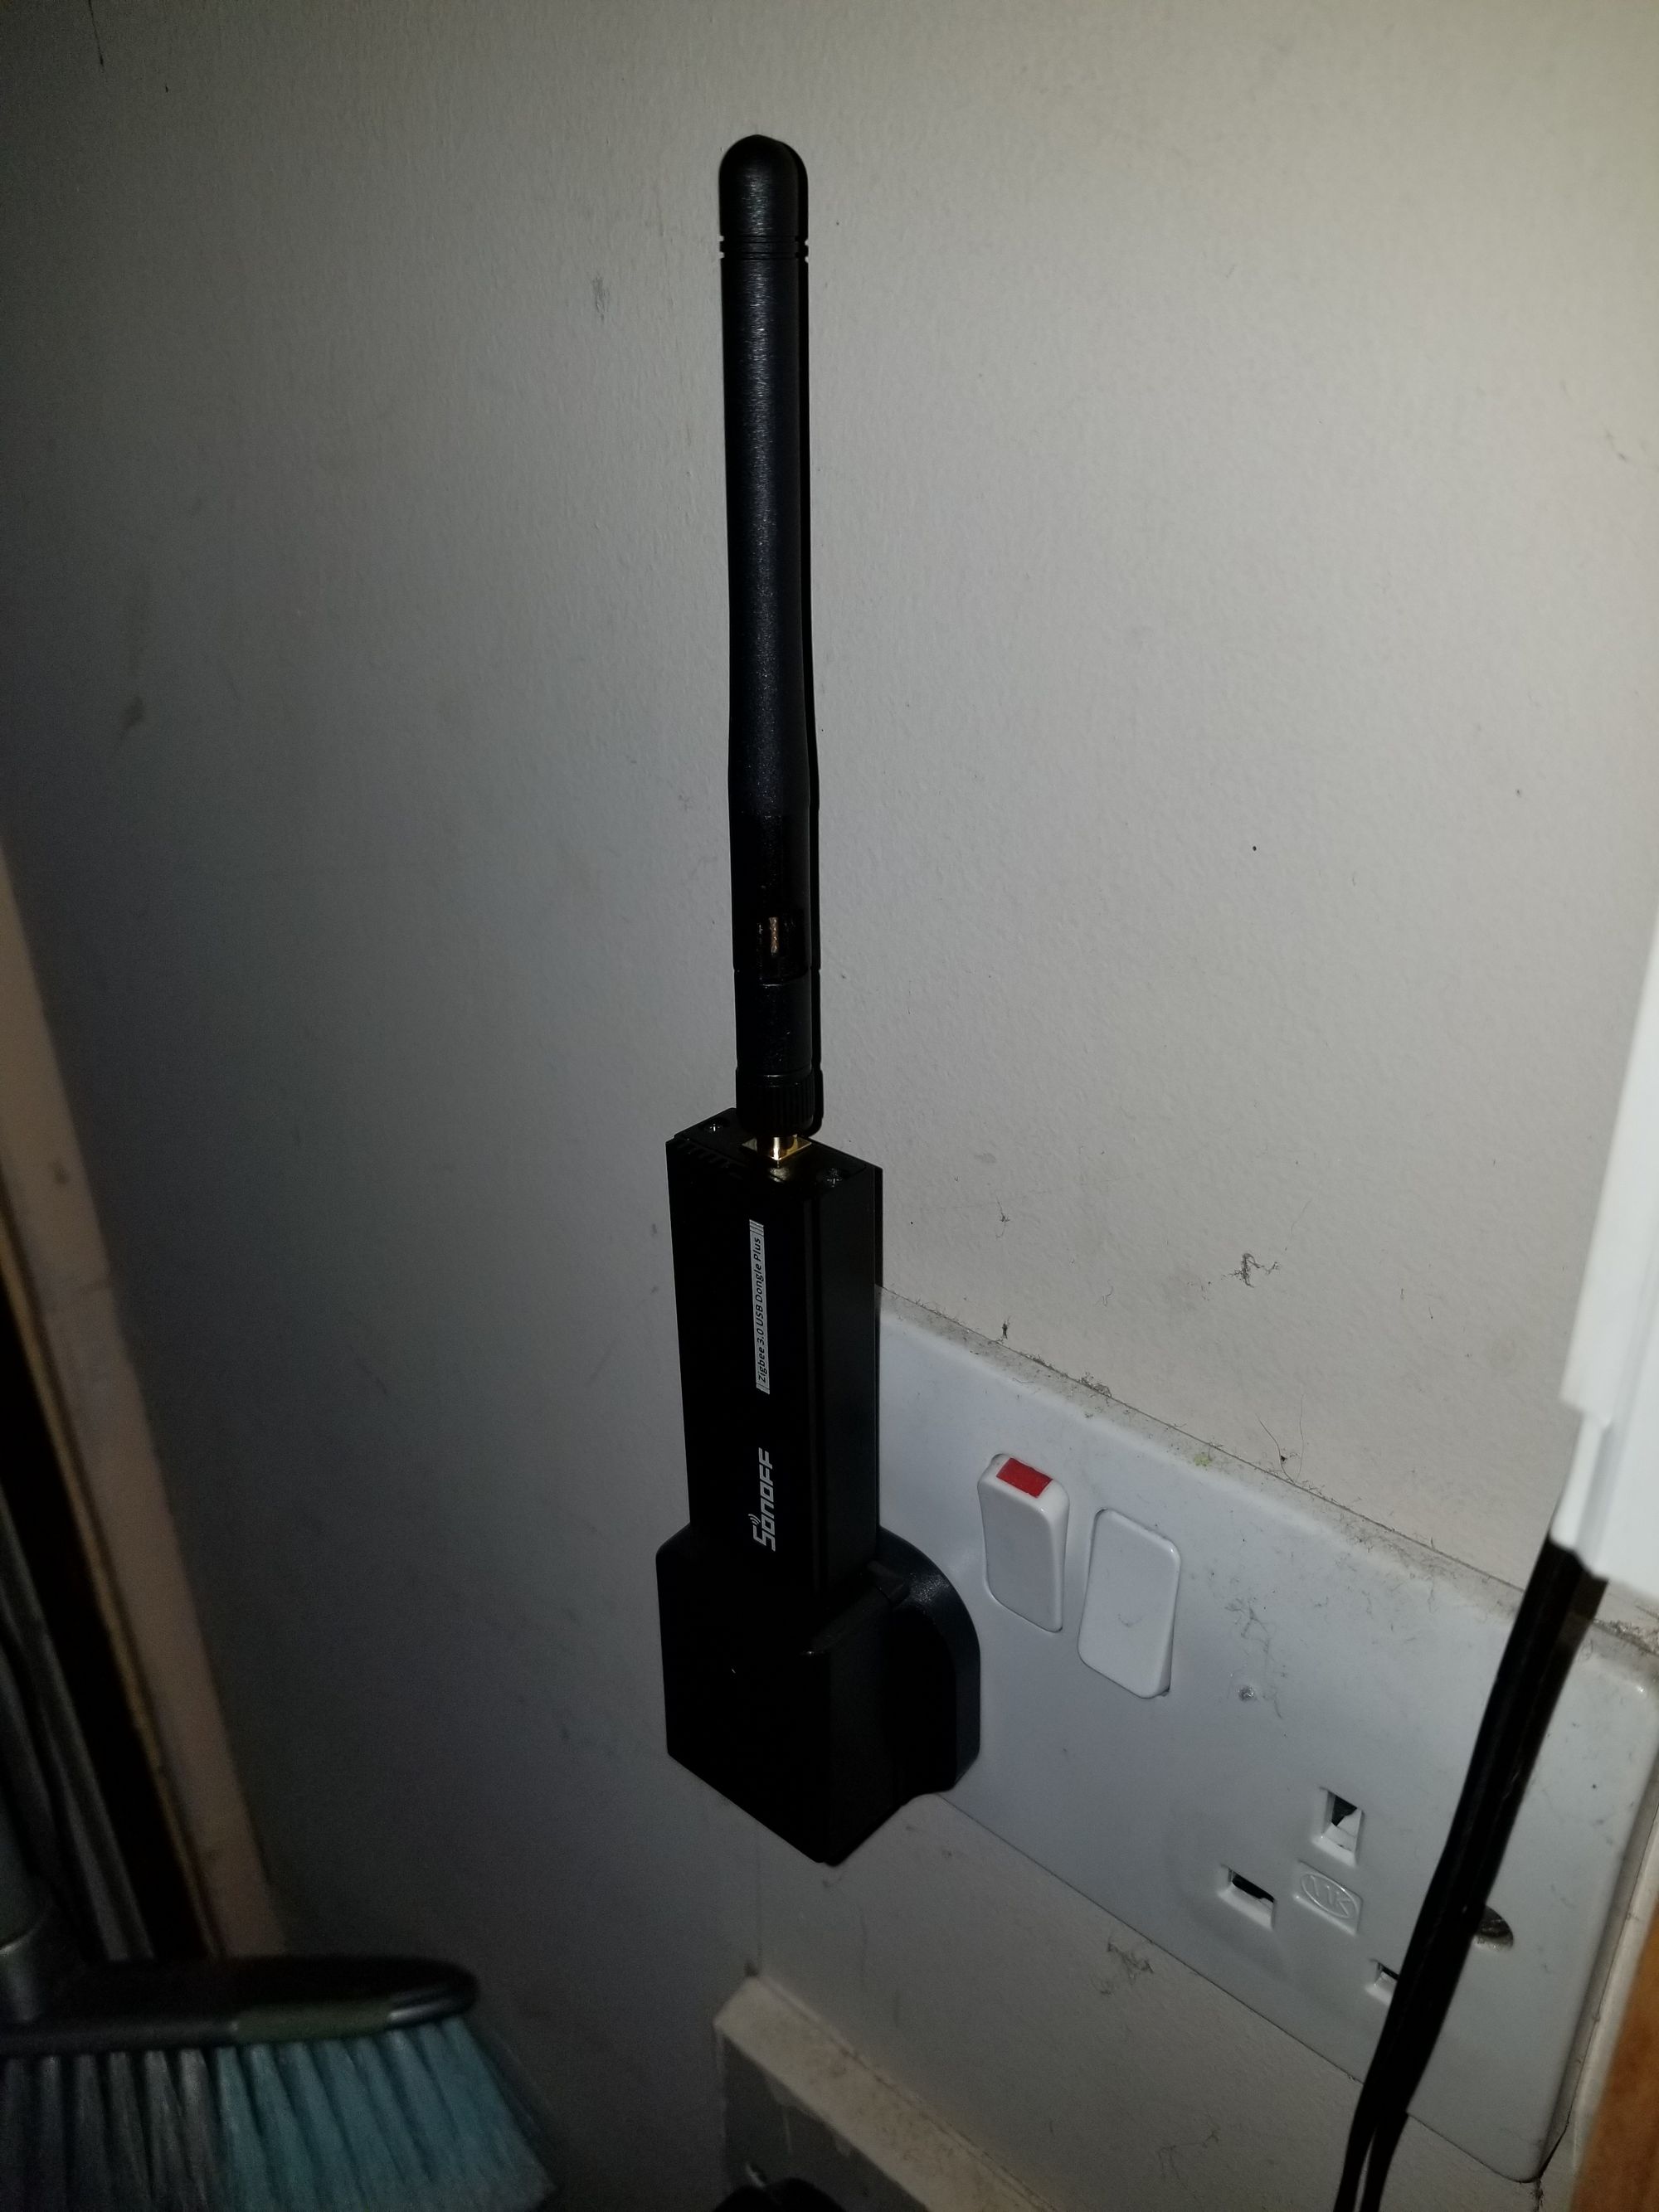
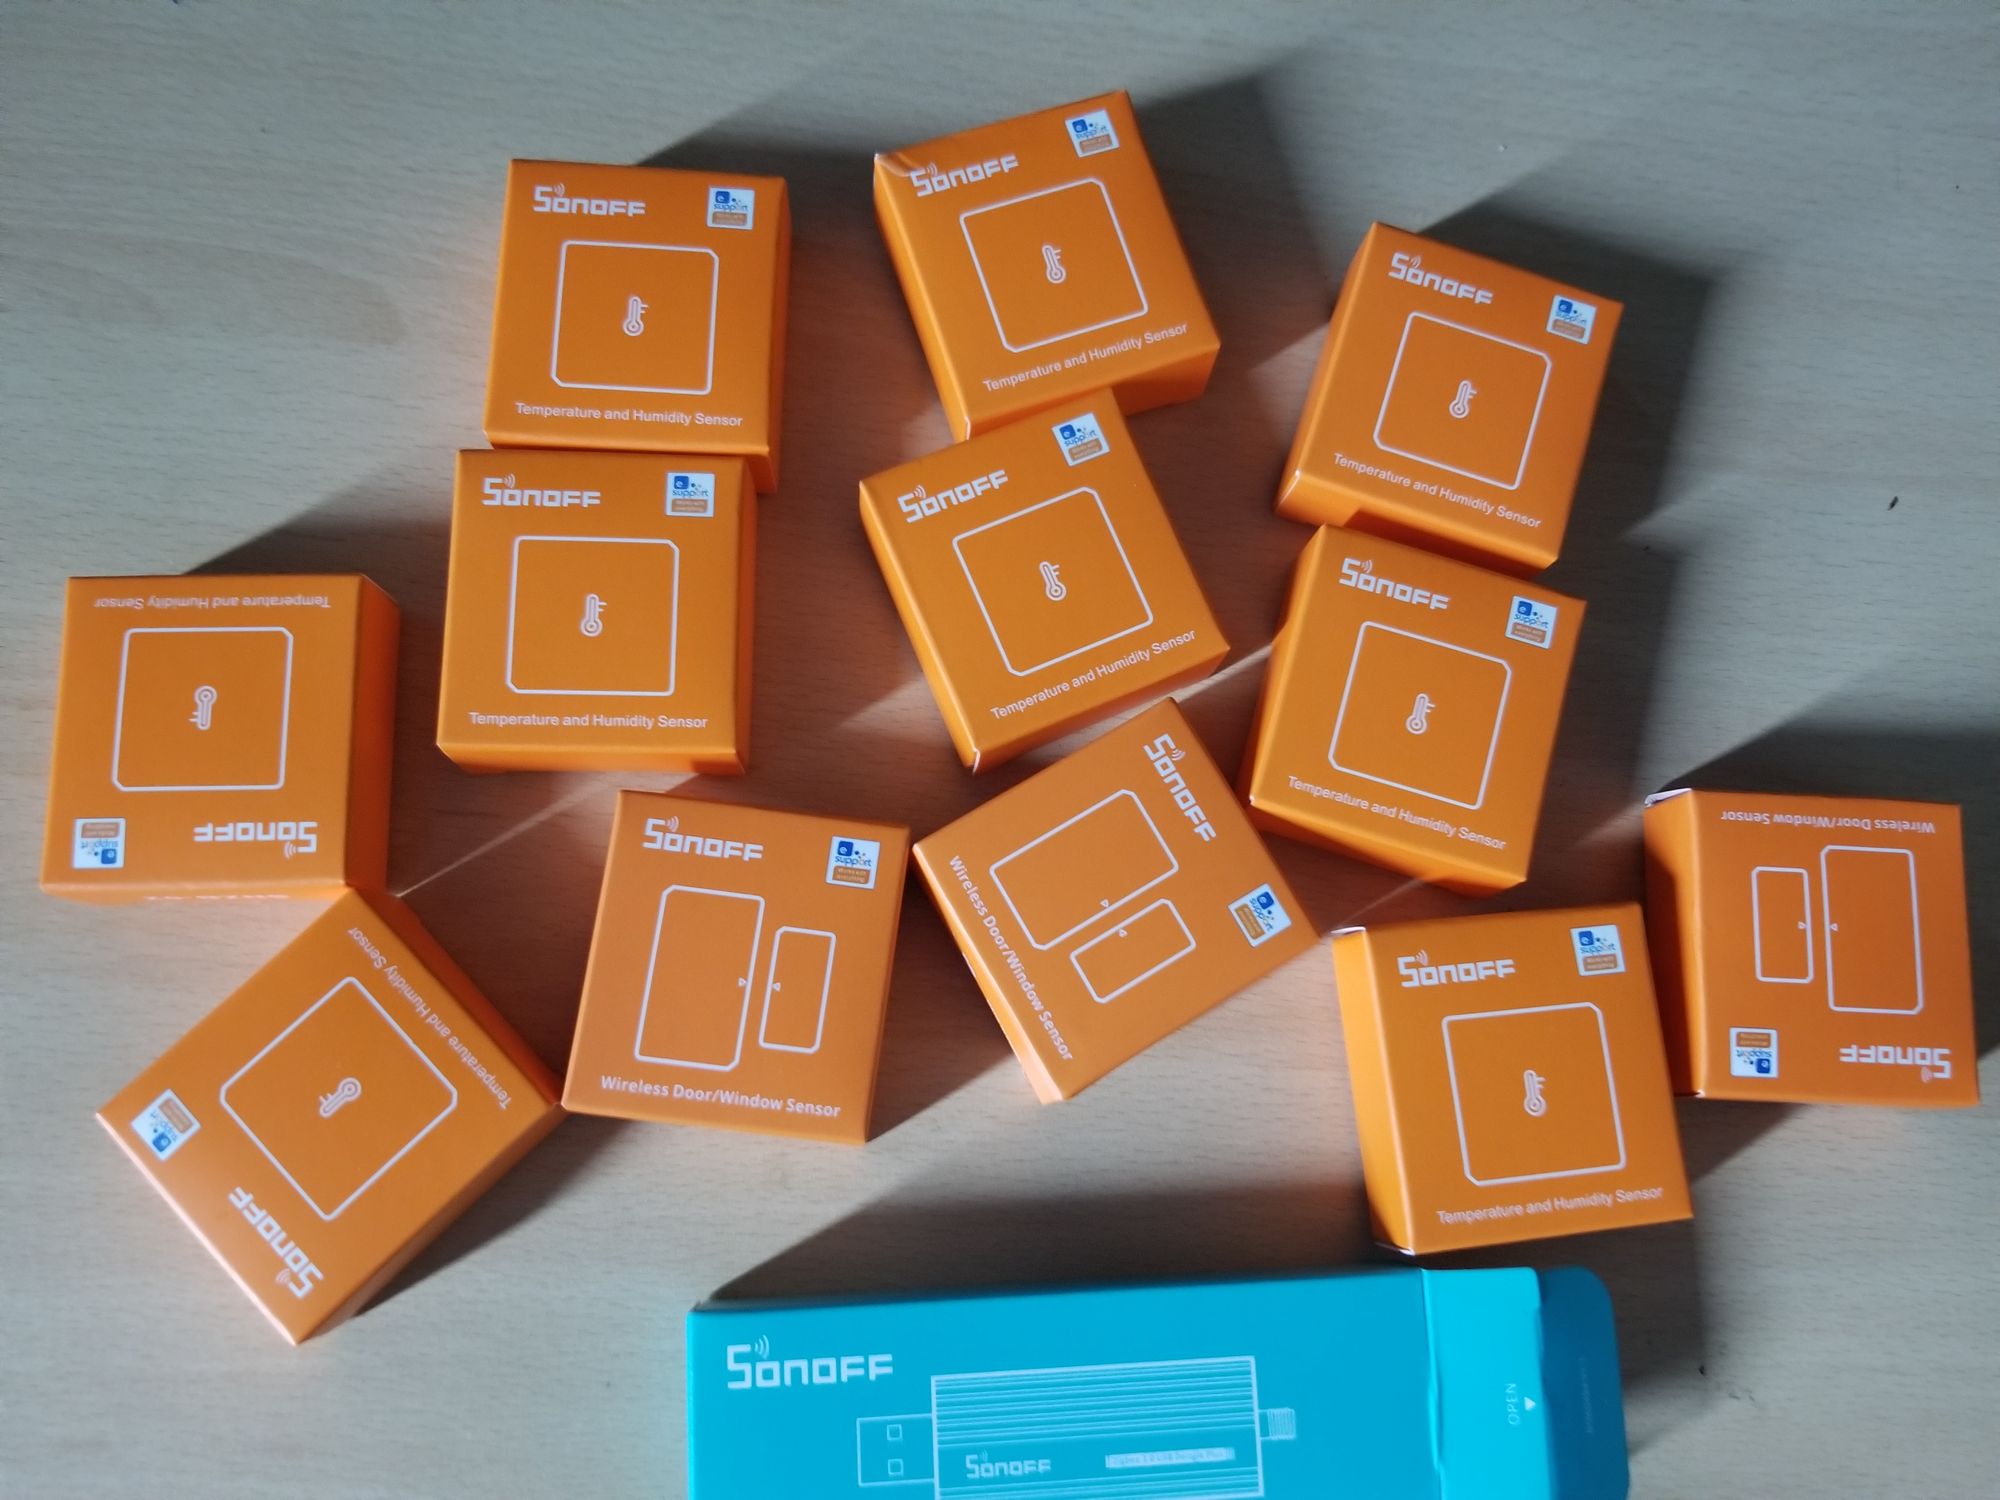
For every installation you'll need a Coordinator attached to Home Assistant which is usually via USB. The best they have so far is the 3.0 USB Dongle which can be used as a Coordinator or Router simply by flashing the firmware. It is highly configurable and will also do +20db plus other options if so required. I bought four of them, one as a Coordinator and three routers, Coordinator is plug n play with HA using the ZHA integration. The other three were flashed into router mode using PTIO firmware (see digblurs YT video). Seen has HA runs in a VM on Ultron all I had to do was plug it in via a USB cable and pass it through to the VM. I bought a long extension cable to run it into the apex of the attic. Added the ZHA integration in HA...that was it.
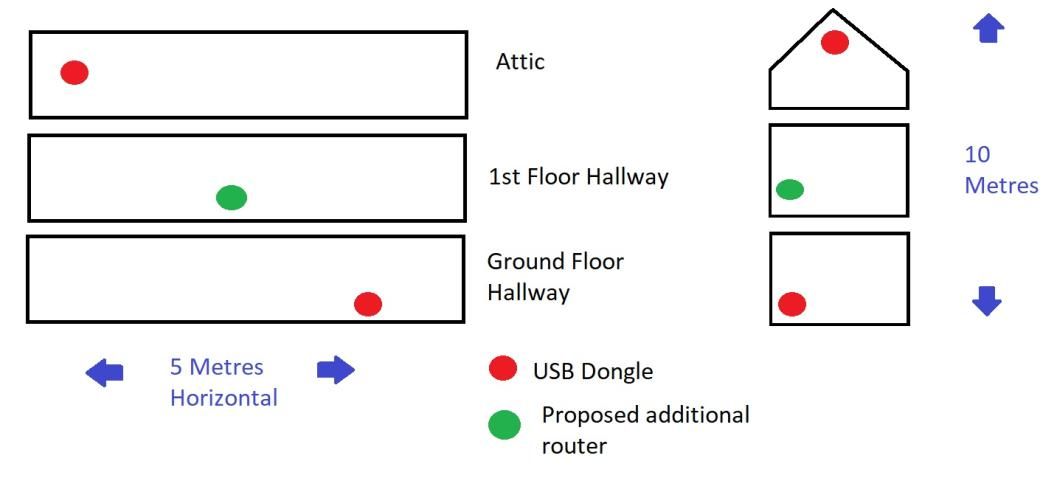
Now had the challenge of getting a Zigbee signal downstairs on the ground floor, the first floor wasn't really an issue as the ceilings are all plaster work and so getting a signal from the attic wasn't too hard. The ground floor is another matter though and also which ever router was down there would need a strong signal to get through the walls, basically the same issue as the WiFi APs. This is where these dongles are great with the option of the increased signal capability.

The solution was to place one in a USB wall plug (charging port in the upwards direction) on the first floor, one almost vertically beneath it on the ground floor and one additional router in the kitchen where there's a few sensors.
Sensors
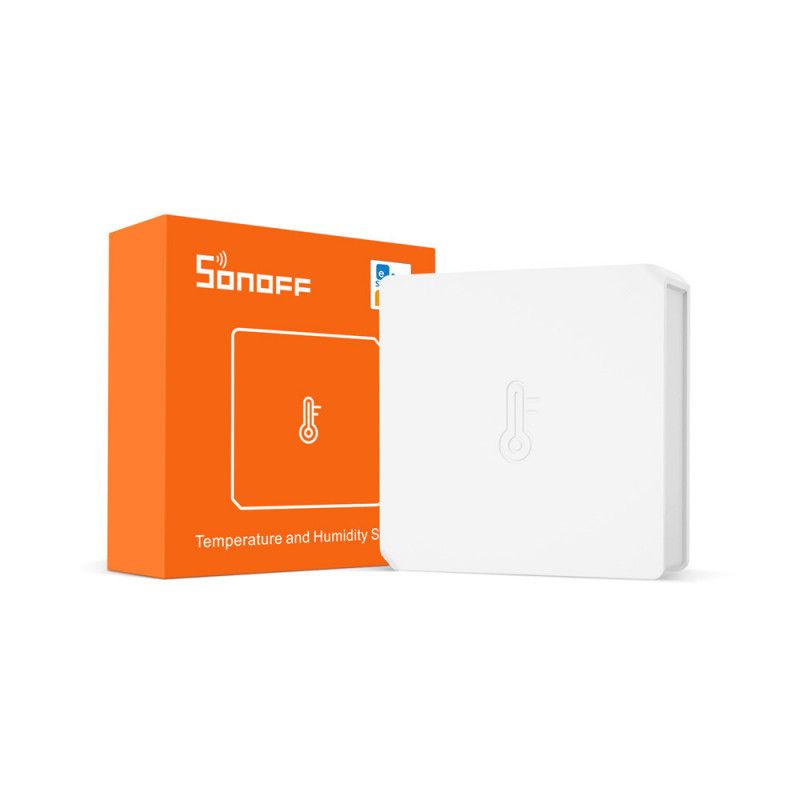
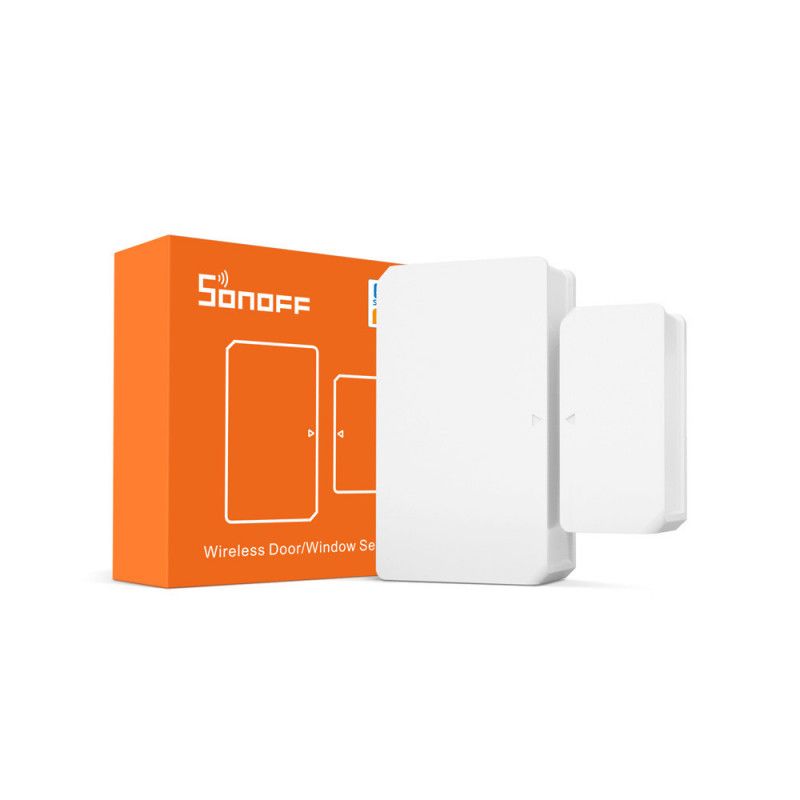
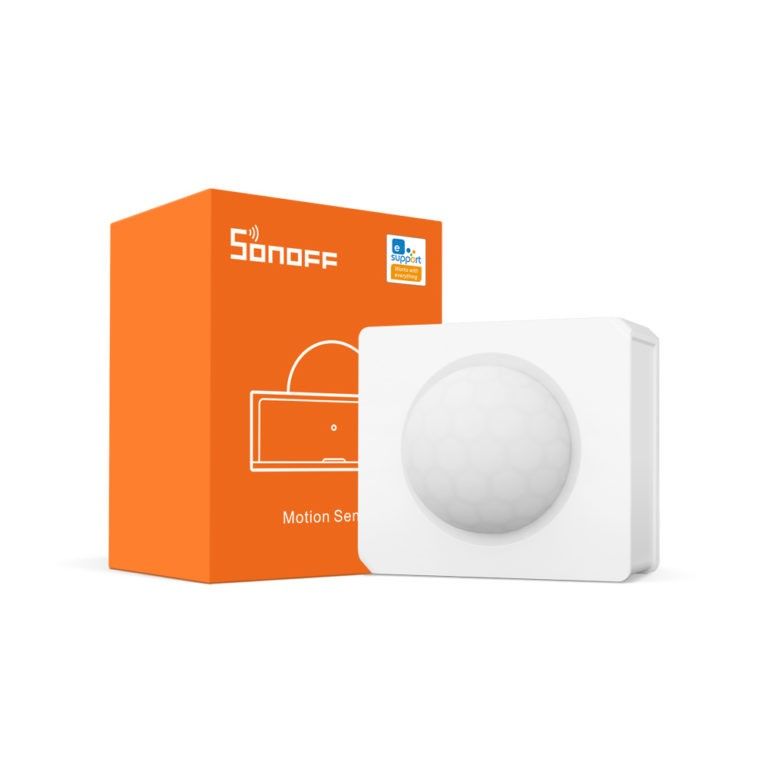
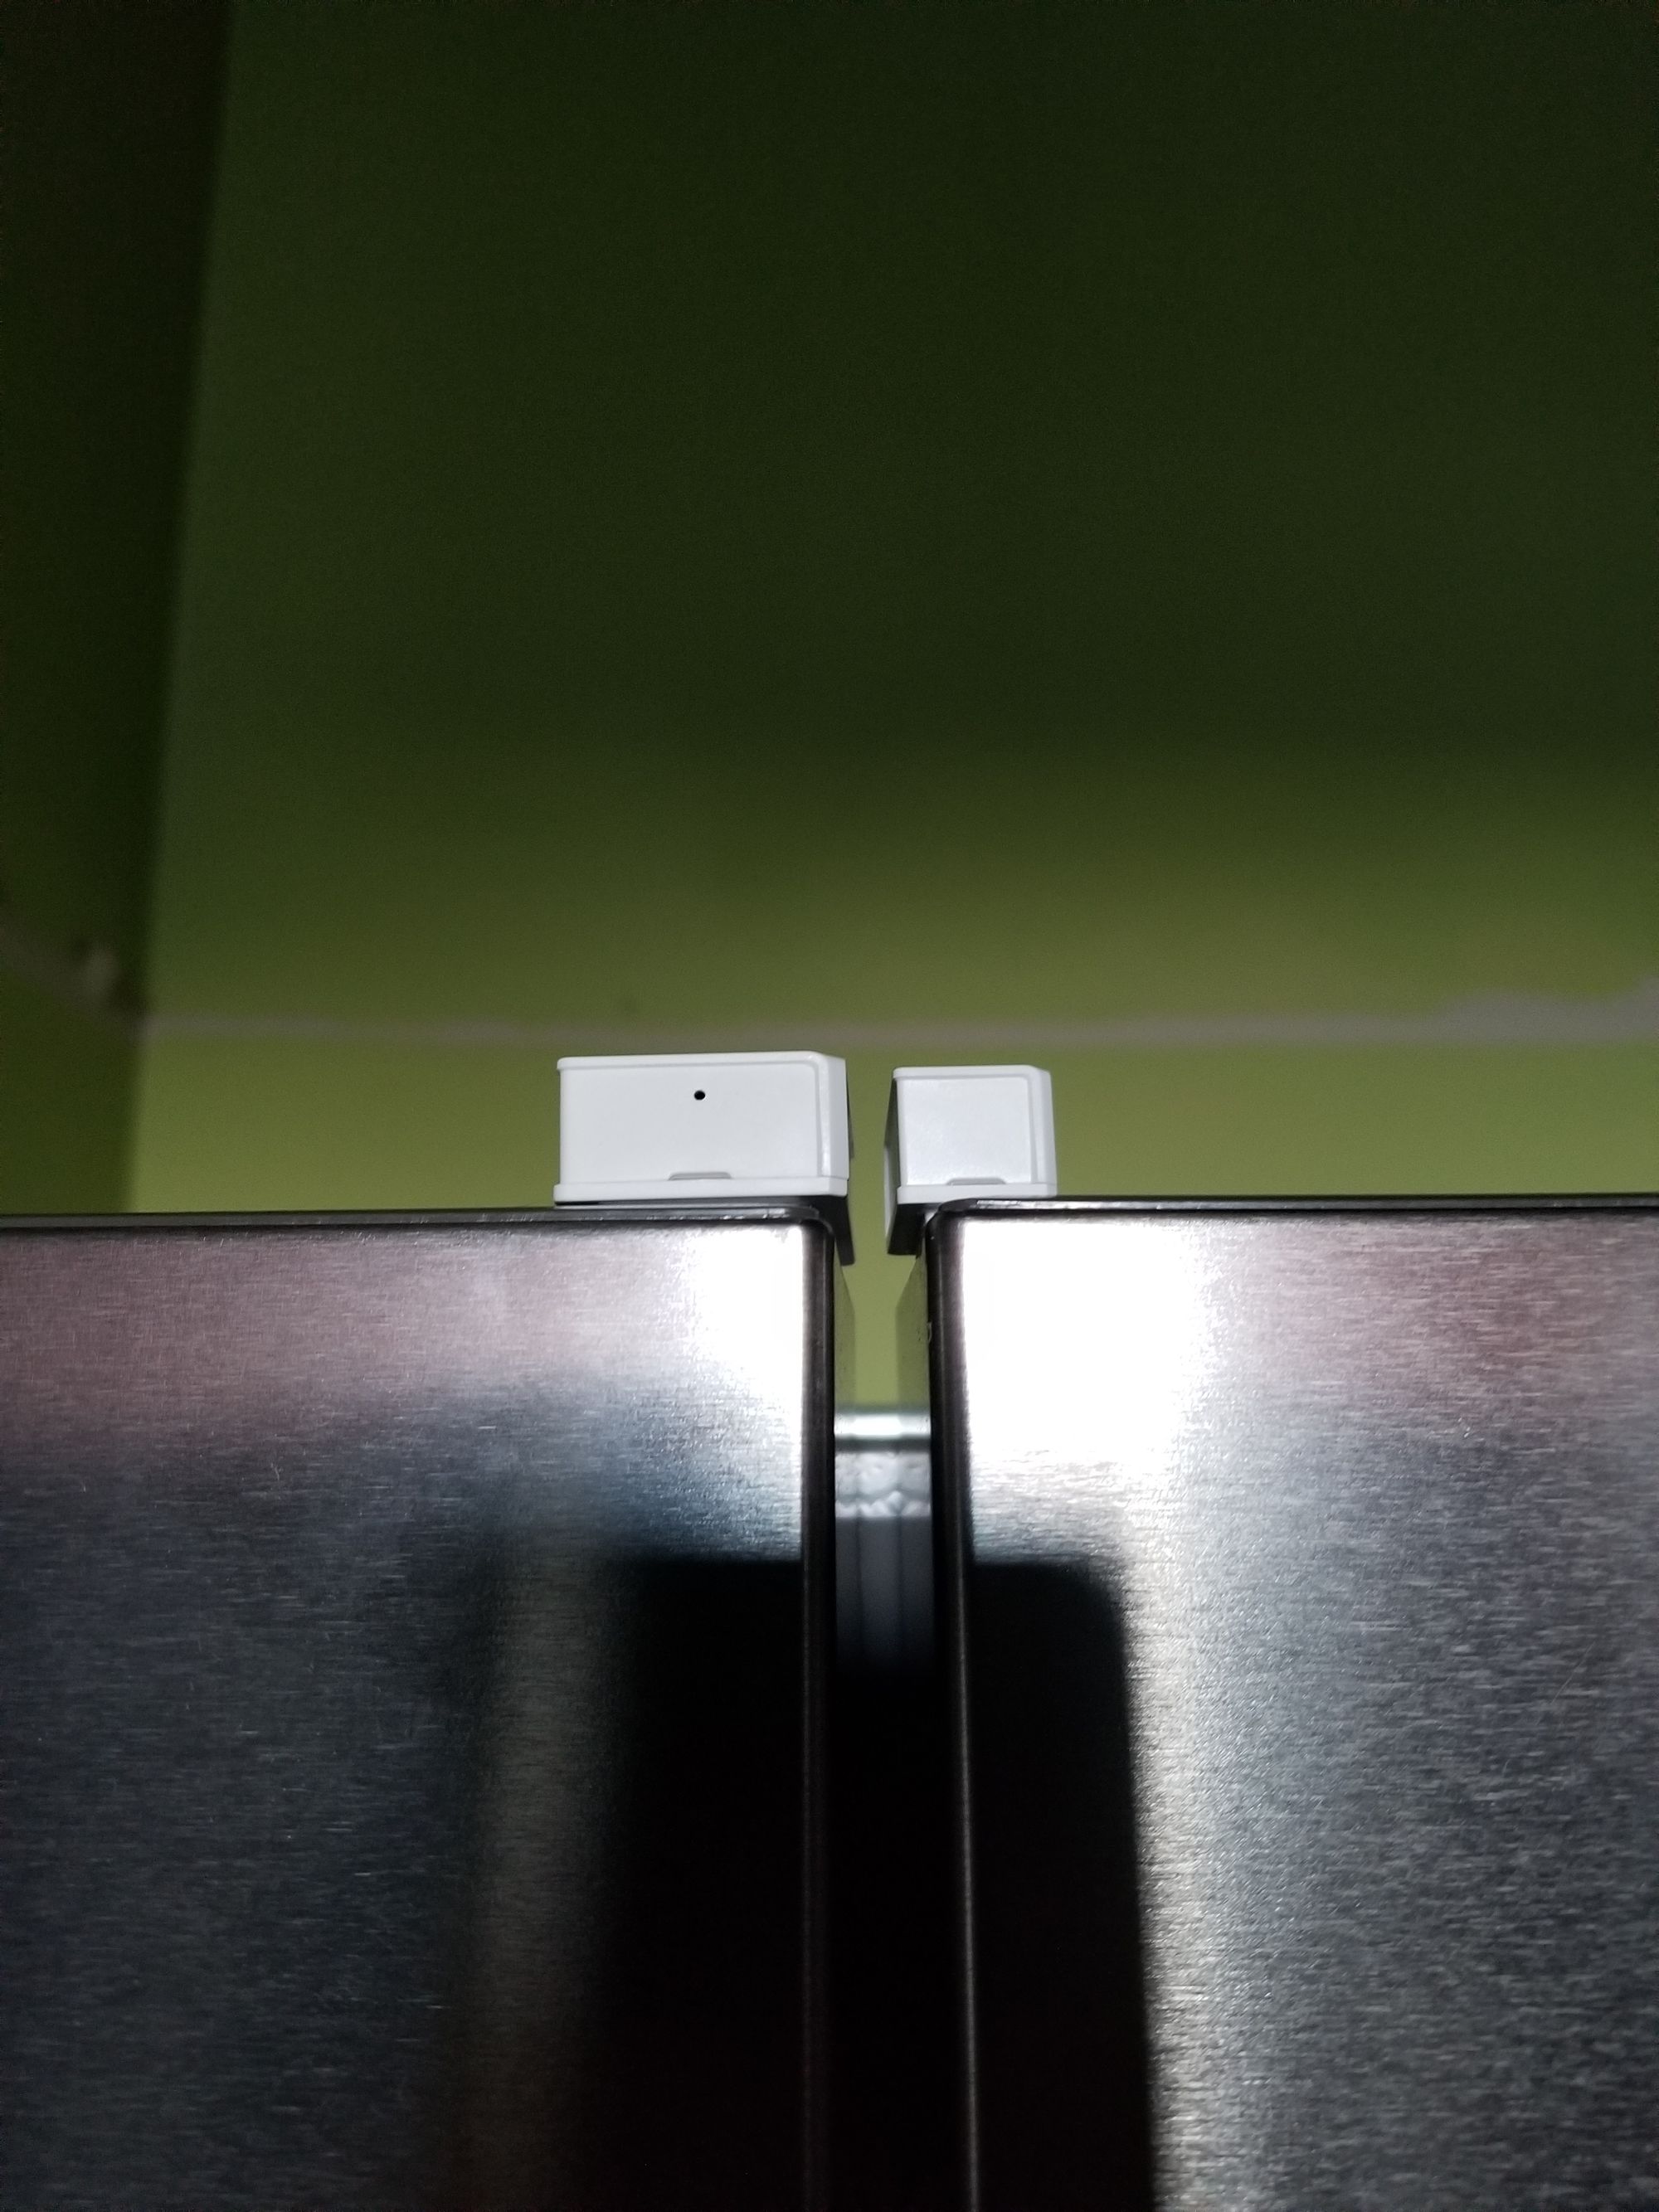
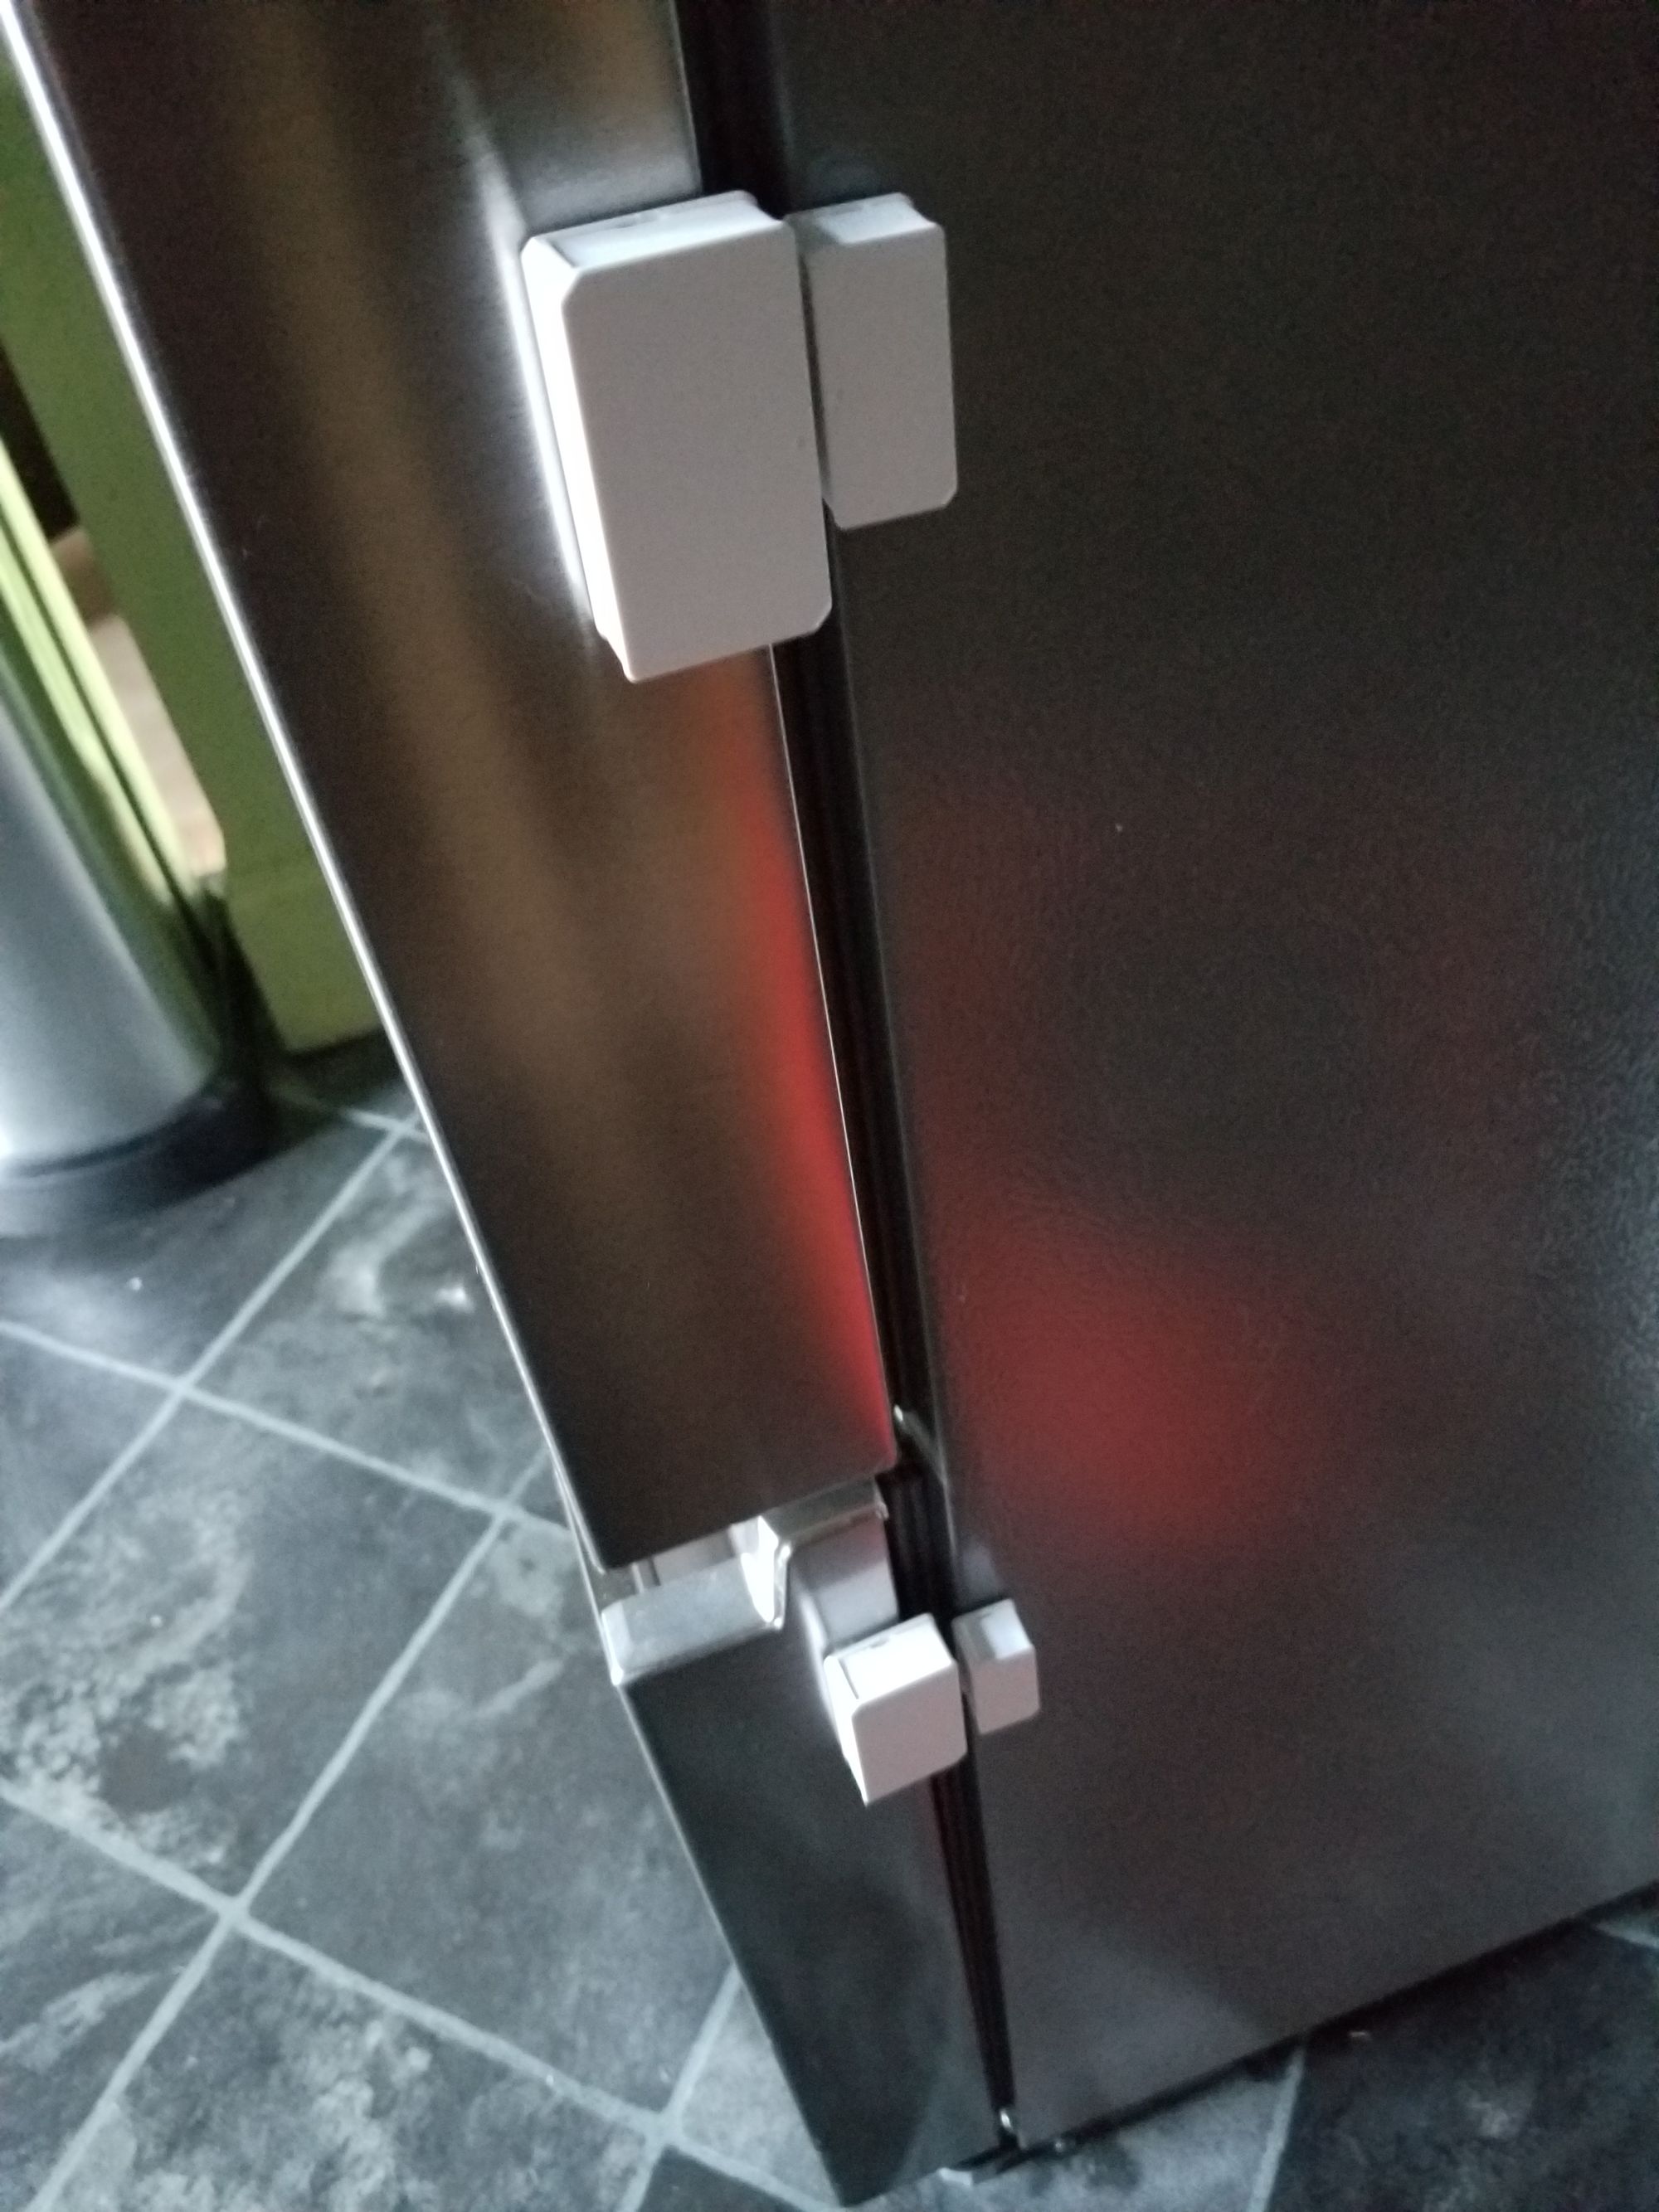
I purchased 12 x Sonoff Thermometers, one for each room which gives both humidity and temperature readings. 5 x Sonoff Door Sensors, two for the front and rear doors plus three for the fridge/freezer doors which are routinely being left open! Additionally 3 x Sonoff PIR sensors for the attic which would control a bank of LEDs set on a automation timer with HA. Once the routers were in place installation is simple, place the sensor into pairing mode and scan for new devices via the android HA app with ZHA integration. Once discovered..name them...it's that simple.
Home Assistant
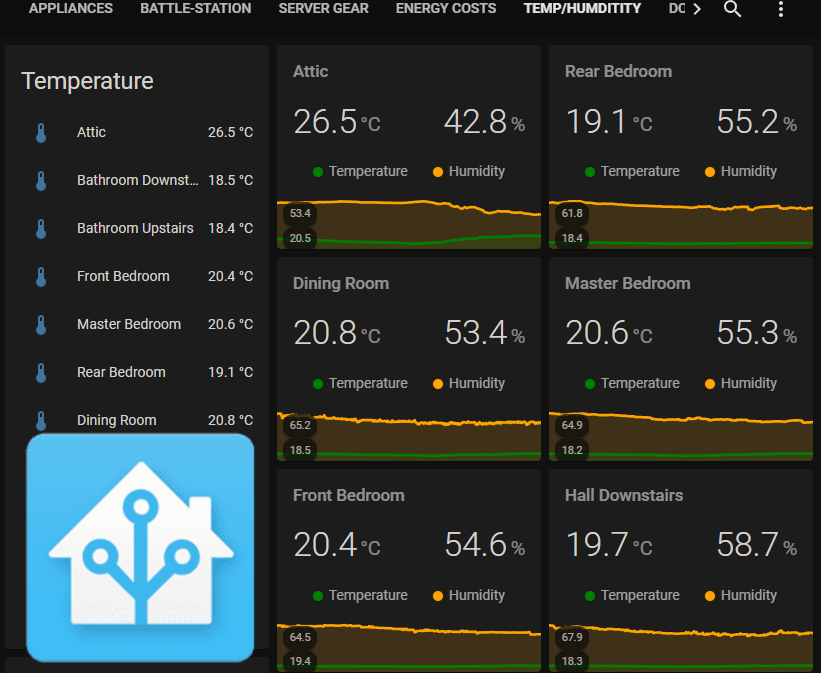
Thankfully due to the simple nature of these devices there's not that much to do in HA. I currently have a page for Temp/Humidity and one for Doors plus a few are tied with automations.
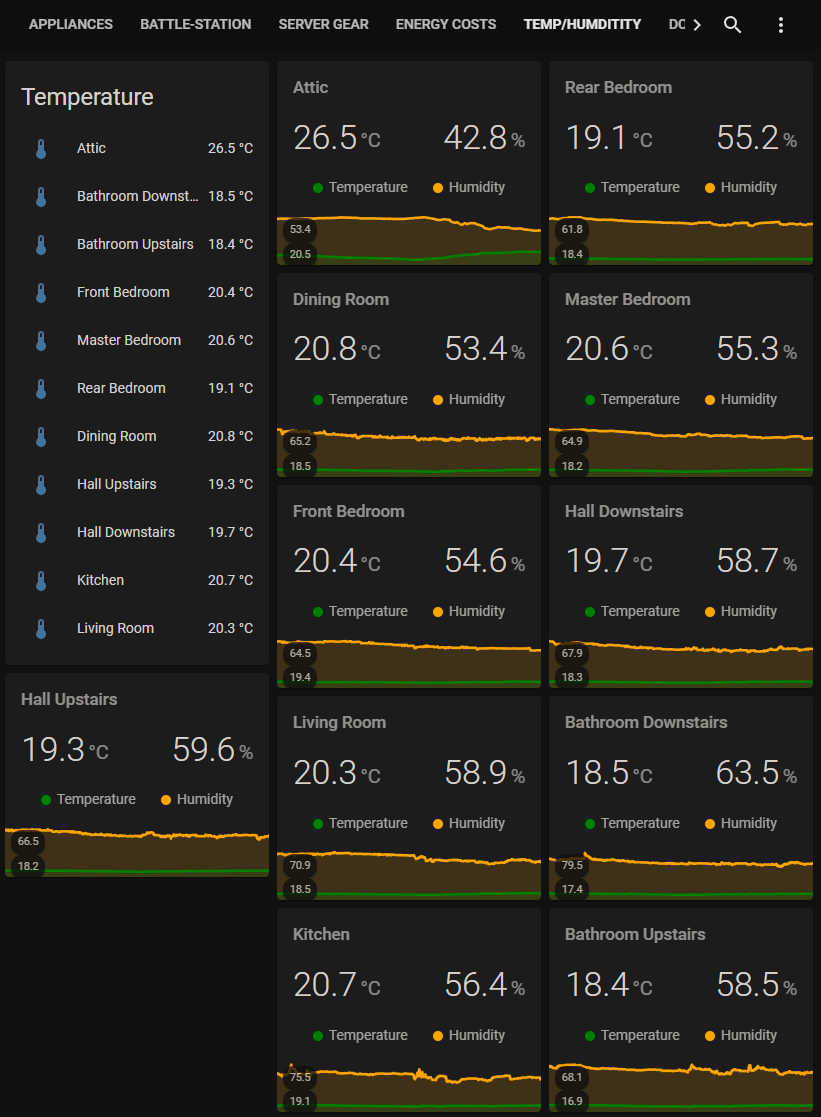
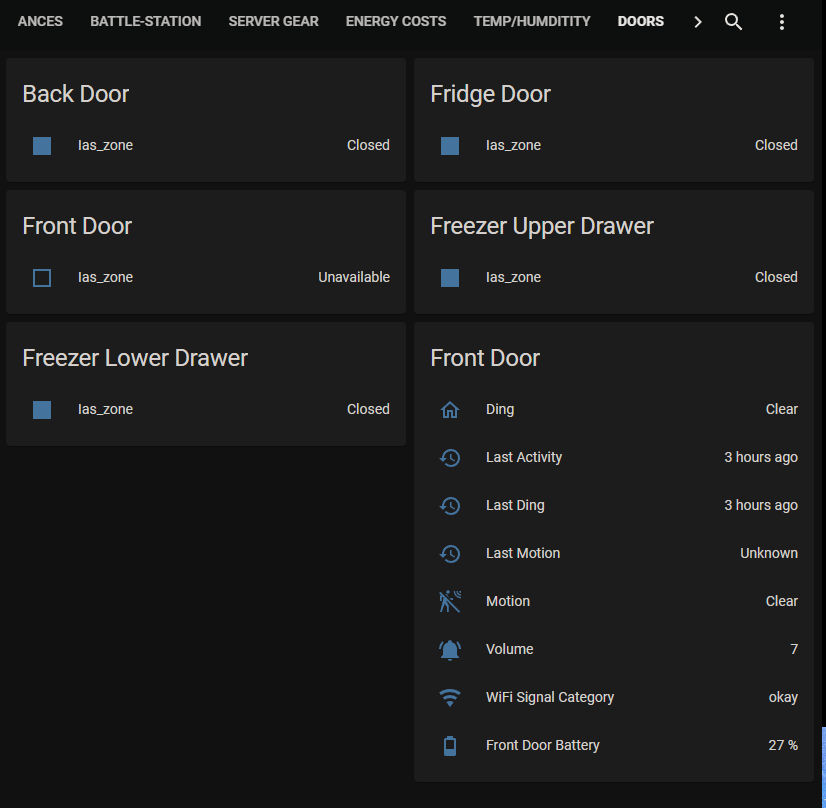
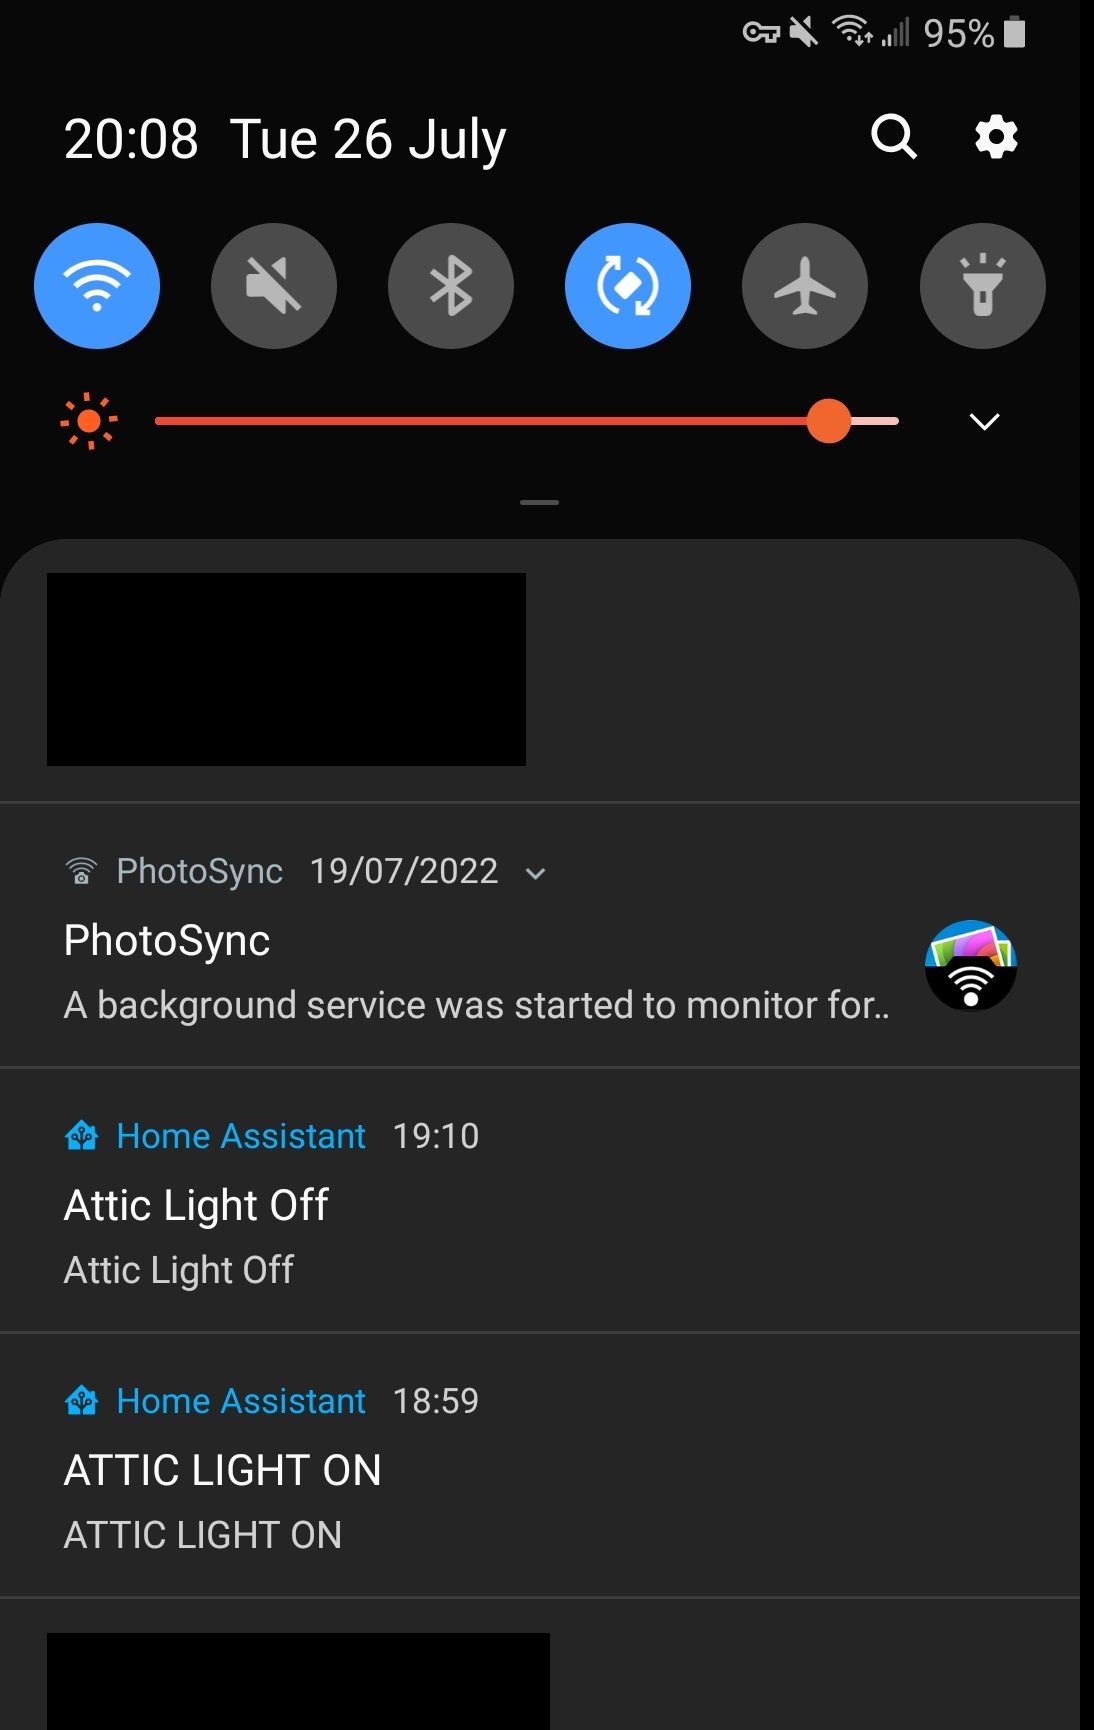
As I mentioned earlier I have 3 x PIR sensors for the attic which control banks of LED lights set on a 10 minute timer, 5 x Door sensors for the house's doors and also the fridge/freezer. If any one door is opened for a predetermined time and within specific hours, HA will send notifications to any of the Android clients or even my Discord channel. Monitoring pages are a simple case of adding some entities or mini graph cards. Below is an example of the code for the mini graphs (the dual line graphs) which can be obtained via HACS.
type: custom:mini-graph-card
entities:
  - entity: sensor.back_bedroom_thermometer_temperature
    show_state: true
    show_graph: false
  - entity: sensor.back_bedroom_thermometer_humidity
    show_state: true
    show_graph: false
  - entity: sensor.back_bedroom_thermometer_temperature
    color: green
    show_state: false
    name: Temperature
  - entity: sensor.back_bedroom_thermometer_humidity
    color: orange
    show_state: false
    name: Humidity
name: Rear Bedroom
hours_to_show: 24
points_per_hour: 30
show:
  name: true
  legend: true
  icon: false
  labels: true
Automations
For the attic lights it's a breeze, just select the motion activated light from the blueprints and pick the activation device, then pick the smart switch the lights are connected too. For the door sensors its simply a "Call Service" once the trigger has be activated, which in this case is one of the sensors being opened for more than 5 minutes with a specific time period. Fridge/freezer is all day for obvious reasons where as the front and rear doors are during the hours of darkness.
Equipment List eBay
- 4 x Sonoff USB 3.O Dongles £16 each
- 12 x Sonoff Termometers £9 each
- 5 x Sonoff Door Sensors £9 each
- 3 x Sonoff PIR Senors £9 each