
As usual i'll explain why I constructed this tower and thought process. During my ongoing power saving observations I noticed both DAS units were drawing more power than they should have been for the number of disks in them, this is to be expected naturally as there will be loses in the conversion and cable resistance of power from the mains. I'm using relatively high powered PSUs in 800watt range for a lower powered job, their efficiency drops off at the lower power ranges, I was burning almost 40 watts more per DAS than I needed, thats enough for another four drives per unit at least! Smaller rated PSUs are available but many aren't modular and it's another cost. This lead me to the thought of powering all the disks from one PSU which should put the average power consumption well within the PSUs efficient range. I had a brief look online for cases that would allow me to max out as many HDDs as possible, of course the easiest thing to do would be to buy a large HDD caddy plus rack, needless to say an extremely expensive business!
Another consideration I had was my old ARM machine (automated DVD ripper), while it works perfectly, the 1 min boot up process wasn't ideal lol, first world problems. I wanted something that was always ready plus it was yet another stack taking up space and wasn't power efficient. The original plan was always to add optical drives to the DAS units then run ARM in a VM/Container.
The last consideration was space, why go horizontally when I can go vertically? It then occurred to me why not stack two of the DAS units, bolt them together, and have one PSU powering the whole lot? This is what i decided to do!
Materials/Cost list...
- 2 x Corsair Obsidian 750d - £50 (roughly)
- 1 x 20 Pack M6 (6mm) x 12 mm nut/bolt set - £6
- 1 x Corsair AX850 PSU - £100 (it was bought for a gaming system in 2003) YMMV
- 1 x LSI 9201-16e SAS HBA card - £50
- 2 x HP 487738-001 24-Port PCI Express x8 3Gb SAS Expander - £10 each
- 2 x Mini SAS26P SFF-8088 to SFF-8088 External Cable - £20 each
- 1 x 24 Pin PSU tester - £5
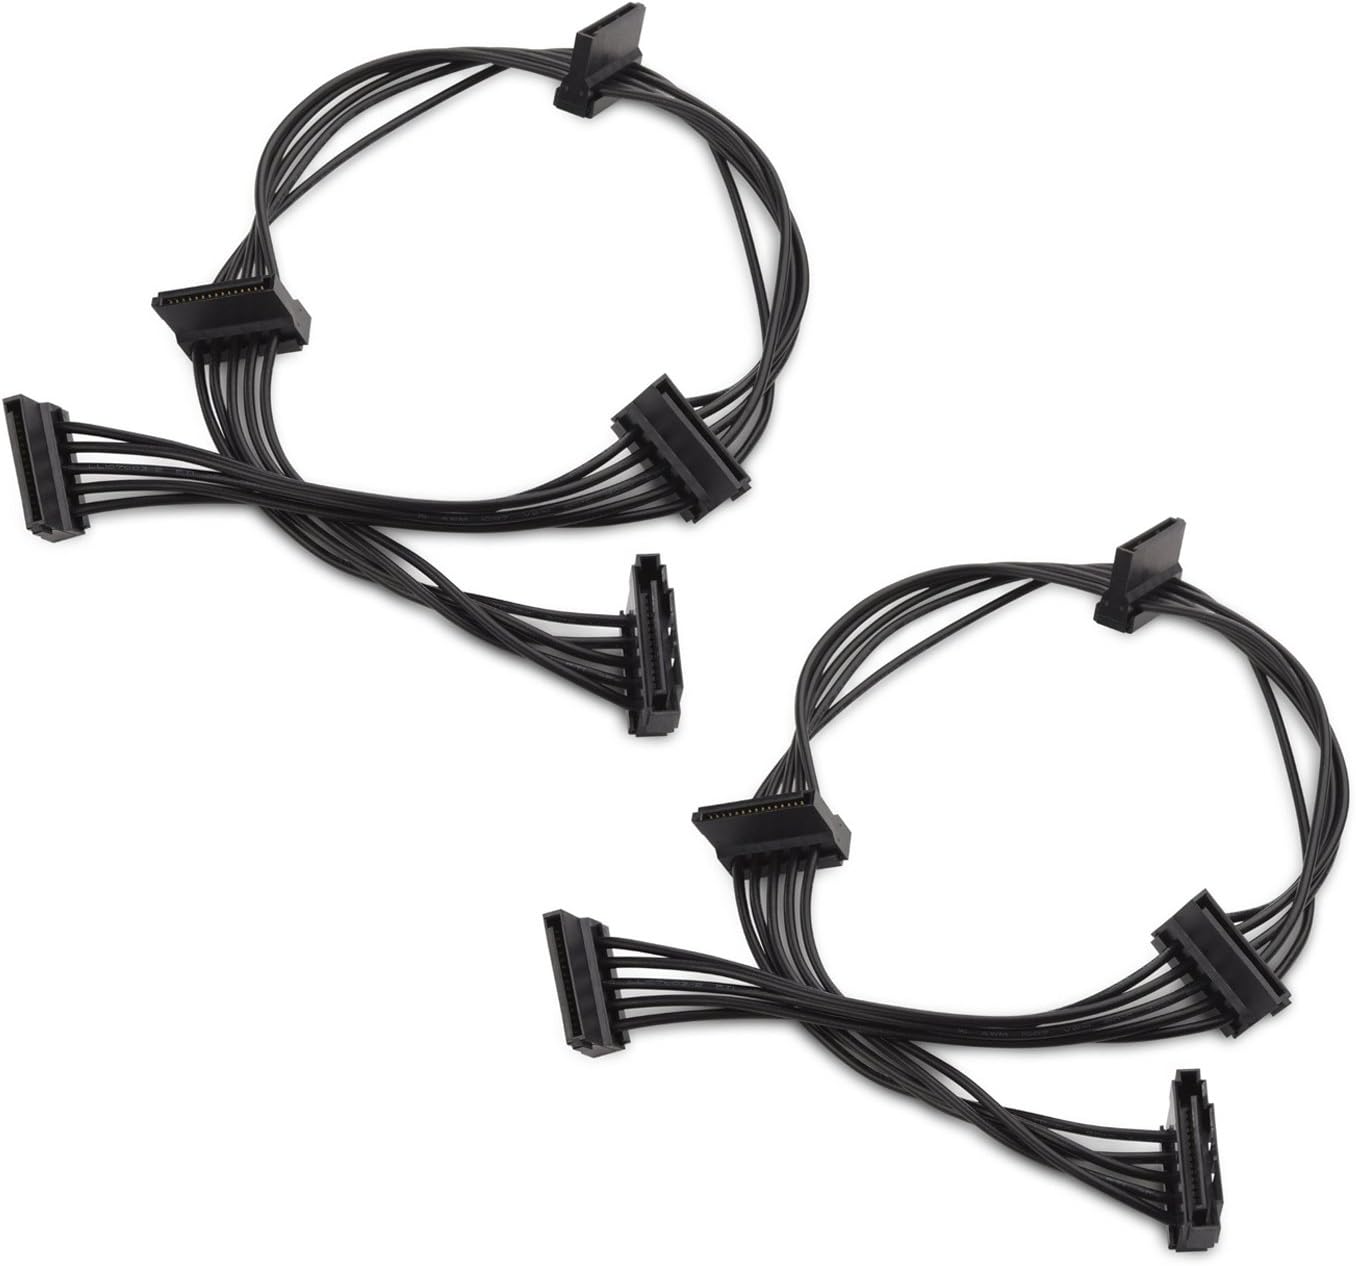
- 10 x SATA to 4 SATA Splitter power cable 45cm - Two pack £10
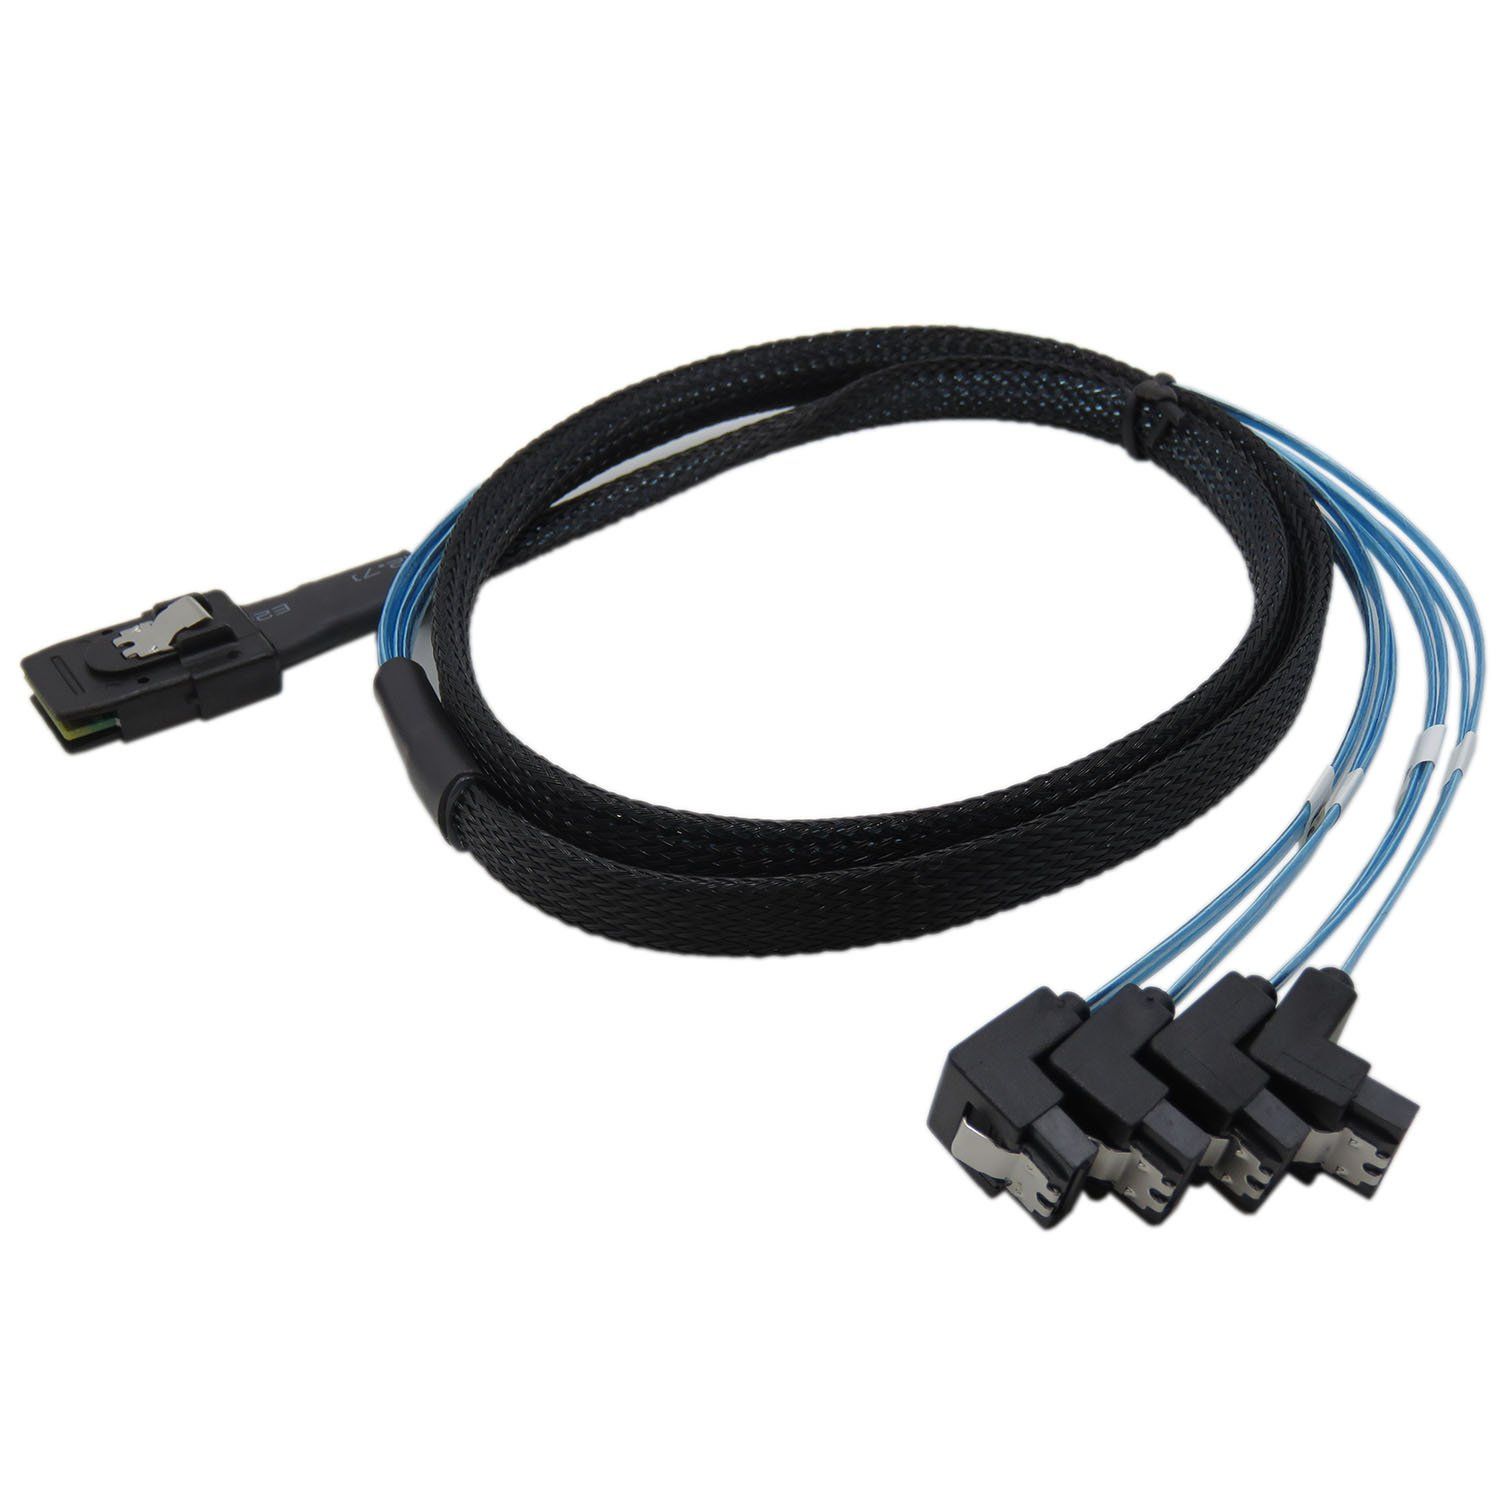
- 10 x 1 metre mini SAS 36P SFF-8087 to 4 SATA - £9 each
- 2 x Molex to 5 x 3 Pin connector for fans - £9 each
- 1 x Fan PVM Y splitter cable -£3
- 2 x 60cm 4-pin Molex extension cable - £6 each
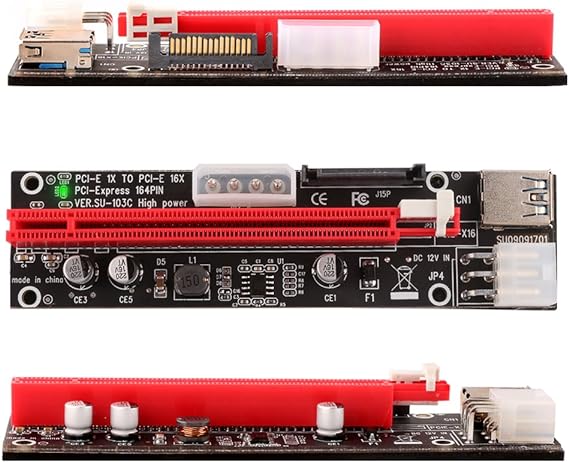
- 2 x PCIe Riser, 3 in 1 1x to 16x PCI-E Riser Board - £30 for six pack
- 4 x 140mm Corsair Red LED fans - £25 pack of two
- 4 x 140mm Corsair Blue LED fans - £25 pack of two
- 2 x 120mm Corsair White LED fans - £28 pack of three
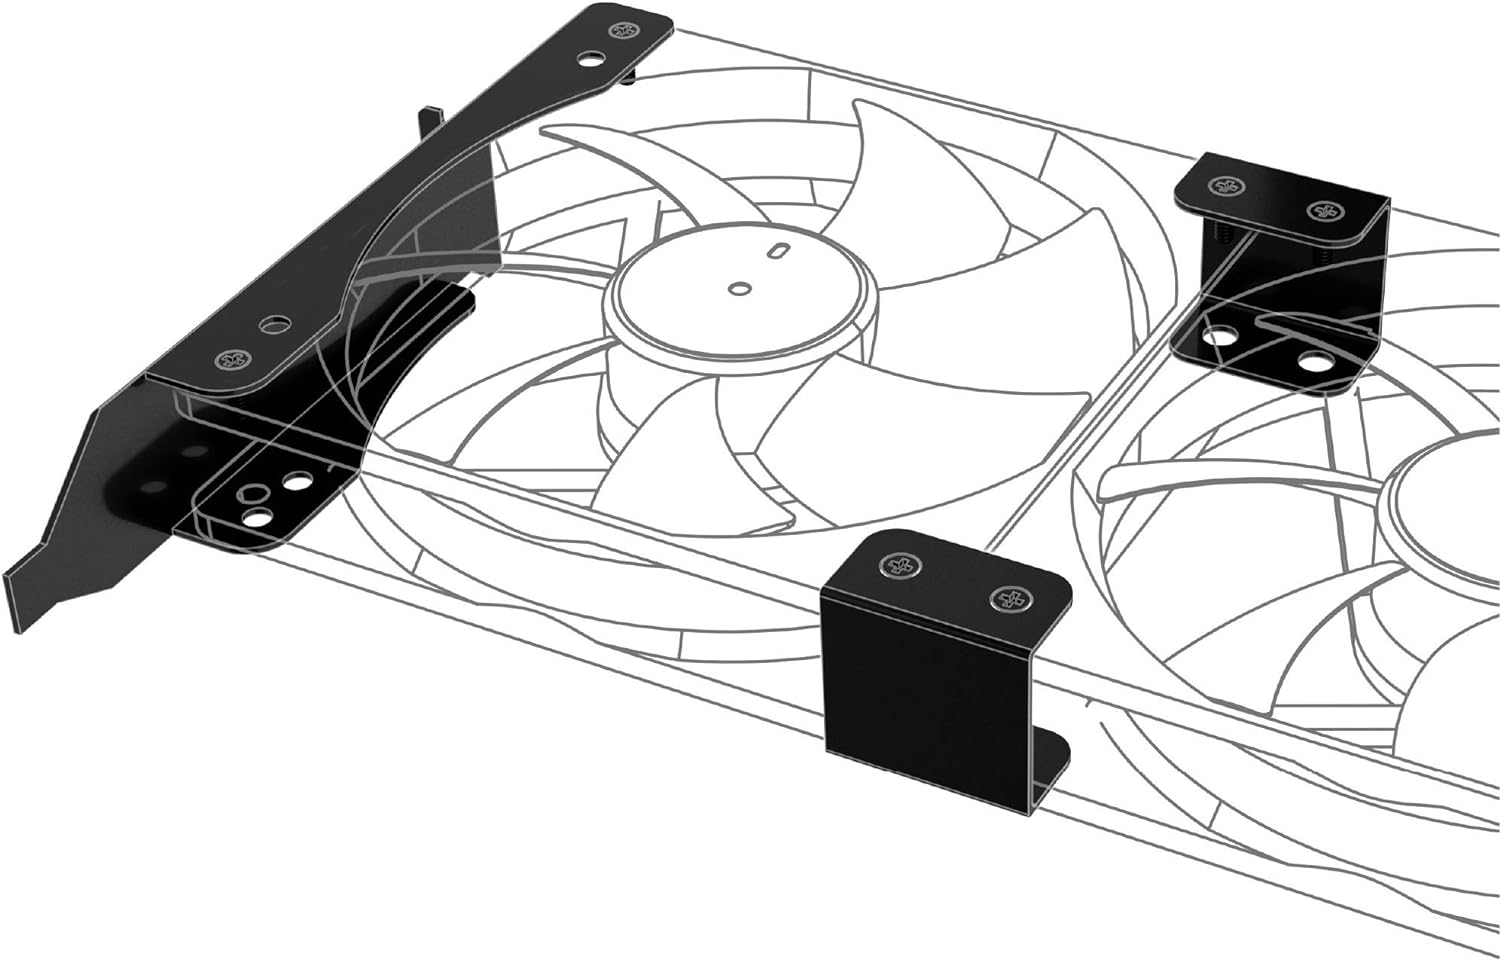
- 2 x Akasa PCI Slot Bracket for Mounting One/Two 120mm Fans - £6
- 2 x I/O Shield Replacement Backplates - £3 pack of two
- 12 x Corsair HDD upgrade cages, case comes with two - £10 each
Above is a list of everything required plus bare costs, I already had pretty much everything I needed already cases, fans, disks, disk cages from the other DAS units etc so my expenditure for this project was minimal. SAS cards and SAS cables plus the Molex extensions was all I needed. This just gives a rough idea if you wanted to build something similar. Total cost excluding drives £767, way, way less than a bare metal 32 chassis would cost you! More adaptable and configurable, with slightly reduced convenience due to no hot swap trays bit a lot quieter than the jet fans they put in these chassis. Ambient noise is about the same as a small PC on idle.
If you read my previous articles on building the DAS units you'll see I used 8088 to SATA cables connected to 2 x 16e LSI HBA cards on Ultron. If I continued like this I would need more SAS-8088 to SATA cables for all the HDDs possible plus the optical drives, a total of eight would be required with an additional two for the stacks of 3 x optical drives. Apart from being cable heavy, 2 x 16e HBA cards only gives me 32 possible SATA connections, another HBA would be needed! The number of HBAs required was starting to get a little silly plus slot heavy using up three out eight of my precious PCIE slots on Ultron. Thankfully my friends at IBRACORP had a better suggestion...use a SAS Expander!
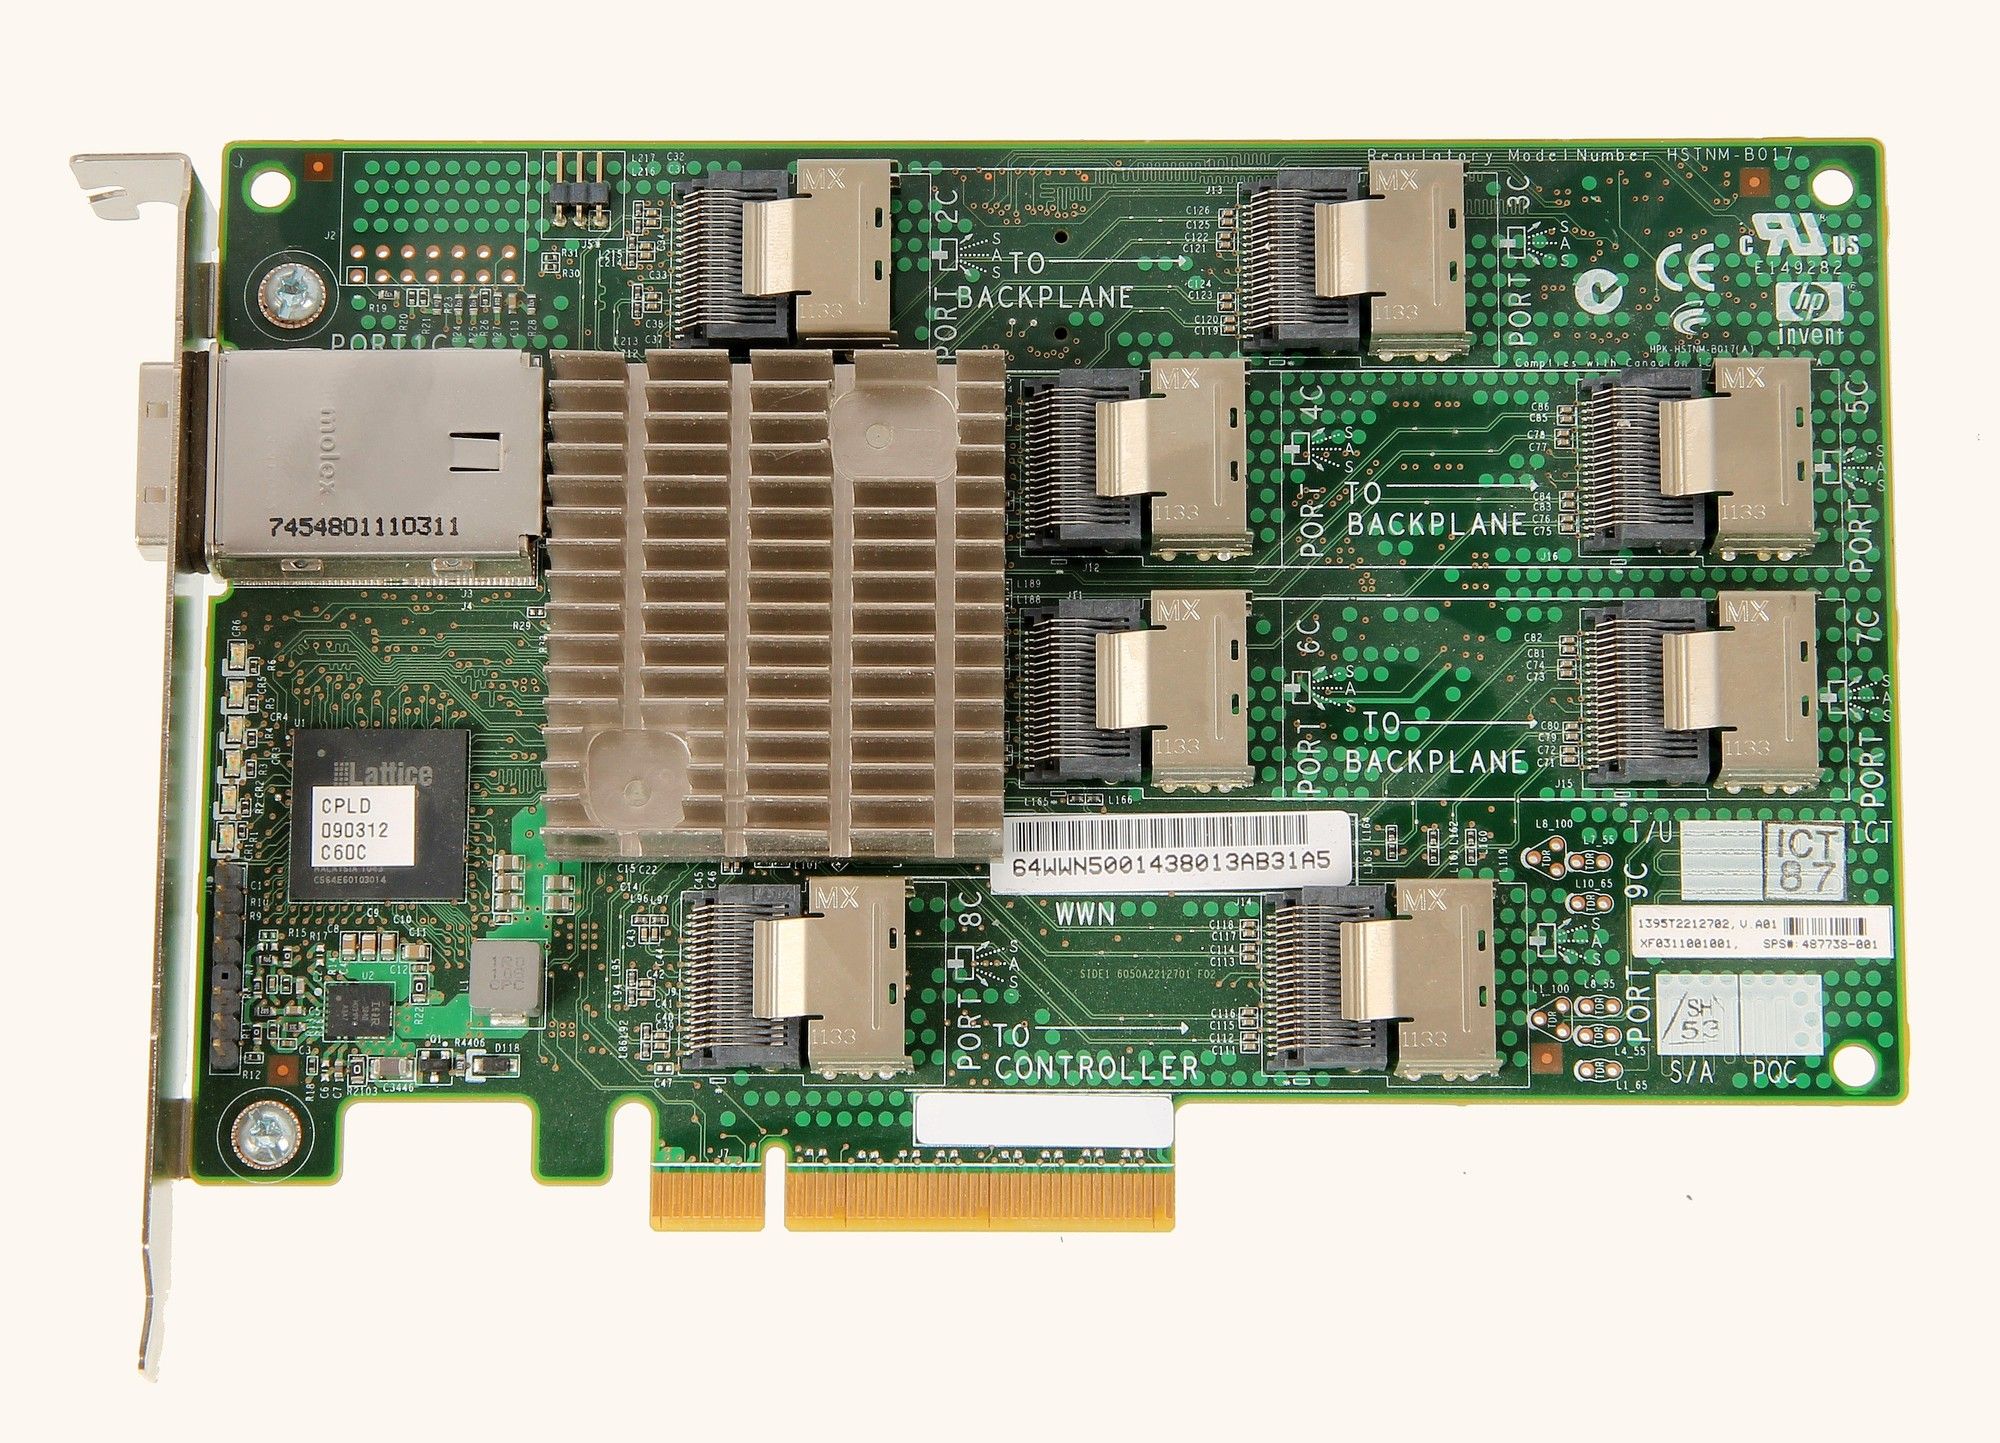
Whats is a SAS expander? A SAS expander will allow you split the ports of your HBA card even further, in my case 24 drives per 8088 connector on the HBA! Each cable can support four lanes of 12G, 6G, or 3G, and the standard maximum transfer speed for hard drives is around 135MB/s. This means that it will take many hard drives to saturate the bandwidth of a single cable. SSDs, on the other hand, are much faster and can saturate the bandwidth of a single cable with fewer drives. I choose the HP 24 port model as it gives me plenty of drive options (it will actually support 36 drives) runs at about 11 watts and is stupidly cheap on eBay coming at £10-£15! I bought two of these, one for primary service and one as a spare. These cards were produced over a decade ago specifically for use in HP systems so they're getting old now hence the spare. In the end I ended up using both as it simplified the number of cables running between the two cases and halved the bandwidth requirements on one card, not a major issue give HDD speeds. I'll pick up another two cards as spares in the future. It's important to upgrade the firmware to the latest version, the cards are driver less, once powered and connected to your HBA use the command lsscsi -g | grep HP which will return the FW version, 2.10 being the latest and probably last ever revision. Instructions on updating the firmware here. The card has two ports you can use to internally (one system) link up to a HBA card, these can also be used for SATA drives increasing the possible number to 36. As my DAS is a separate/external unit i'll be using the external port. If you're buying one of these get the green PCB version not the yellow, the yellow can't be upgraded.

In an HP system they're normally powered by the PCI interface and rely on passive cooling provided by the HP enclosure. As we're using these in a non HP environment we'll have to cool and power the device without a motherboard, It's actually very easy to do! Thankfully the crypto mining industry has provided PCIE power adapters that many enthusiasts use in their mining rigs normally used with GPUs. I found a pack of six on Amazon for £30, these have a MOLEX interface which was important for me, covered later in this article.
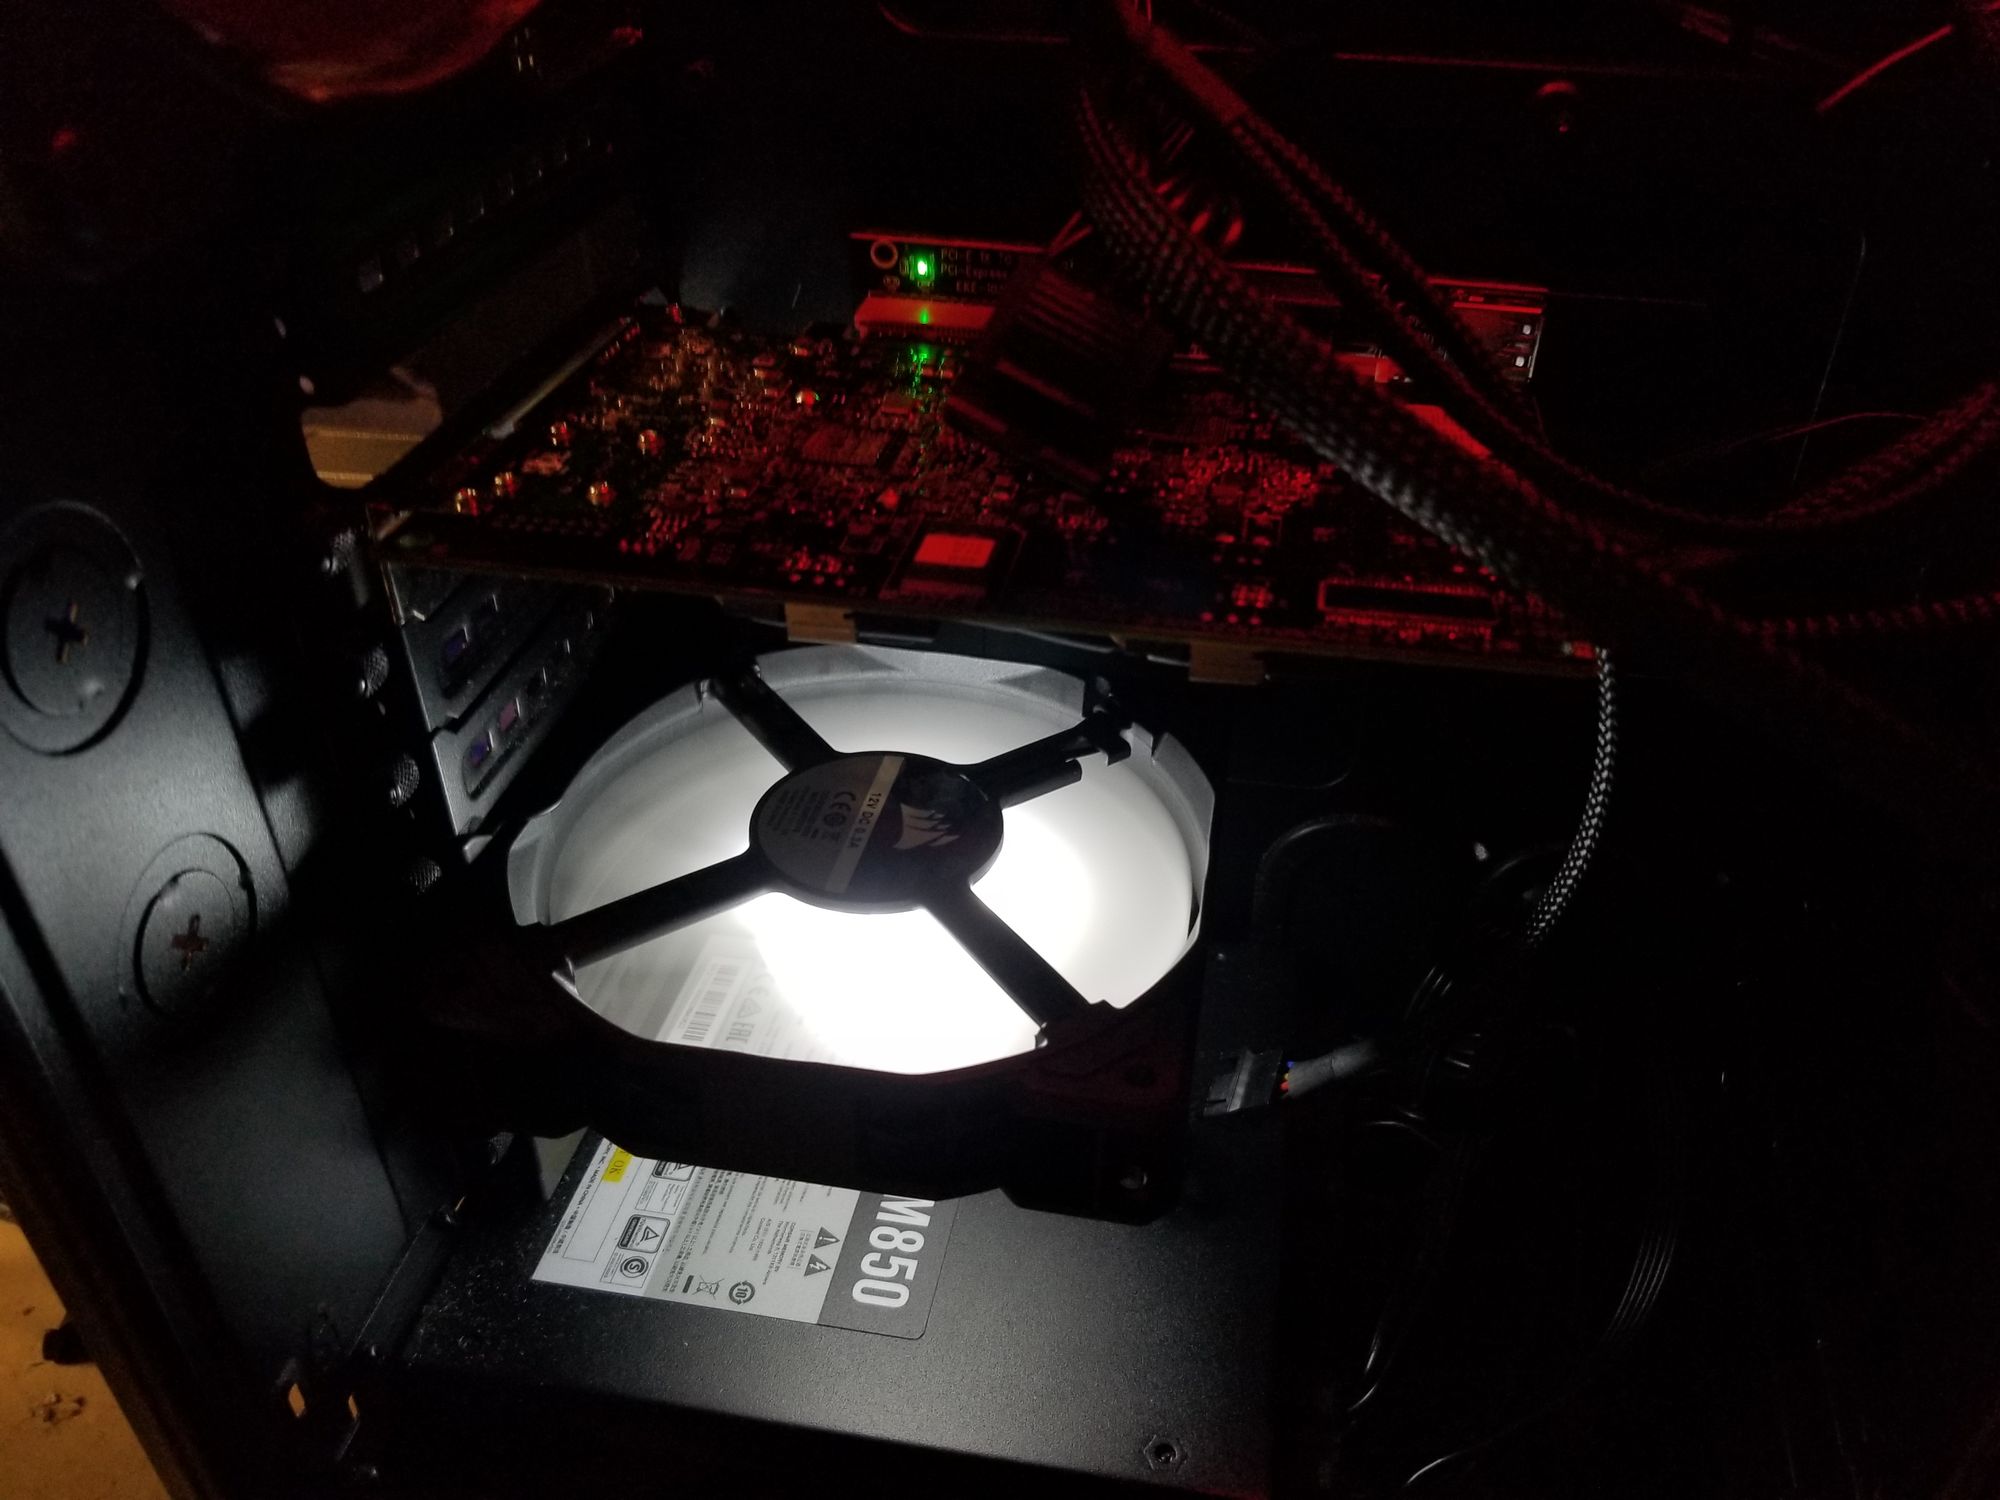
As for cooling, I purchased a three pack Corsair 120mm white LED fans and mounted them below the SAS expanders using Akasa PCI slot brackets. This keeps the expander cool as they come with passive heatsinks only. Heatsink is on the underside of the card as normal so mount the fan beneath directing air on to the card.
One critical aspect of this build is the PSU, as I'm using only one, I need to power as many drives as possible plus the fans and expander cards. My old Corsair AX850 Gold PSU was recycled from DAS One as it had 5 x Peripheral/SATA outputs, 4 x would be used to power the HDDs/Optical Drives with 1 x used to power the expander cards and fans via MOLEX. As you may have worked out already, normally the standard SATA cable only comes with 4 x SATA outputs. I need 8 x per cable so the purchase of SATA to SATA splitters was required. It's extremely important to only use the cables supplied by your PSU manufacturer and good quality splitter cables. Not all the PSU cables have the same internal arrangement...DON'T MIX N'MATCH from different manufacturers! As a general rule, and depending on the power draw of your drives, 10 x drives per PSU SATA cable should be okay. I'll be using 8 HDDs per cable plus one or two optical drives powered by the same cable. I prefer doing it this way instead of powering the drives from MOLEX which can be a very dodgy thing to do, they have a habit of going on fire if you don't use good cabling! I'd rather not take the risk as old saying goes "MOLEX to SATA...loose your data!" See this link for determining good cables if you must.
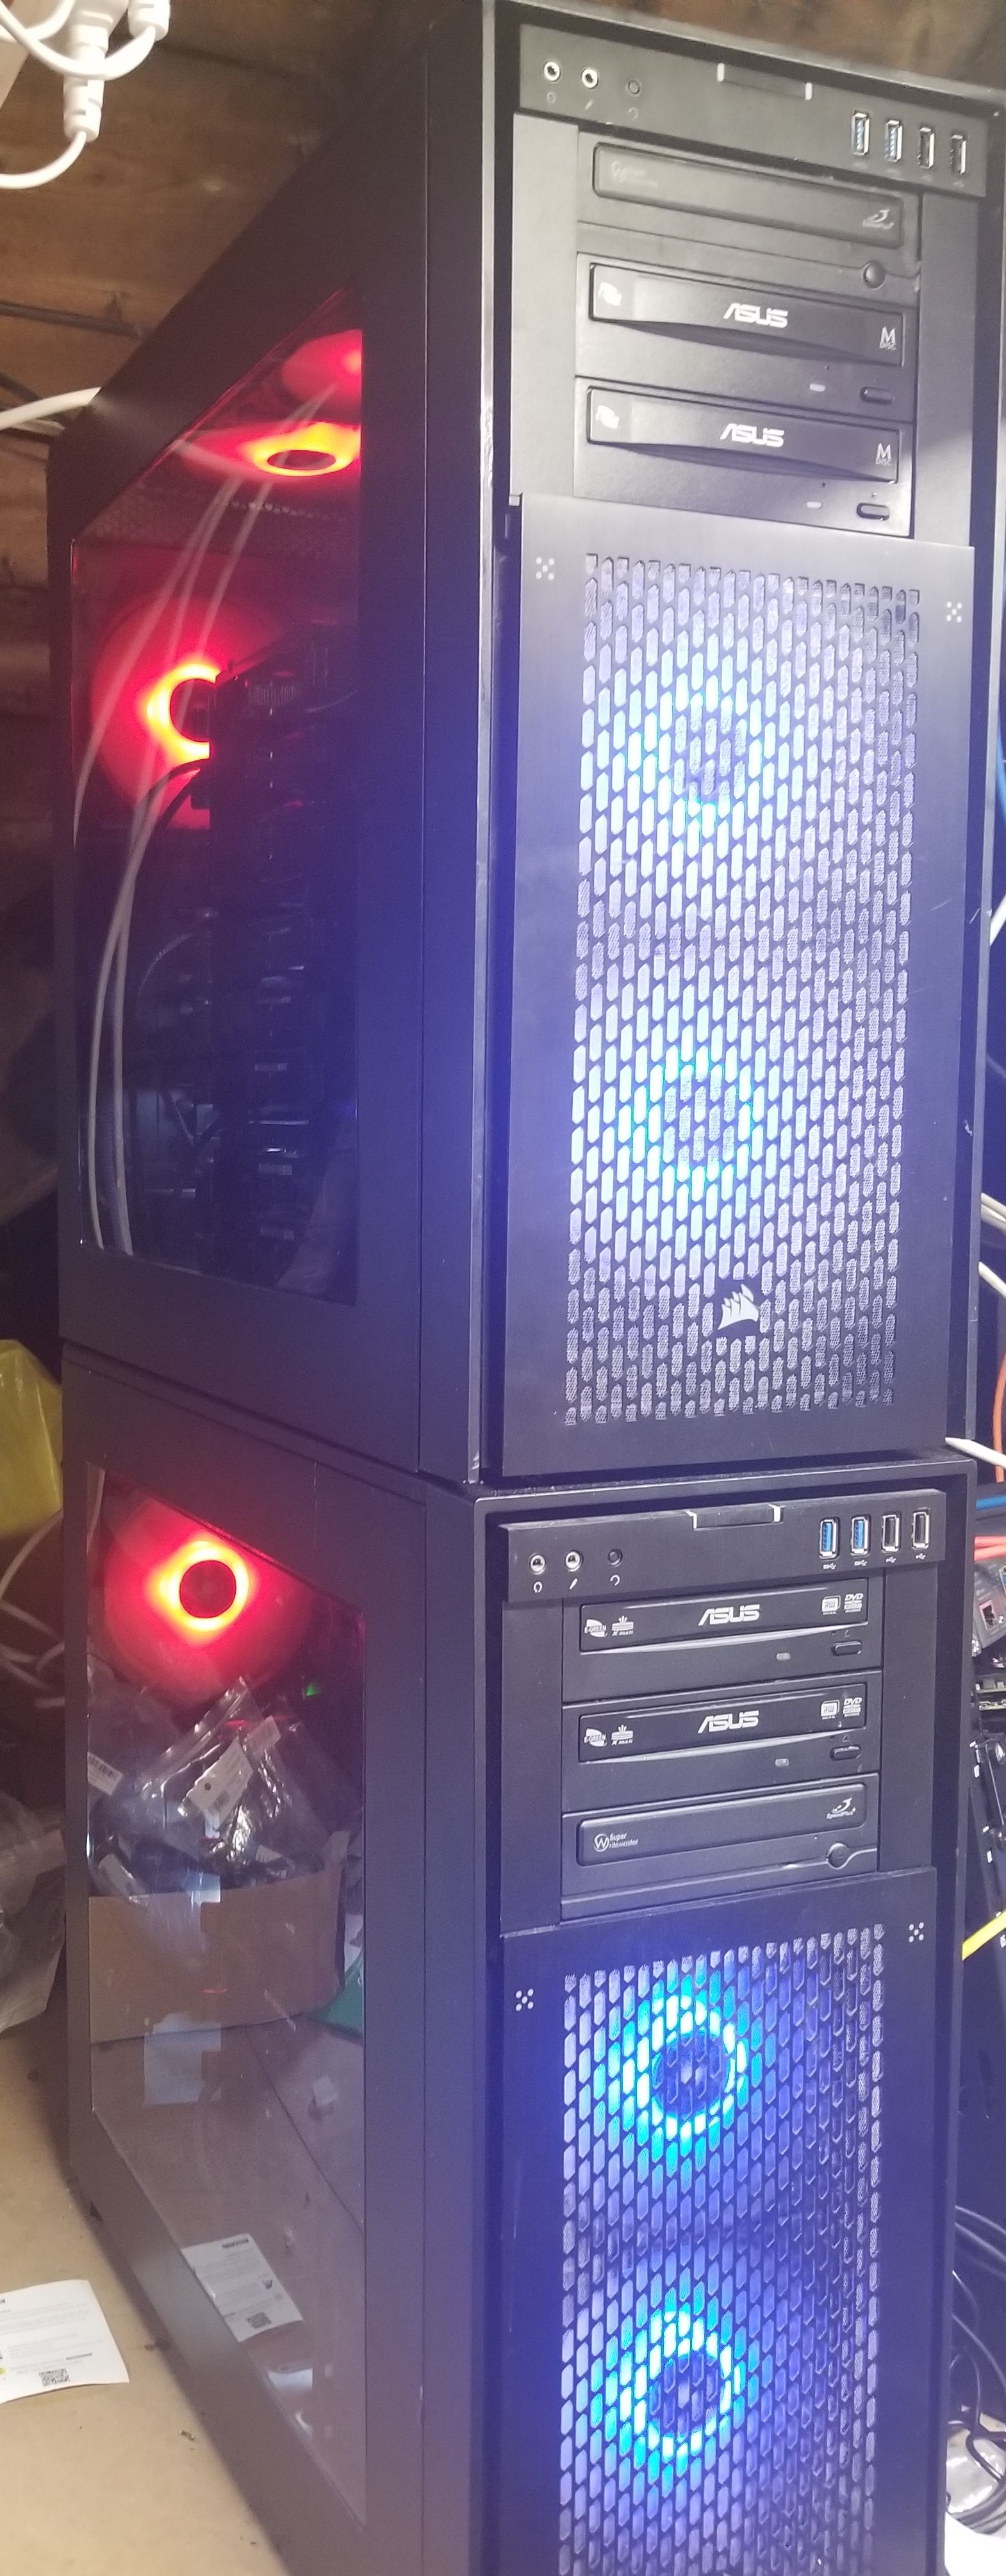
Moving on to building the stack, the Obsidian cases would have to be modified as they were not designed to be stacked with most of the work required on the upper case. As you know previous articles, the Obsidian case I used for DAS Two was a wreck bought from eBay for next to nothing, this was the natural choice chopping! I started by cutting off the plastic legs at the rear before removing the front legs. On the Obsidian case range, the front legs are actually part of the front shroud so a smooth level cut is needed otherwise it will look terrible, cosmetics aren't really a consideration, functionality over form is.......but still. I purchased a small battery powered Dremel kit for the cutting and rounding off jobs. Remember to grind off any sharp areas!
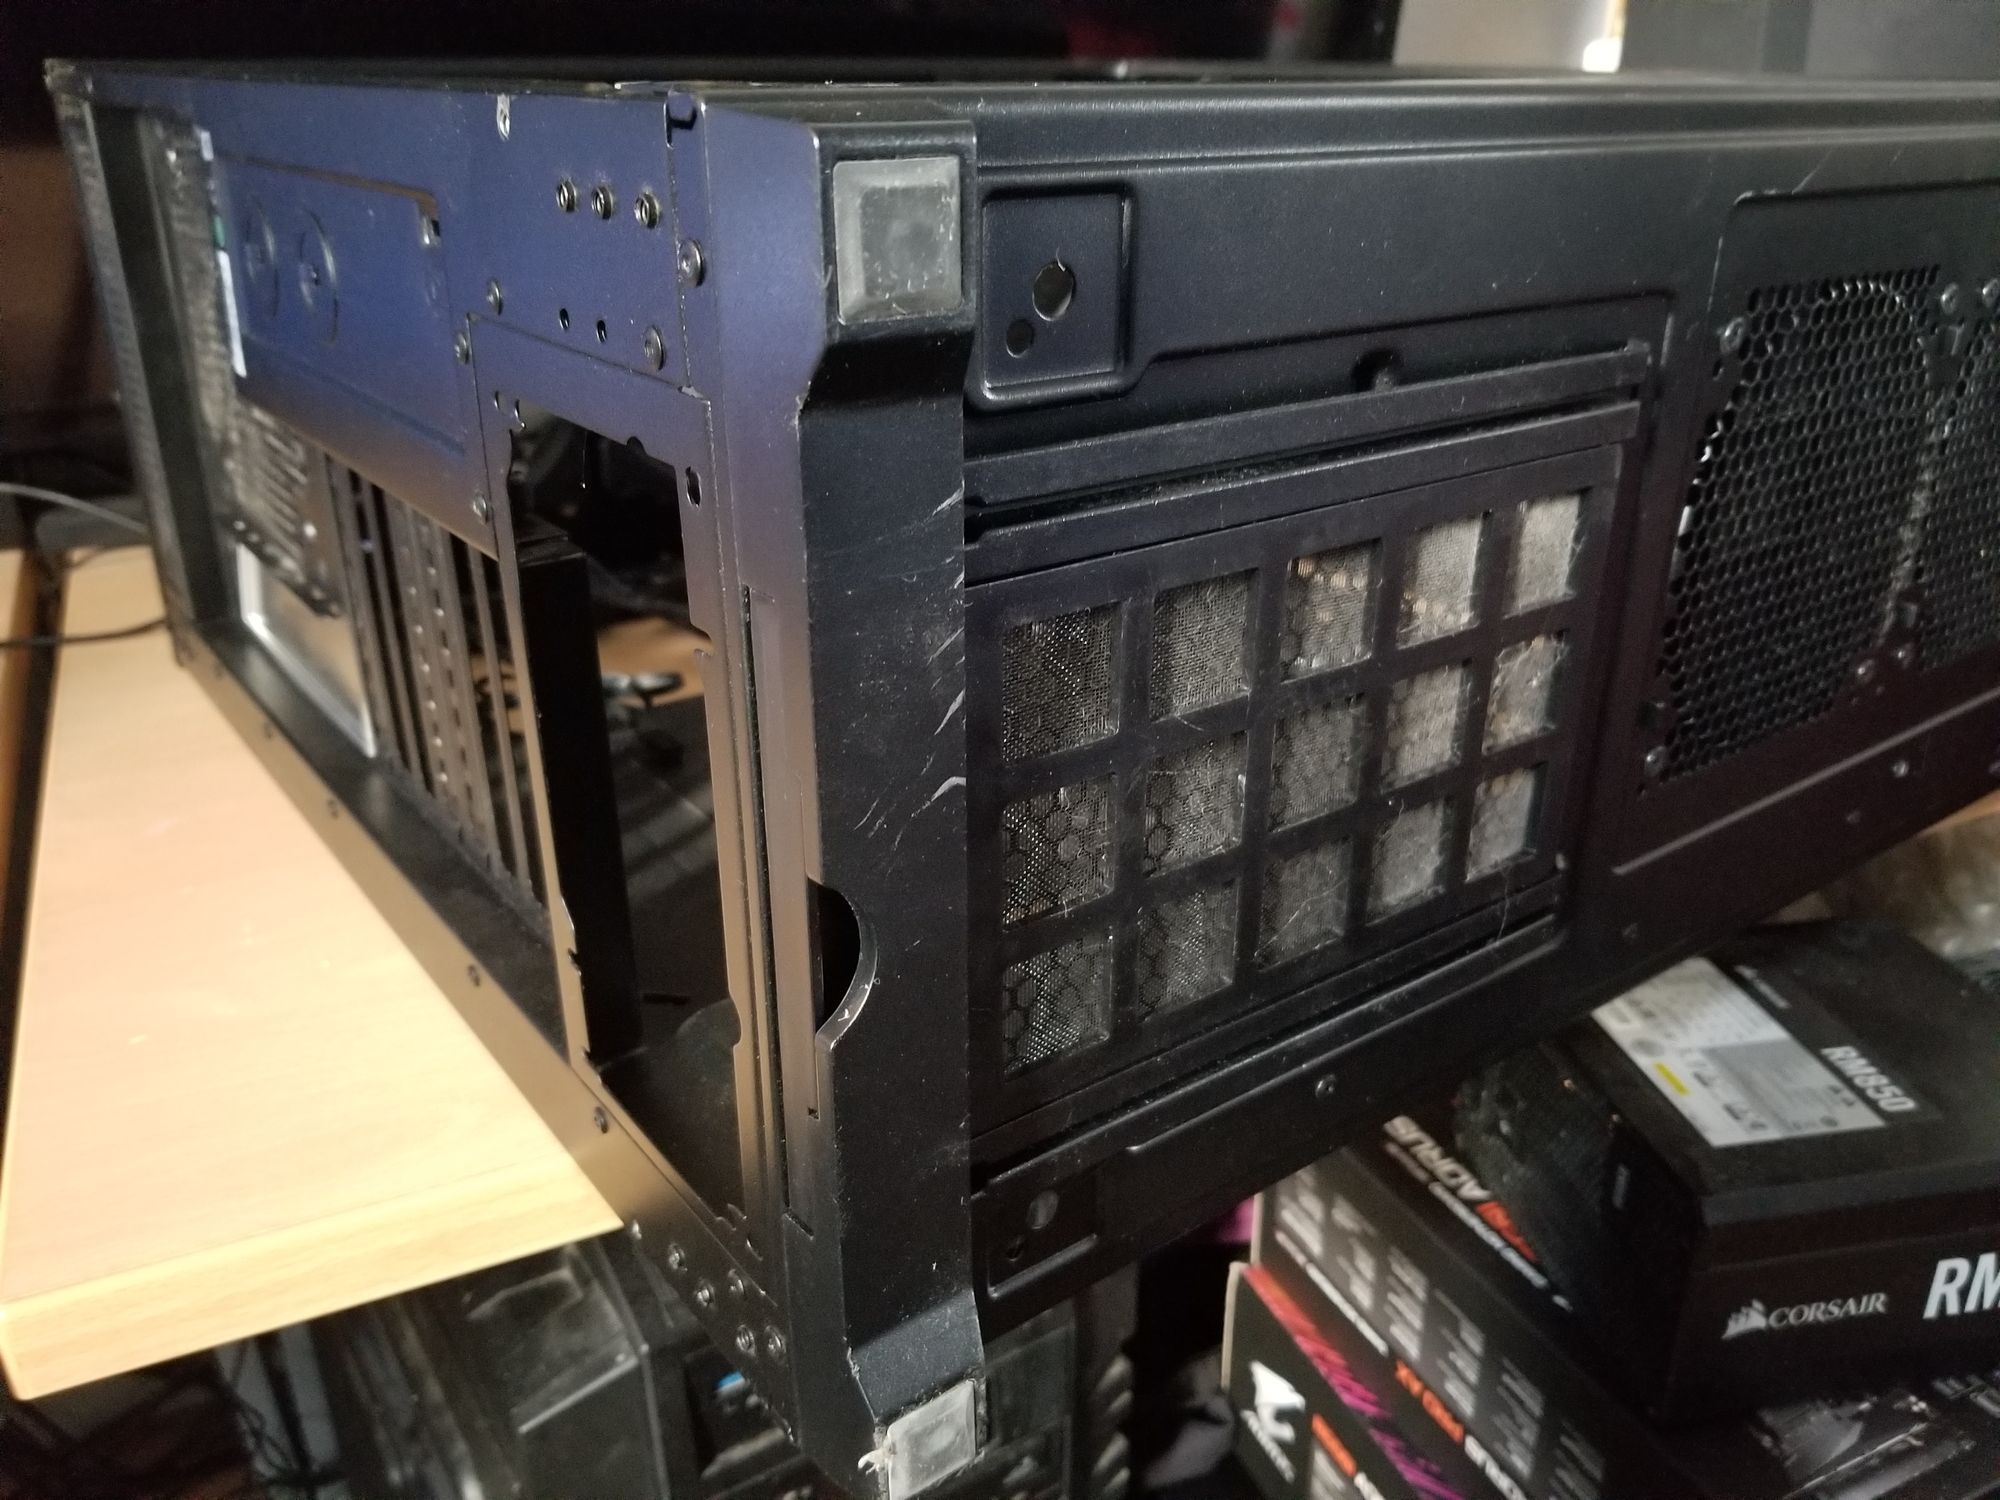
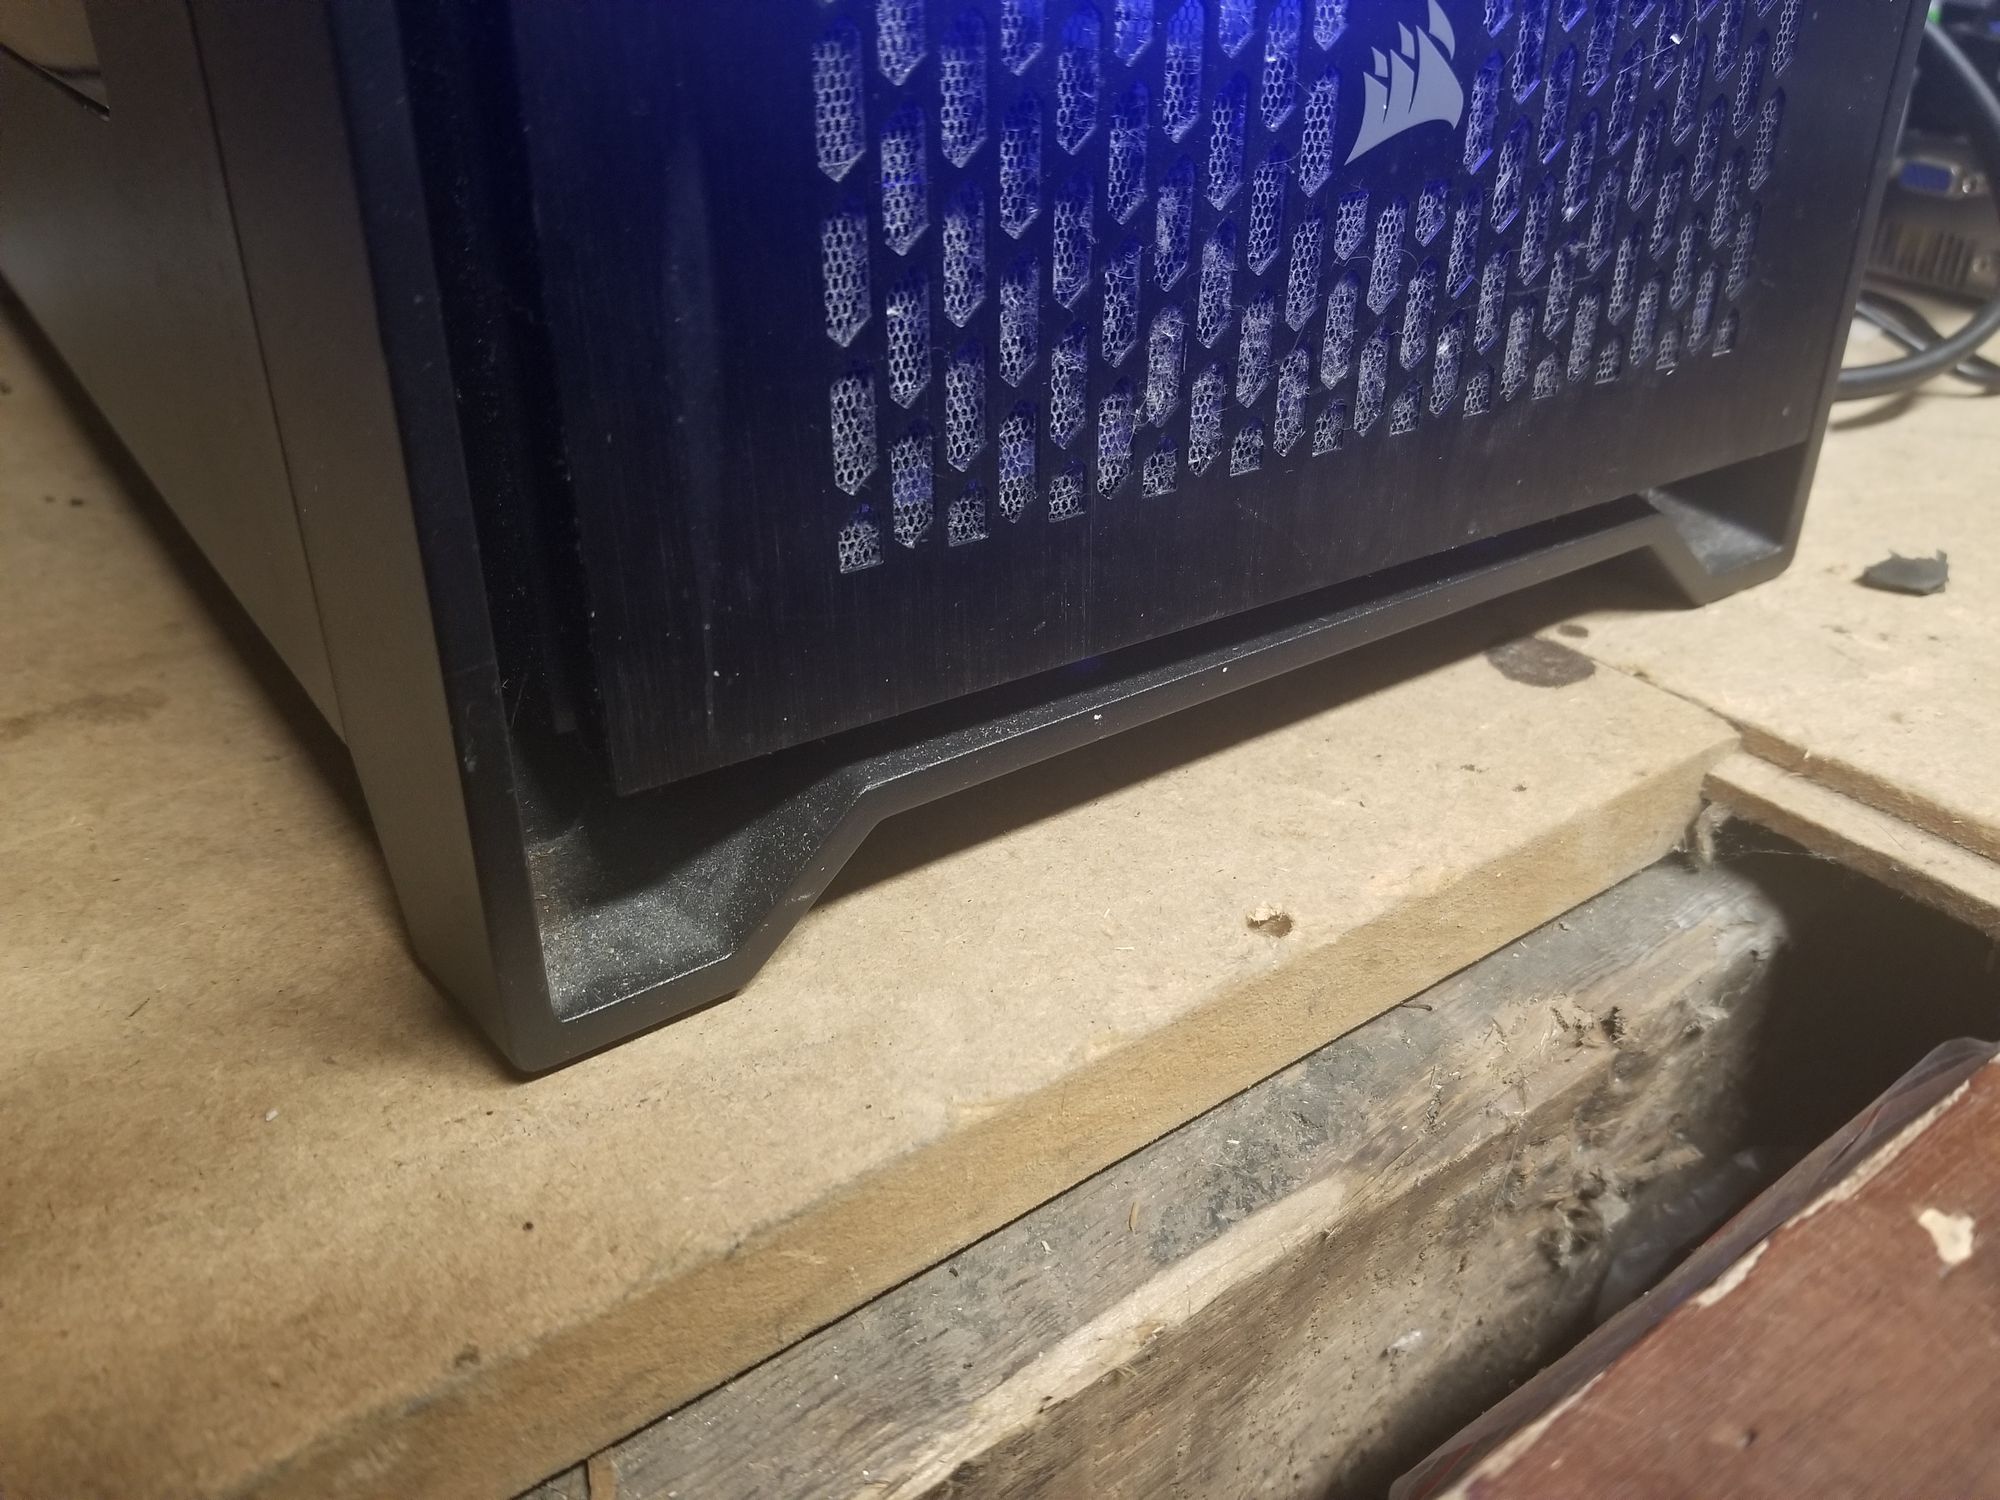
1. Rear legs before chopping 2. Forward legs chopped off front shroud 3. How the shroud looked perviously
Once chopped and the edges smoothed, I placed one on top of the other to start drilling holes for the bolts. Tape the cases together using duct tape for this part to ensure the holes match up. It was originally intended to use 8 x bolts spaced evenly around the top/base of the case, alas this wasn't possible, while there was plenty of space on the left side of the case, the right hand side is very limited and access for drilling was a nightmare! I ended up taking the laissez-faire approach drilling/bolting where it was easiest. Next, a cable channel was cut in the front/right side of the tower. I did this using the Dremel tool, make damn sure the edges are smooth, if not it will tear the power/data cables to shreds as this part of the case is metal. in retrospect I should have drilled the cable channel in the more towards the centre as some of the power cables are a wee bit tight. Tighten up the bolts and we're now ready to install all the gear.
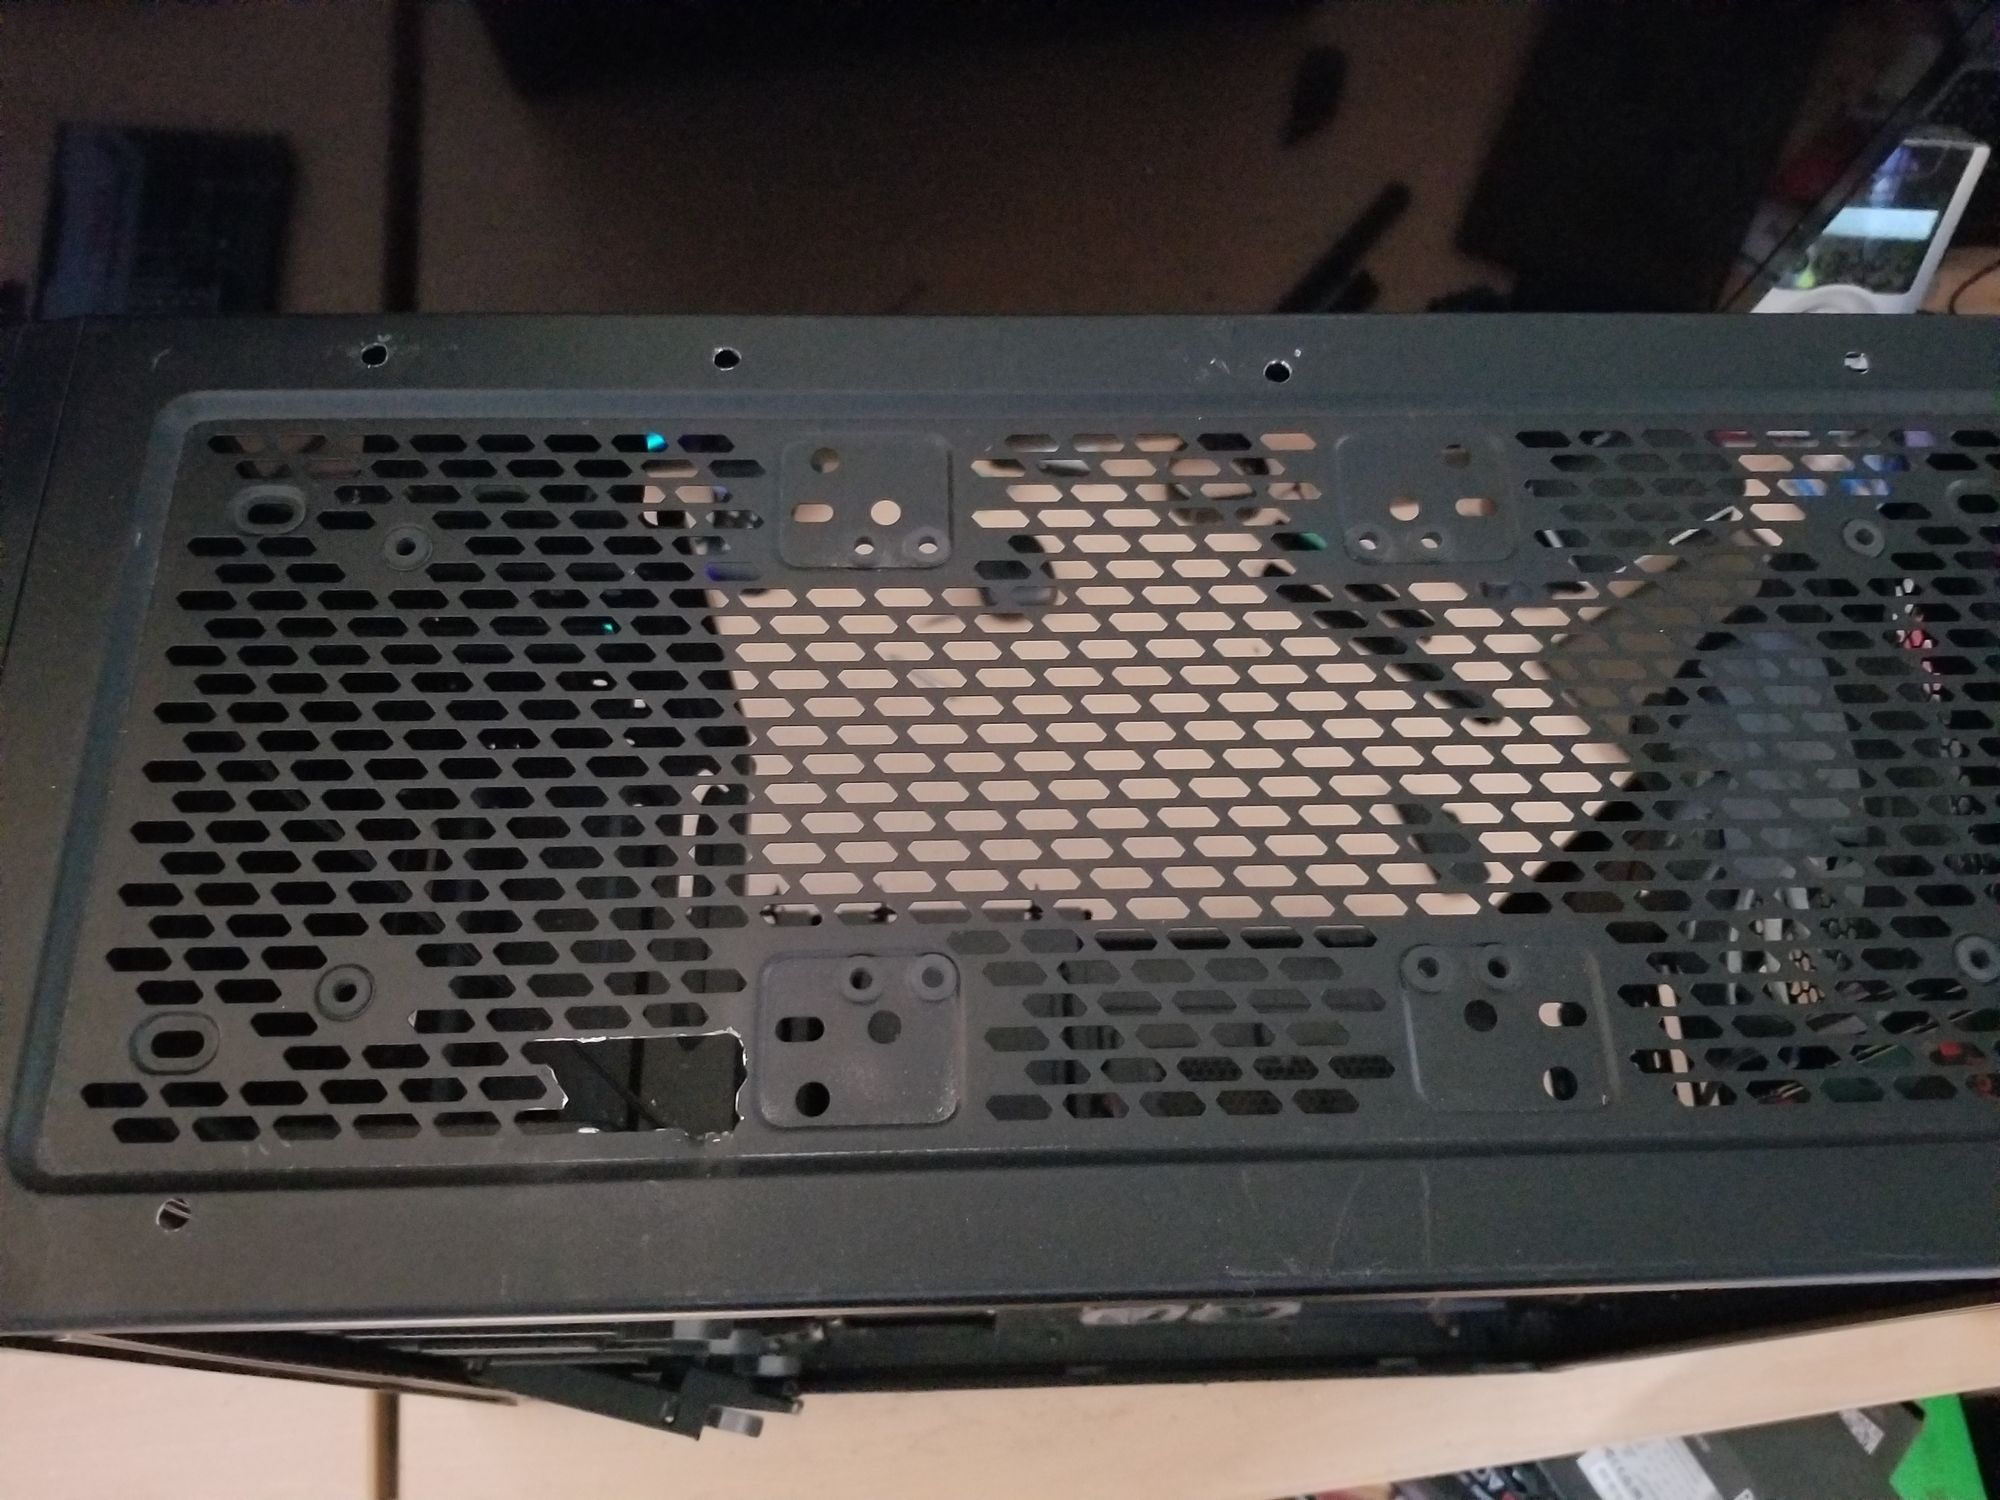
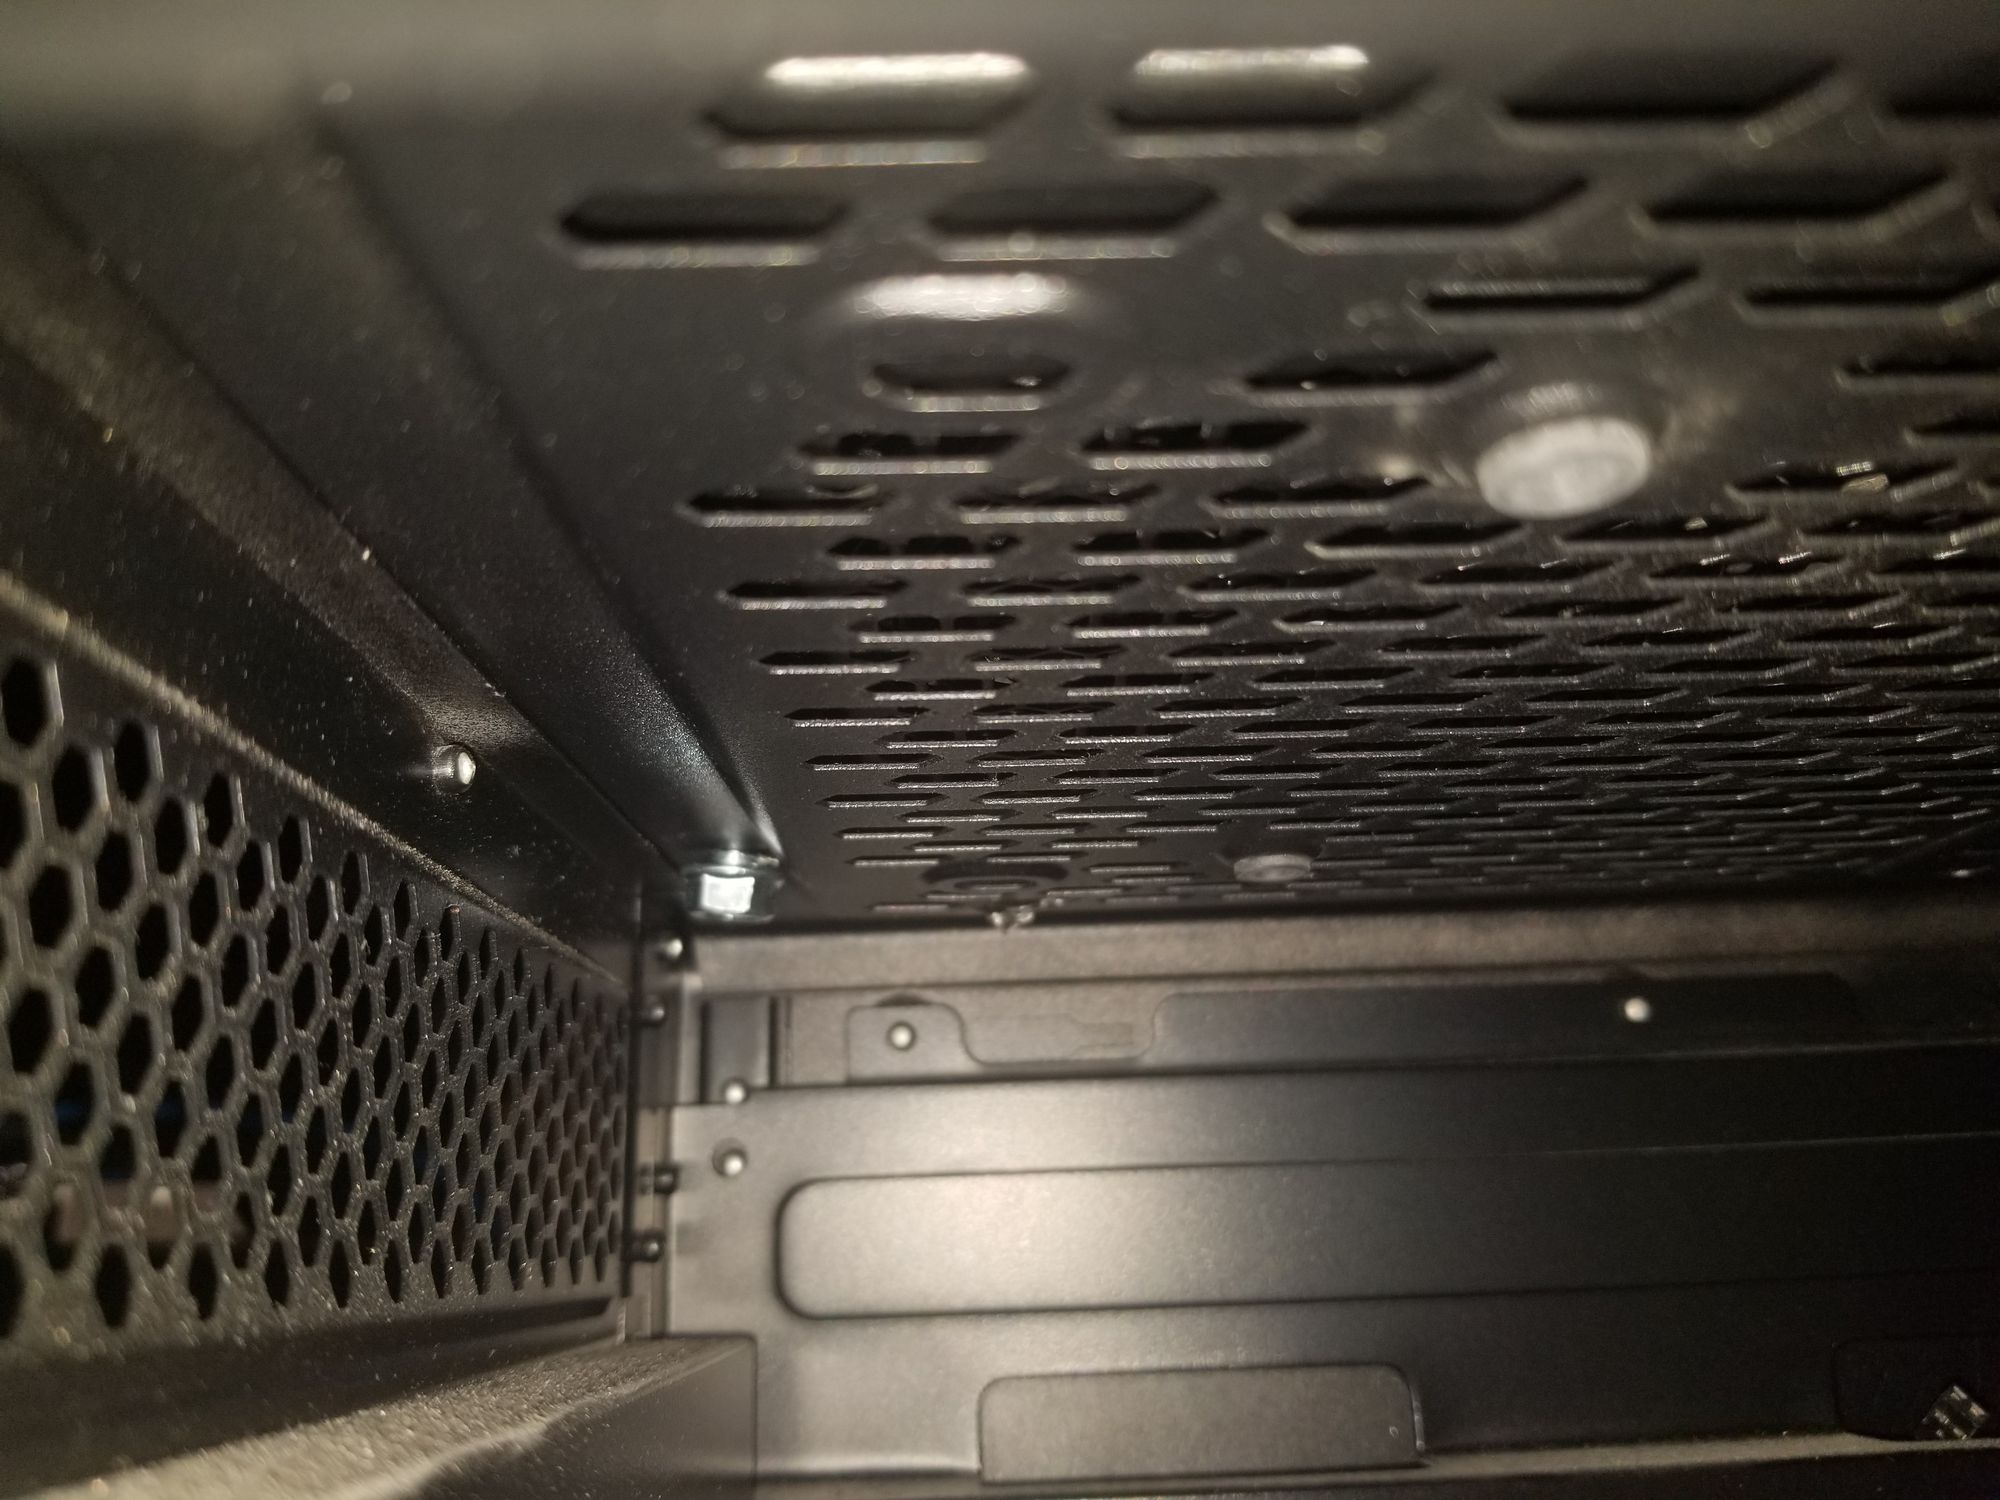
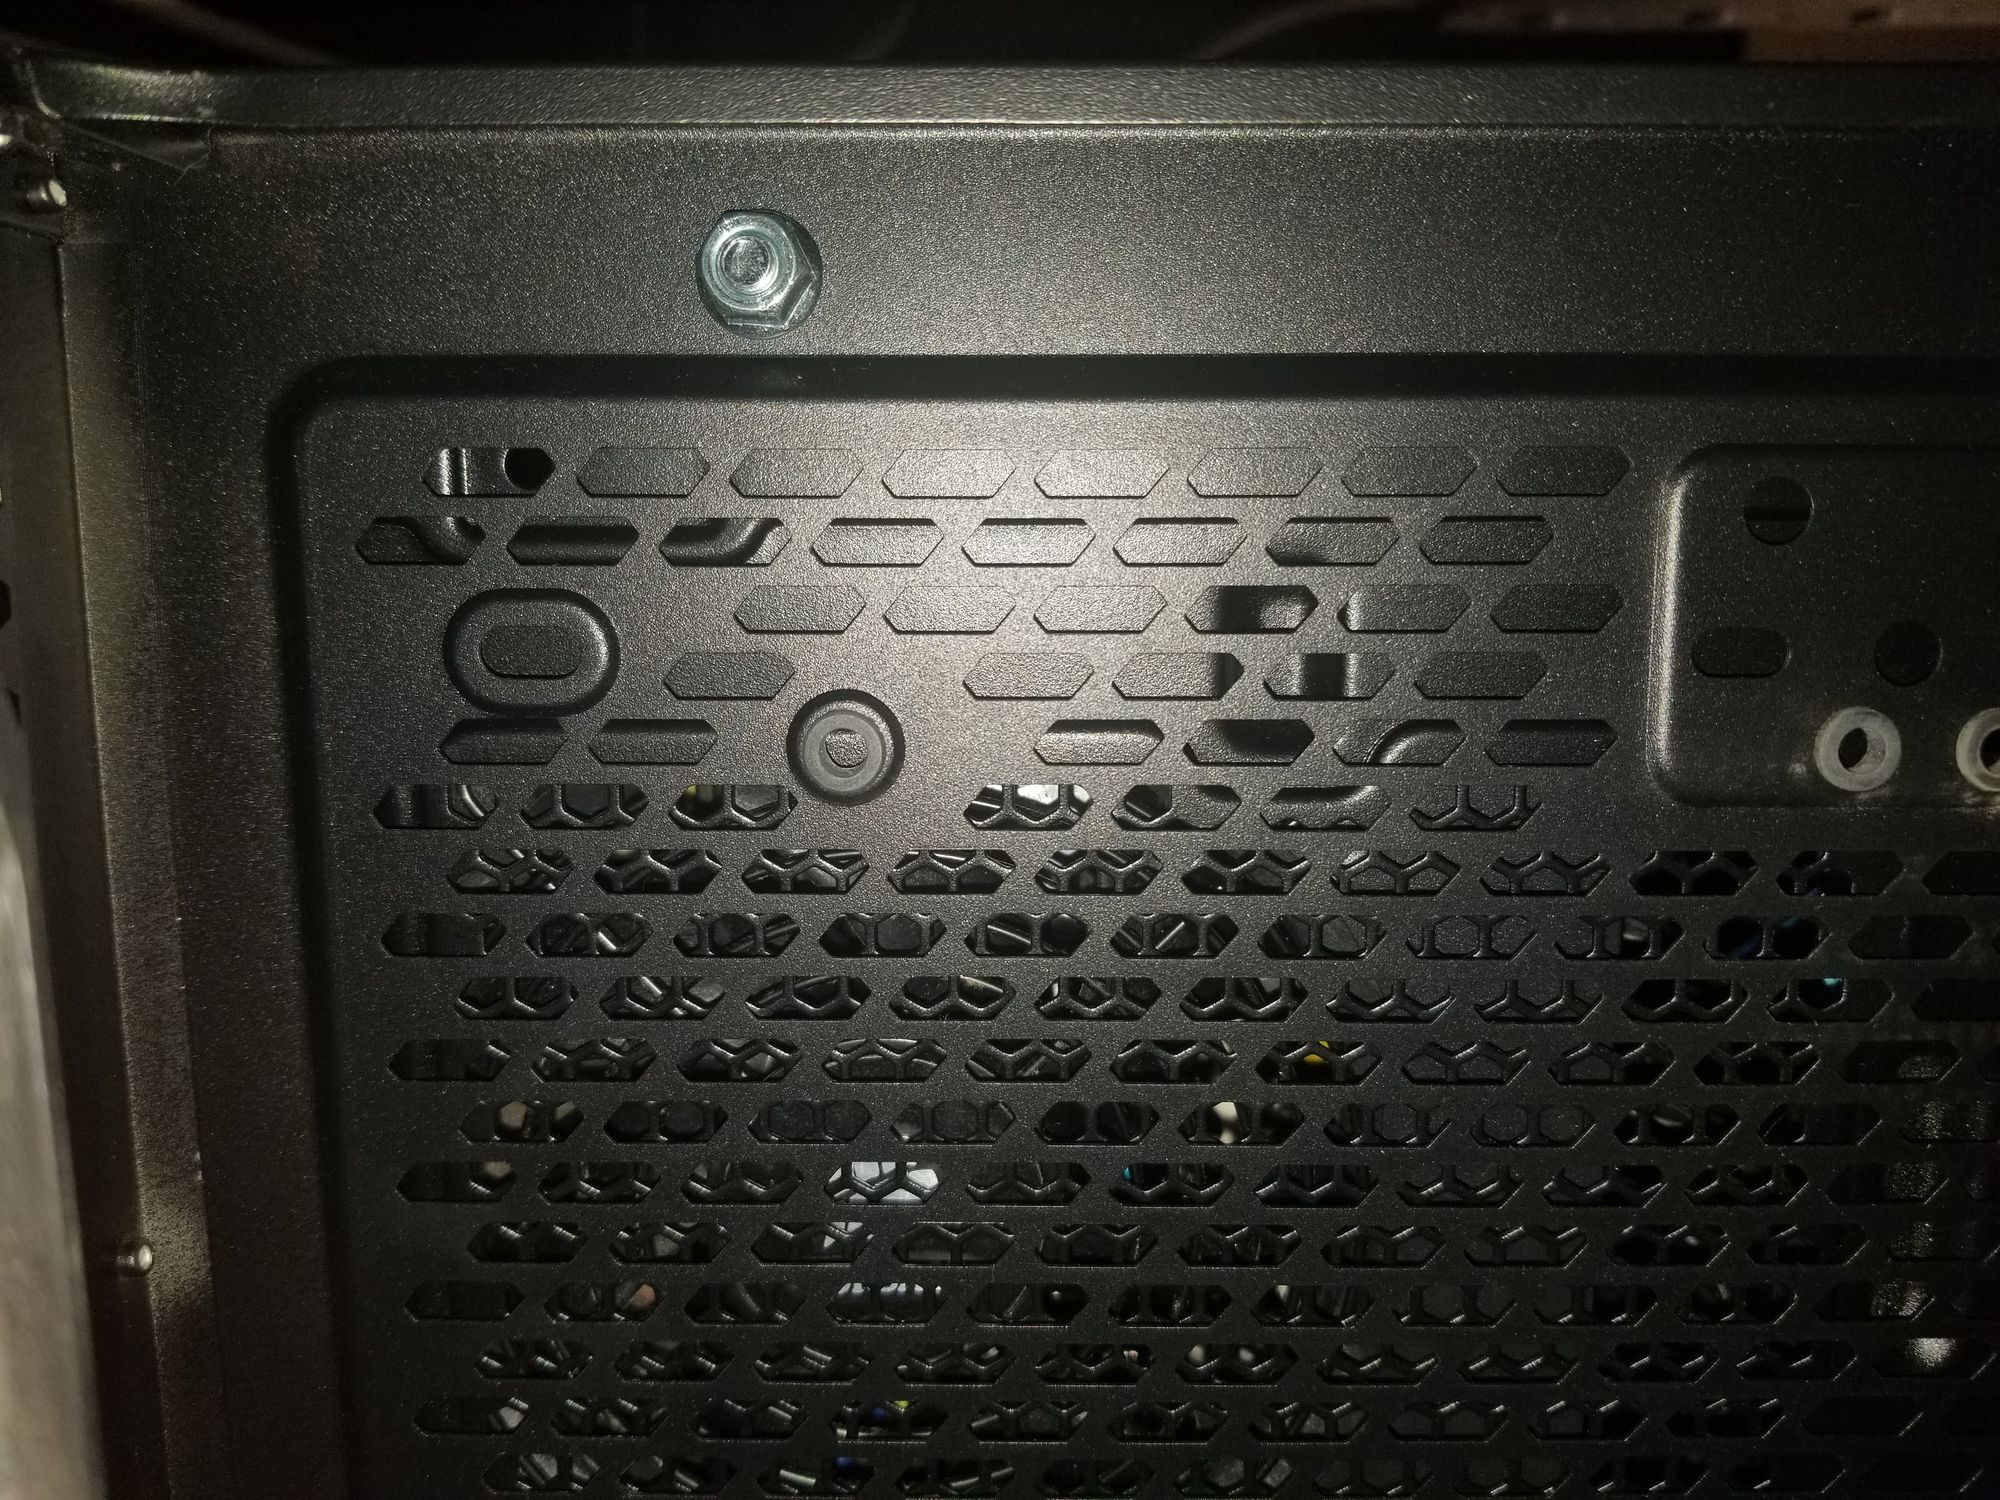
Nut/Bolts added
Okay so now it's time to add the gear. I have the PSU installed in the upper case as this is closet to the middle of the tower, best place for cable length. Install the expander cards in the PCI slots along with the PCI MOLEX adapters and add the 120mm fan plus brackets underneath. Fan layout is as follows...
Upper Case Section
- 2 x 140mm Corsair Red LED fans - Extract
- 2 x 140mm Corsair Blue LED fans at the case front - Intake
- 1 x 140mm Corsair Red LED fan rear of the case - Extract
- 1 x 120mm Corsair White LED fan cooling the expander
Lower Case Section
- 2 x 140mm Corsair Blue LED fans at the case front - Intake
- 1 x 140mm Corsair Red LED fan rear of the case - Extract
- 1 x 120mm Corsair White LED fan cooling the expander

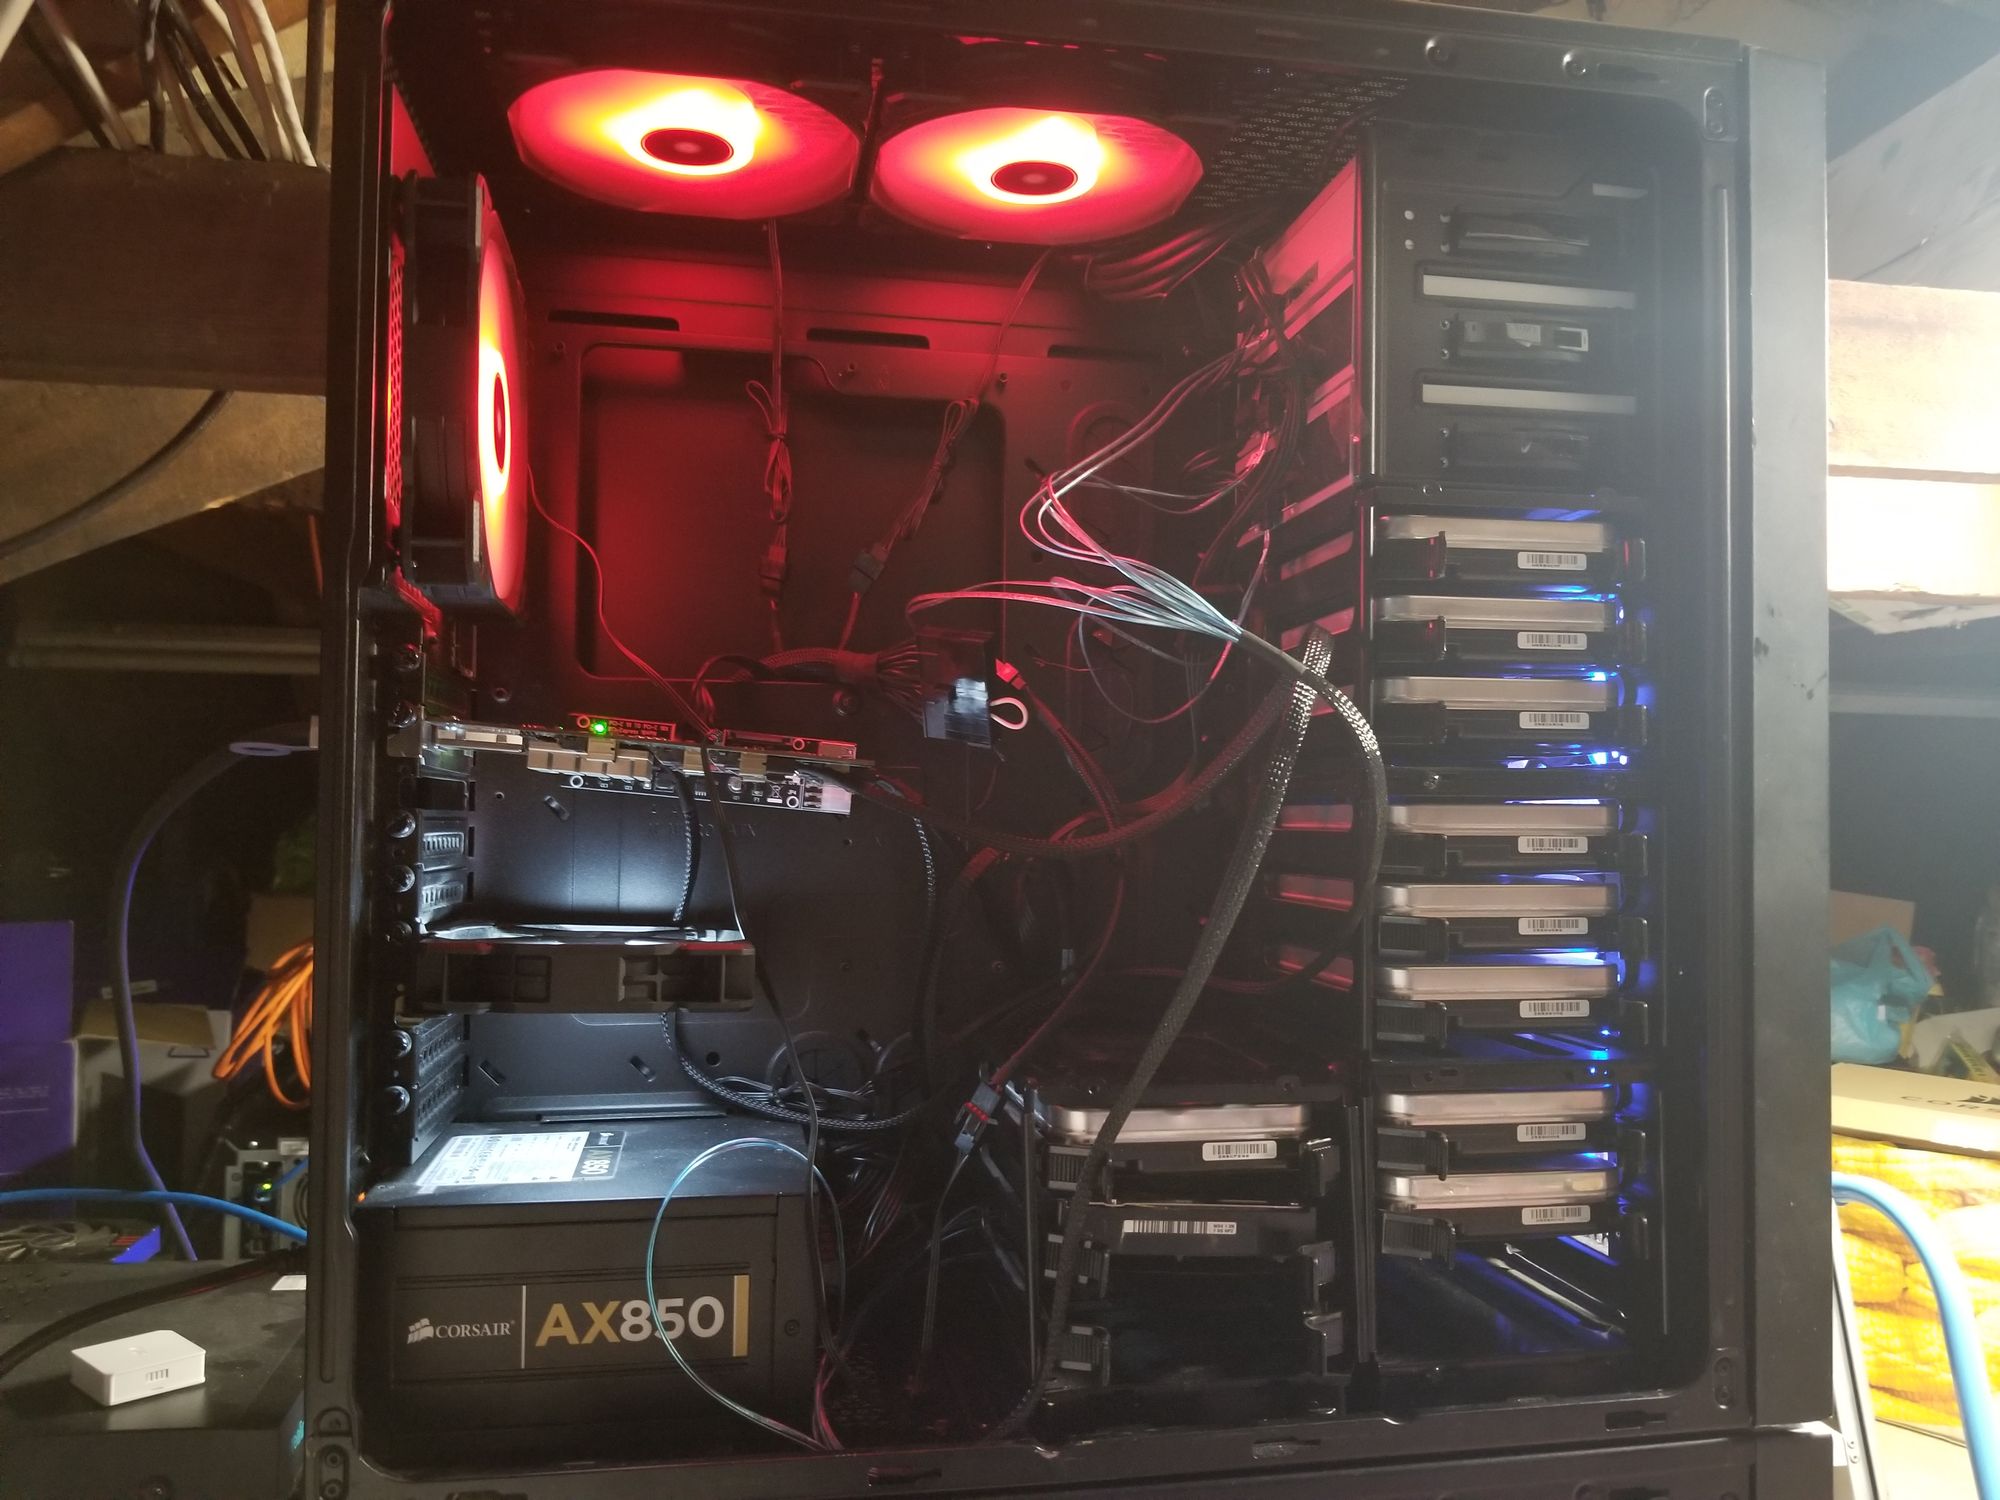
Fan arrangement, this is from a previous DAS incarnation, exactly the same layout.
The lower case is exactly the same layout minus to two top red fans extracting. Depending on where you cut the cable channel, it's possible to add fans to the top of the Lower case in a similar fashion as the Upper case pushing air upwards. I haven't done this as yet as I'm not convinced its required. As there's no motherboard, theres going to be a gap between the MOLEX PCI board and the case. You may want add some thick non conductive packing here such as sticky foam strips. I haven't done this yet but it is planned.
Cabling wise we'll start with the Upper case. Connect the MOLEX Peripheral cable to the PSU then to the Upper case expander PCI board and use a MOLEX to fan splitter to connect up the fans. As there's six fans in this section you'll need to use a Y Splitter for two of them, I choose to put the rear and PCI fan on this splitter. Add two SATA peripheral cables to the PSU, then 2 x SATA to 4 x SATA splitters on each, this will be enough for 16 drives. Now add the Mini SAS 36P SFF-8087 to 4 SATA cables connecting the sas expander card to the drives. I found the easiest option is to build a stack of 8 x drives in each of cages, attach the power/data cables then slide the cages into the trackways and screw into place. Do the forward stack first then rear stack. Be careful when installing the drives in the Upper section, make sure the drive sleds are secure and the cages are screwed together. If you drop a drive or the whole stack from this height it's not going to be good!

Run two SATA Peripheral cables down the cable channel to the Lower case and run down both MOLEX extension cables. Connect up everything exactly the same as above. There's only 4 x fans in this section so only 1 x MOLEX 5 x fan splitter required.
As for the optical drives, simply add some more SATA breakout cables for power and connect up to expander by using the spare 8087 to SATA cables. I have SATA power coming from the rear HDD stack as these are backup drives which are not spun up 24/7 and NOT part of the array. All my array drives/working (archive/download/media cache) drives are in the forward stacks in the Upper & Lower sections primarily as there's better cooling available and these drives are mostly on 24/7.
Don't forget to install the blank I/O shield as it will improve airflow. Lower case PSU area is empty, I've sealed the rear off using black duct tape on my build as PSU blank plates don't seem to be a thin? Lastly, install the 24 pin power cable to the PSU adding the PSU tester to the end. This will let you turn the PSU on using the switch at the rear as there's no motherboard in the DAS. It's now time to connect the 2 x Mini SAS26P SFF-8088 to SFF-8088 external cables between your expanders and your HBA card in the main system.
Turn the PSU on and start Unraid (or other linux system)!
Open up an SSH connection and run lsscsi -g
All going well everything should be detected.
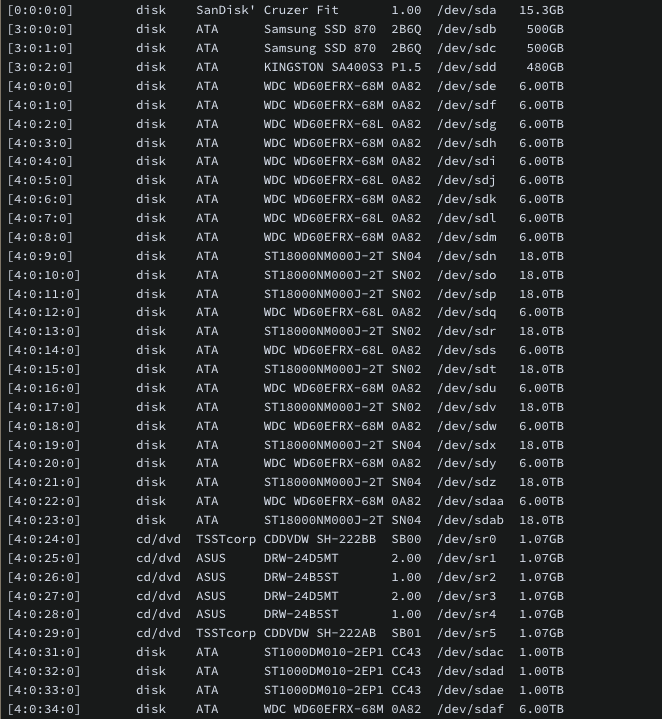
You'll notice at the very top of the list are two SSDs. These are on a separate HBA internal card on Ultron (another article on that later) which is designed for SSD speeds, don't be tempted to use SSDs on these HP expanders as they're not fast enough, it's a waste!
The optical drive use will be covered in another blog post.

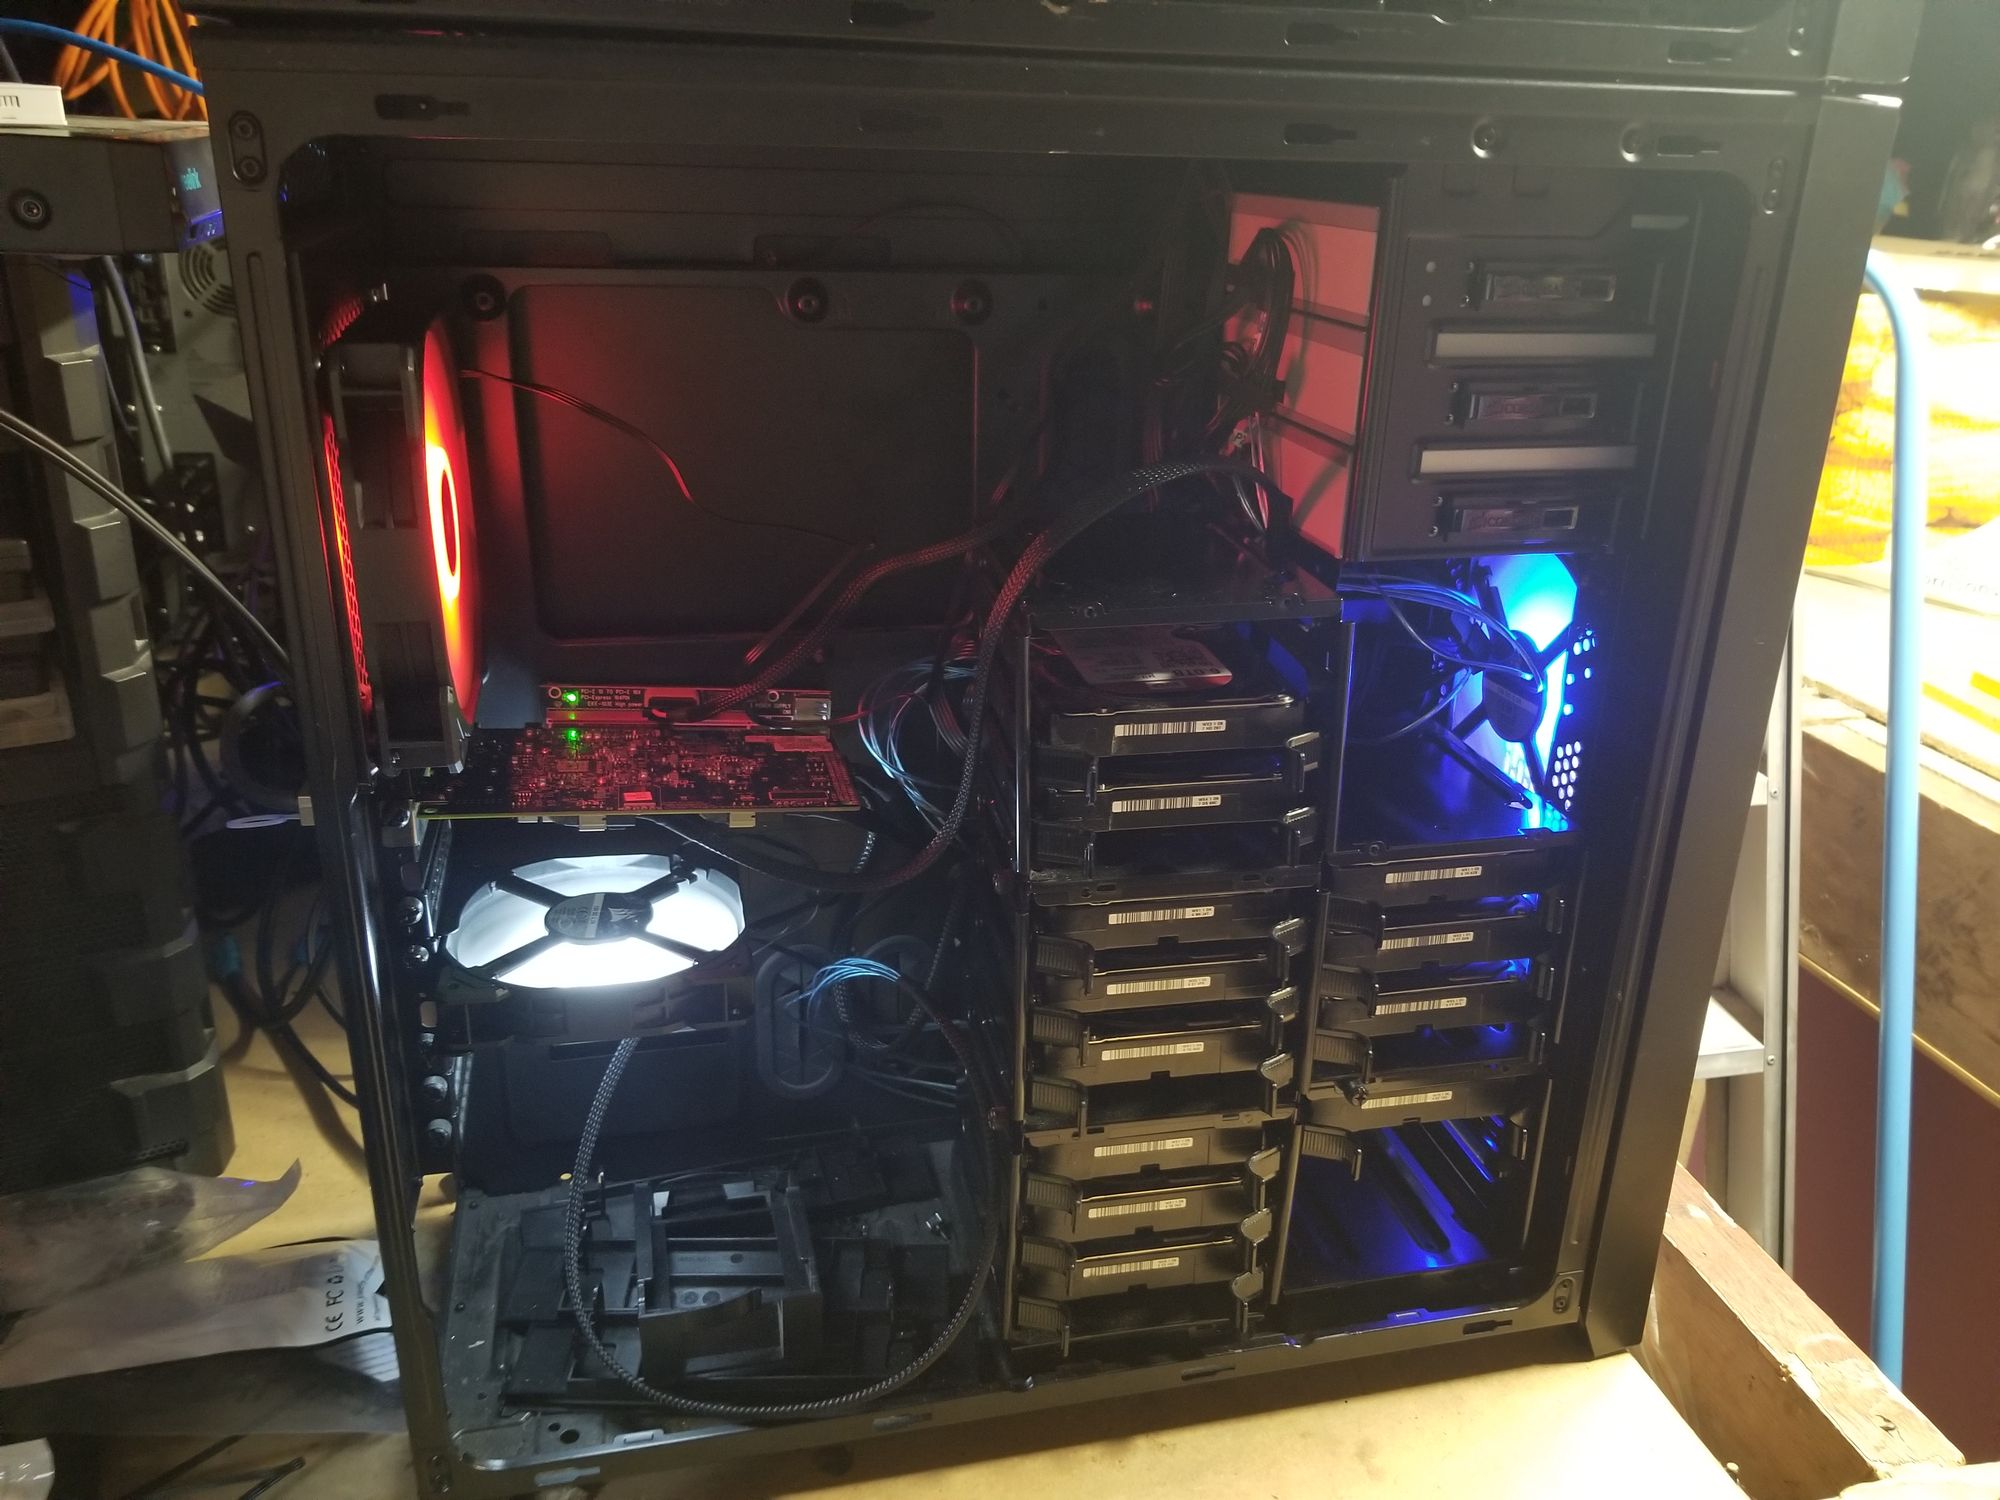
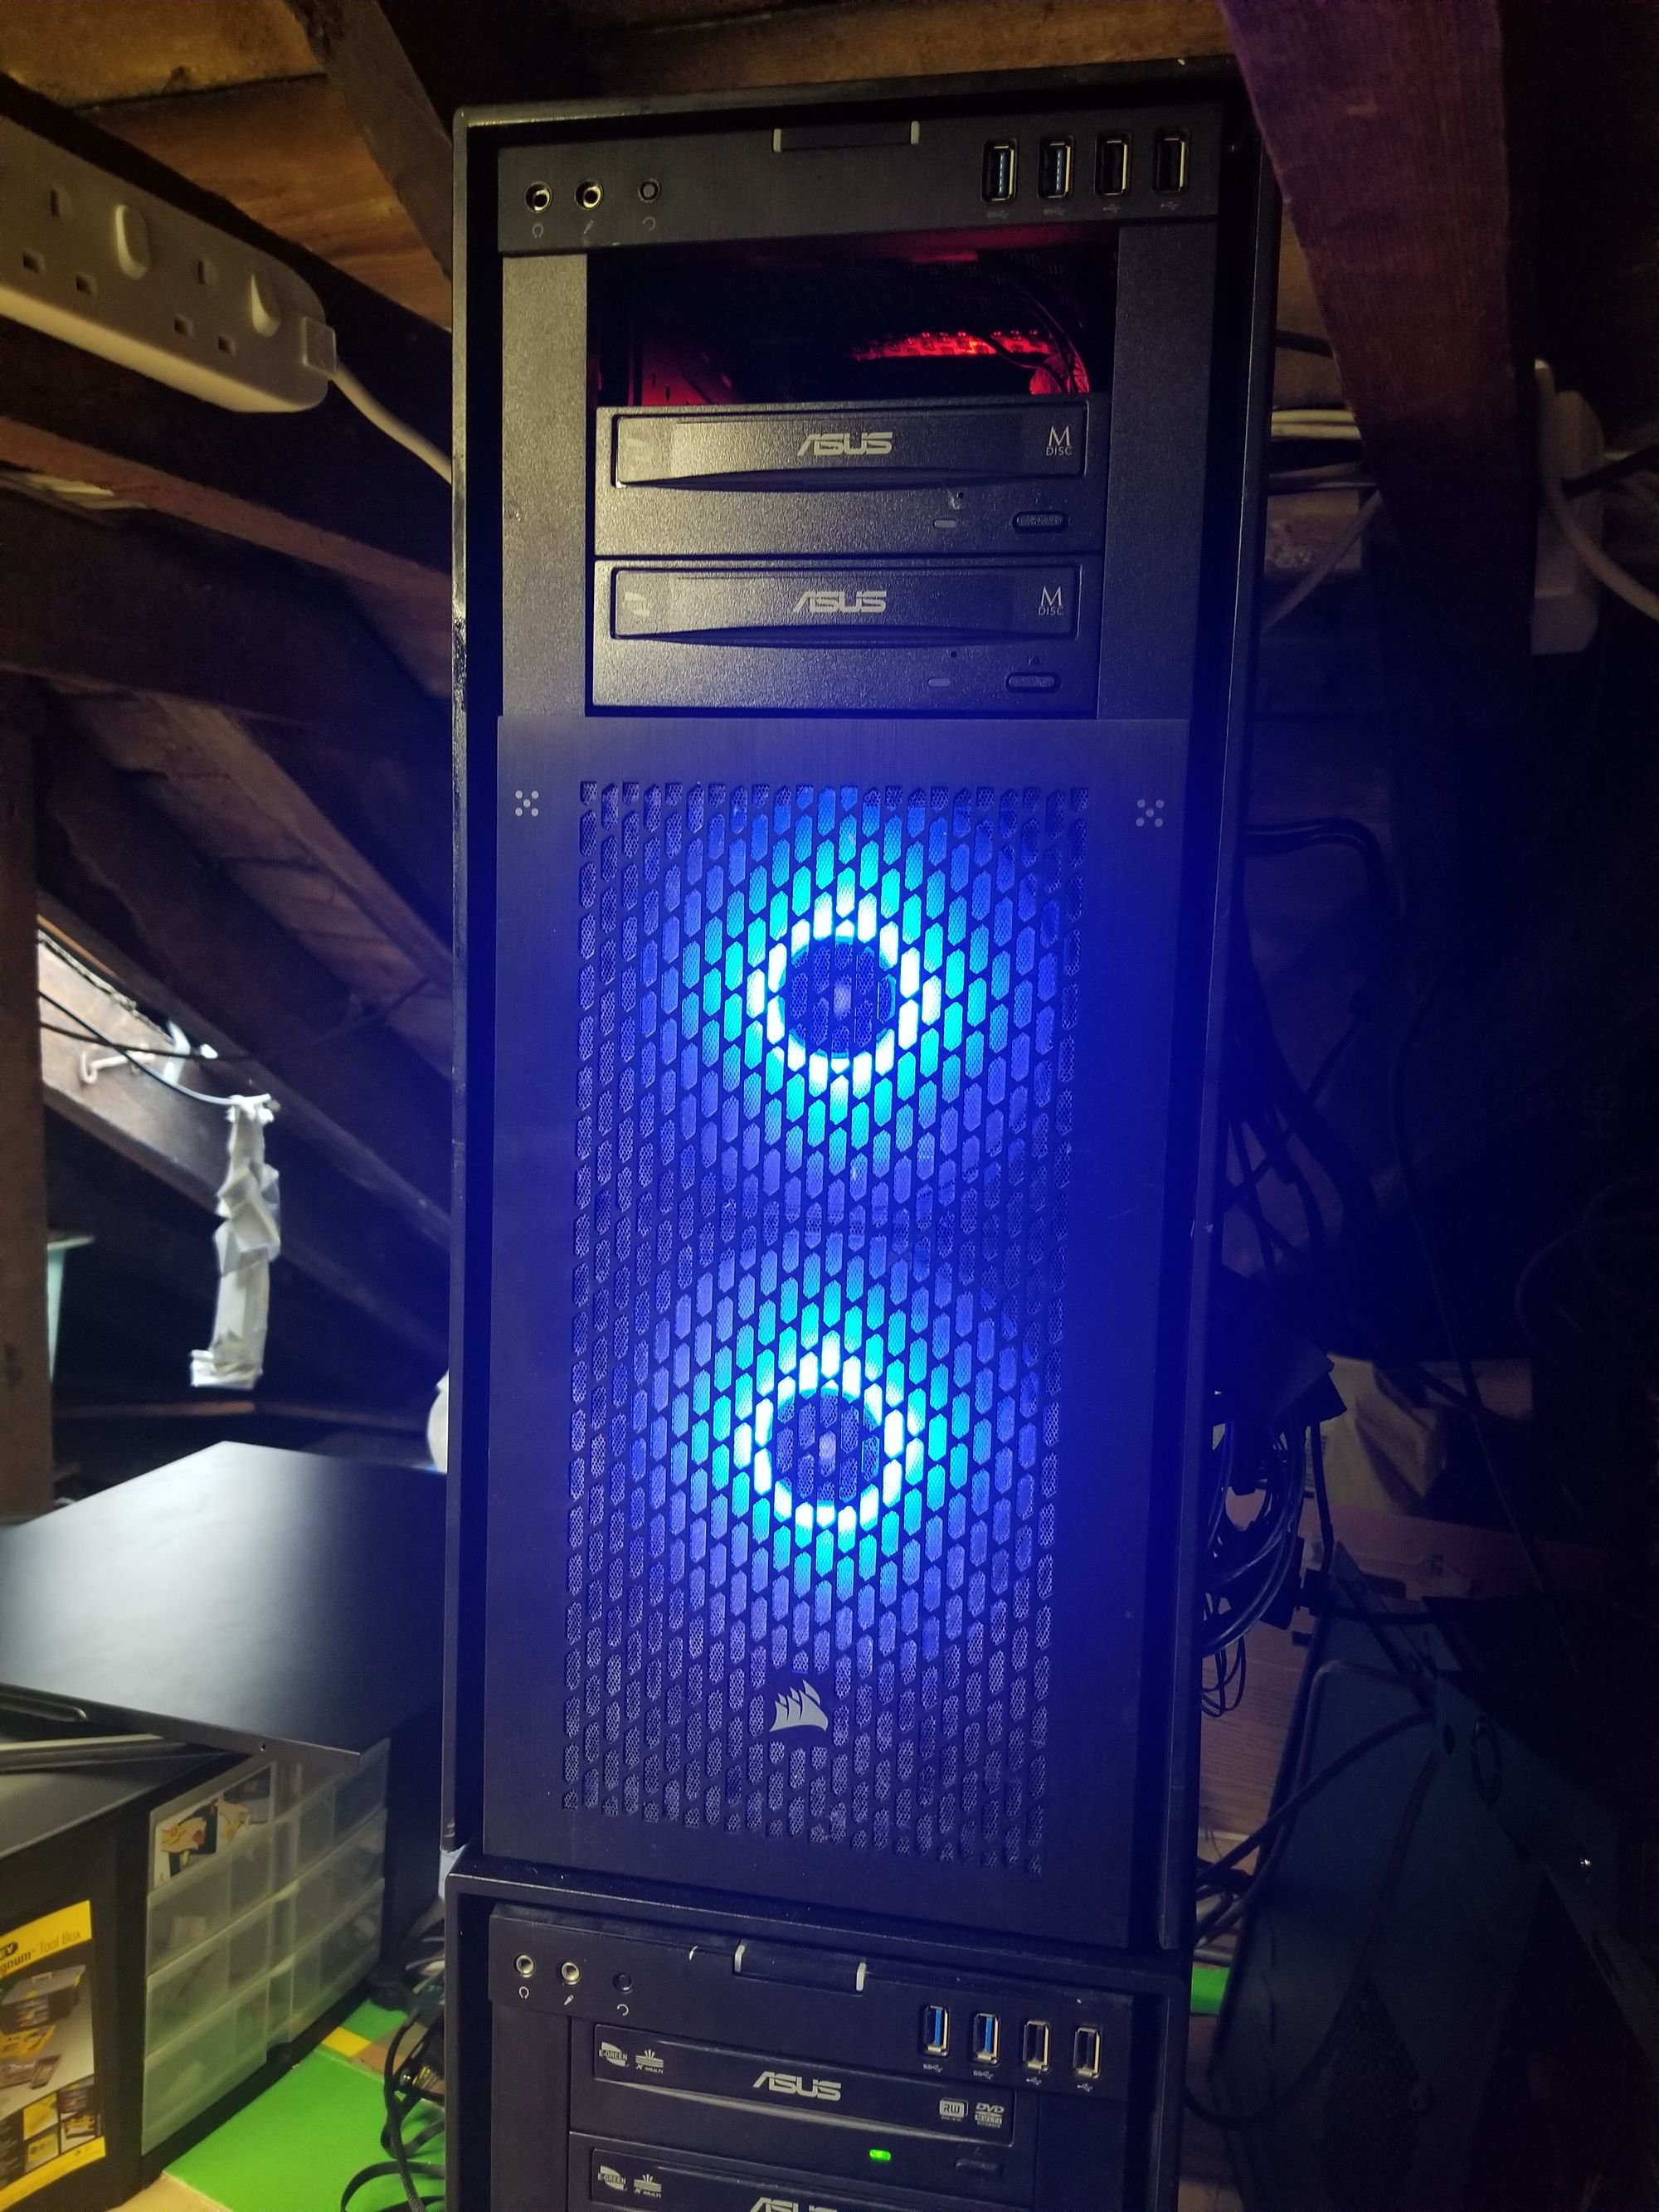
1. Upper section & 2. Lower Section many drives have been added since these pics were taken including cable routing
Some notes on this build....
- The Super DAS in my case is located in the attic and stands proud between two narrowish cross beams which will prevent it from tipping over if accidentally knocked.
- Filled out with multiple drives it's HEAVY..beware!
- As mentioned earlier its possible to install fans on the top of the Lower case.
- Rear stack drives will always be hotter than drives in the forward stack, it is recommend to put heavy use drives in the forward stack.
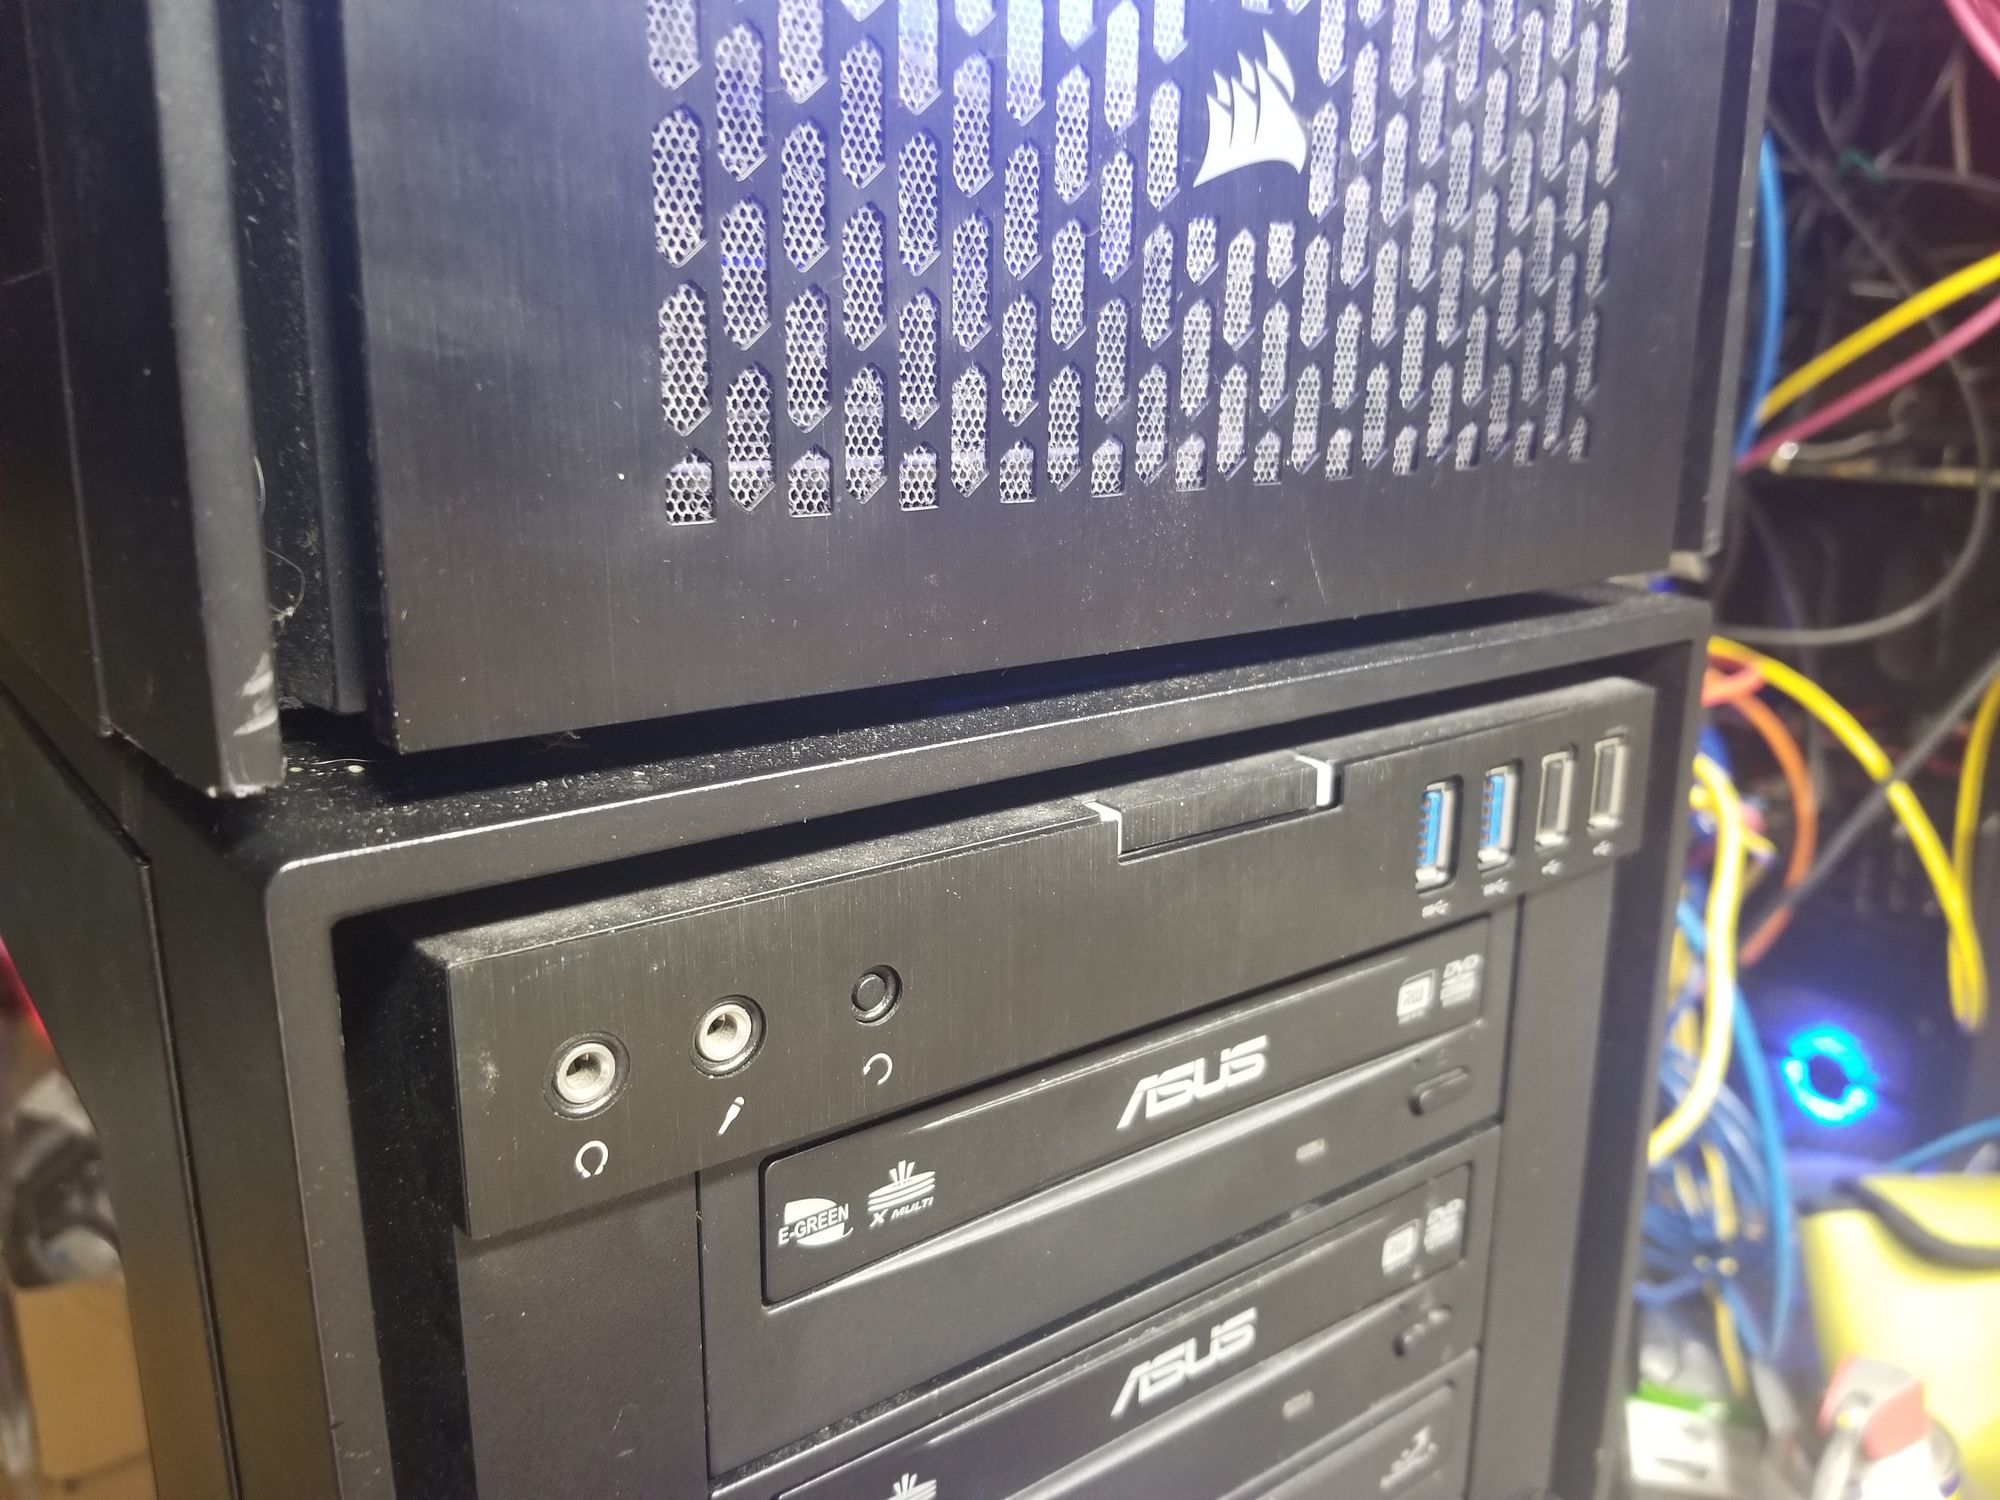
- Optical drives are an option obviously, you could add more HDDs in the 5,25 bay using a caddy.
- The rear stack is capable of 4 x 3 drive cages/12 drives if desired! I've went with 8 x drives per stack as it's easier cabling wise.
- DVD-RW are drives purely for ripping DVDs en-masse, you could add Blu-Rays if you wanted. No experience with writing disks in this setup, no reason why you couldn't.
- It's possible to add another PSU to the Lower case for even more drives!
- There's space for two PCI SAS expanders/120mm fans per case.
- Obsidian case comes with 4 x SSD trays down the right hand side, with enough power available and appropriate expander you could add SSDs. I use Ultron for hosting SSDs as there's plenty of space in it's case with no expensive expander required.
- All the original front I/O connectors are still present coiled up and stowed out of the way for future use if needed.