

I'm always being given DVDs by a family member to rip. This stuff is generally special interest or British media that's not widely available online and so ripping is the only choice and for backup purposes. Currently on my daily driver PC I have 2 x DVD drives and so while ripping a few disks at a time is no big issue, I wanted a more automated process where the user simply puts the disk in the drive then the machine does it's thing, ejecting the disk ready for the next one. It also means I don't have to do it anymore and as I work offshore, I don't have a pile waiting on me when I return home.
I went in search of such software and came across the ARM project. ARM runs on Linux and is designed to do exactly what I need AND also rip Audio CDs and Blu-ray's. It can be run in a standalone system or on a Virtual Machine with the drives passed through. ARM is designed to process the media itself using Handbrake CLI however my implementation of ARM is slightly different. If you plan on ripping Blu-ray's you'll need the paid version of MakeMKV but not for DVD or Audio. ARM also comes with built in WebUI for changing various default options in the .yaml config file for each disk. There is a time delay between disk ingestion for the user to change these defaults before ripping begins.
ARM Features (From Github)
- Detects insertion of disc using udev
- Auto downloads keys_hashed.txt and KEYDB.cfg using robobrowser and tinydownloader
- Determines disc type...
- If video (Blu-Ray or DVD)
- Retrieve title from disc or Windows Media MetaServices API to name the folder "movie title (year)" so that Plex or Emby can pick it up
- Determine if video is Movie or TV using OMDb API
- Rip using MakeMKV or HandBrake (can rip all features or main feature)
- Eject disc and queue up Handbrake transcoding when done
- Transcoding jobs are asynchronusly batched from ripping
- Send notification when done via IFTTT or Pushbullet
- If audio (CD) - rip using abcde
- If data (Blu-Ray, DVD, or CD) - make an ISO backup
- Headless, designed to be run from a server
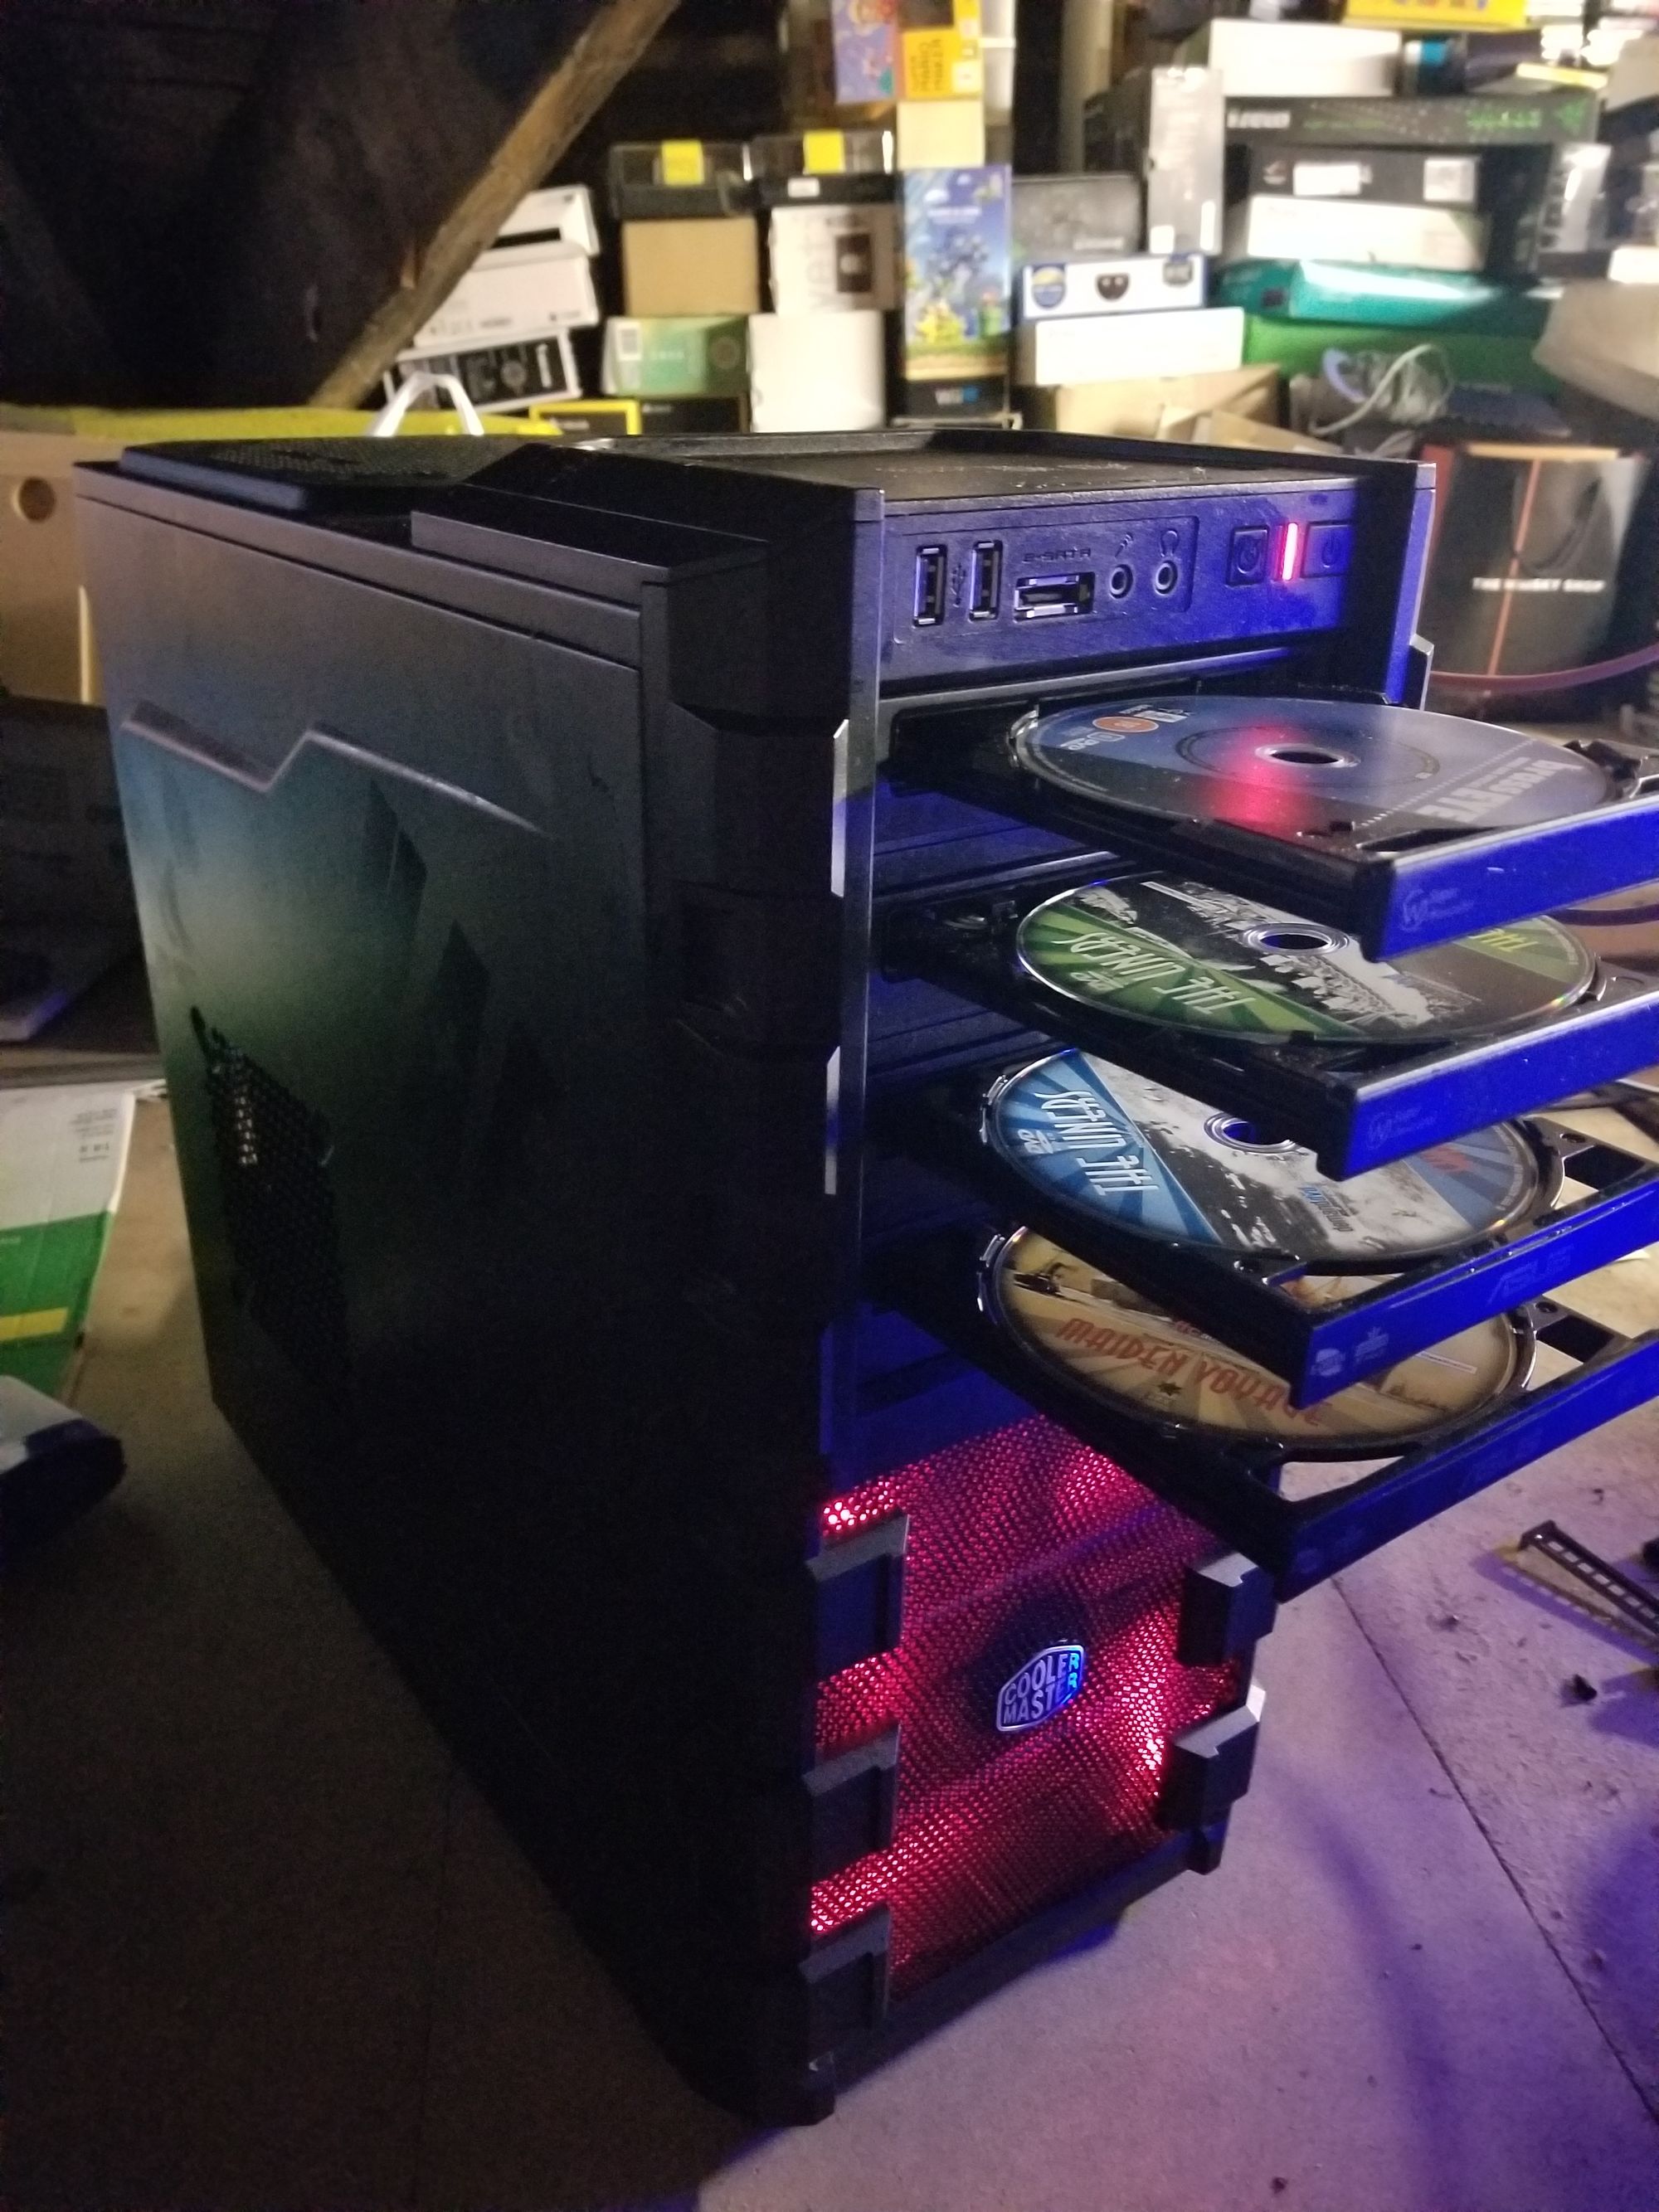
- Can rip from multiple-optical drives in parallel
- HTML UI to interact with ripping jobs, view logs, etc
I wanted a standalone machine that I could fit out with multiple drives then upload the ripped disks to Ultron (my primary server with Dual CPUs). Ultron resides in the attic plus all the internal SATA ports are in use with Cache drives. I also wanted a semi portable machine that I could give to family members where it would rip the DVDs to internal hard disk then upload it Ultron over the WAN by either FTP/SMB using Tailscale as the VPN tunnel. In the event their connection is too slow the I can set the machine to rip to its own Hard Disk then move the media to Ultron via my LAN when I get the machine back.
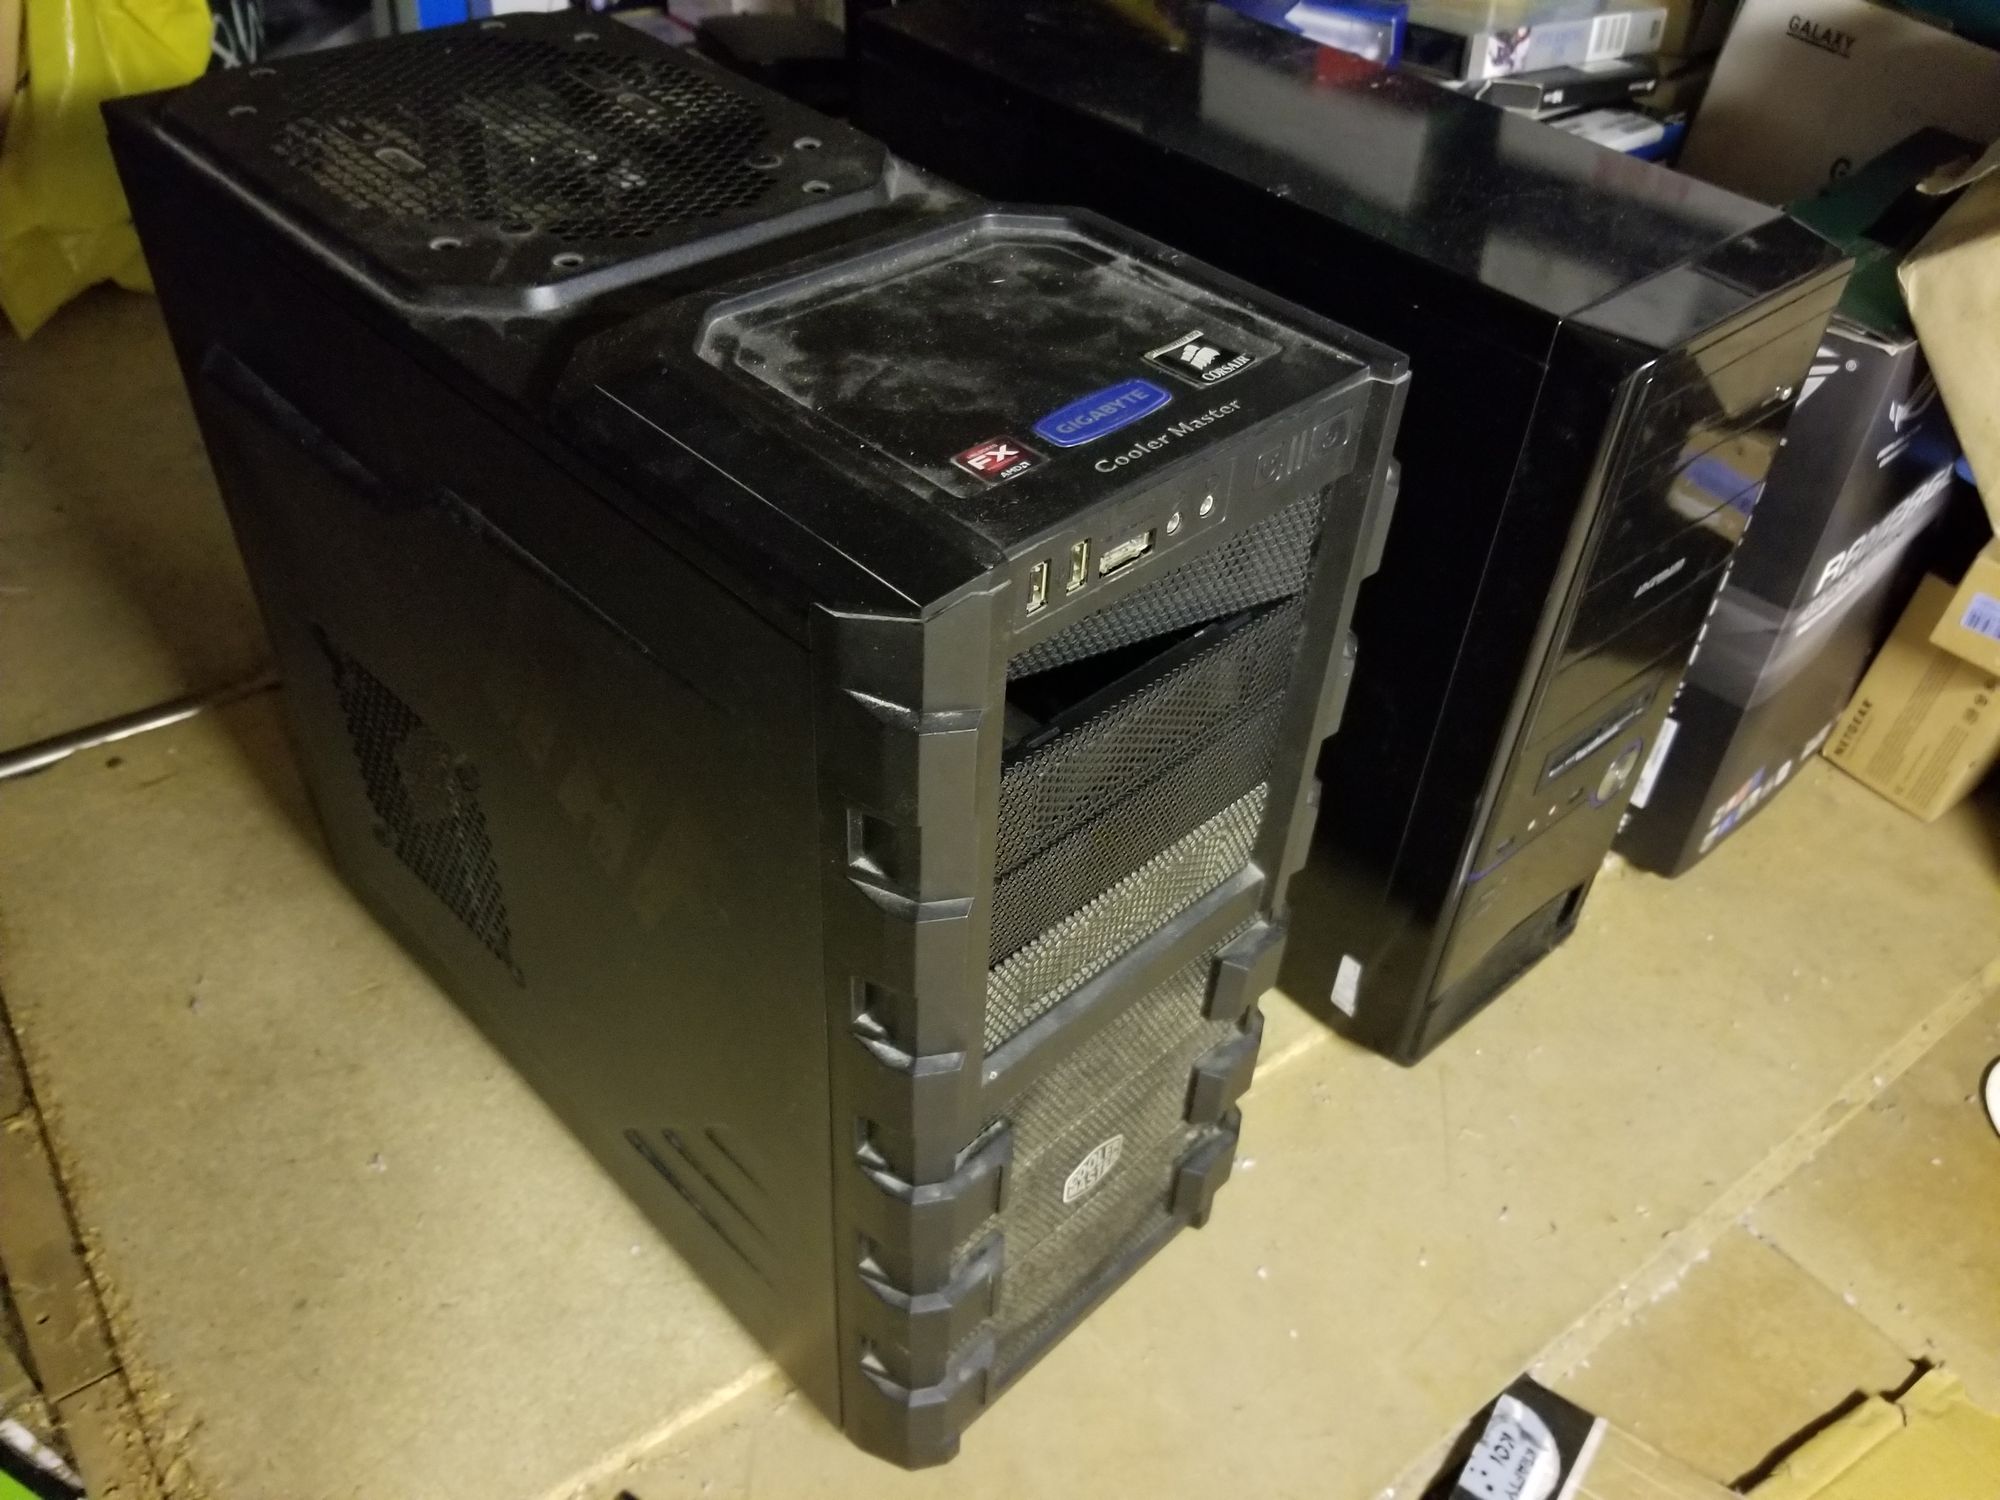
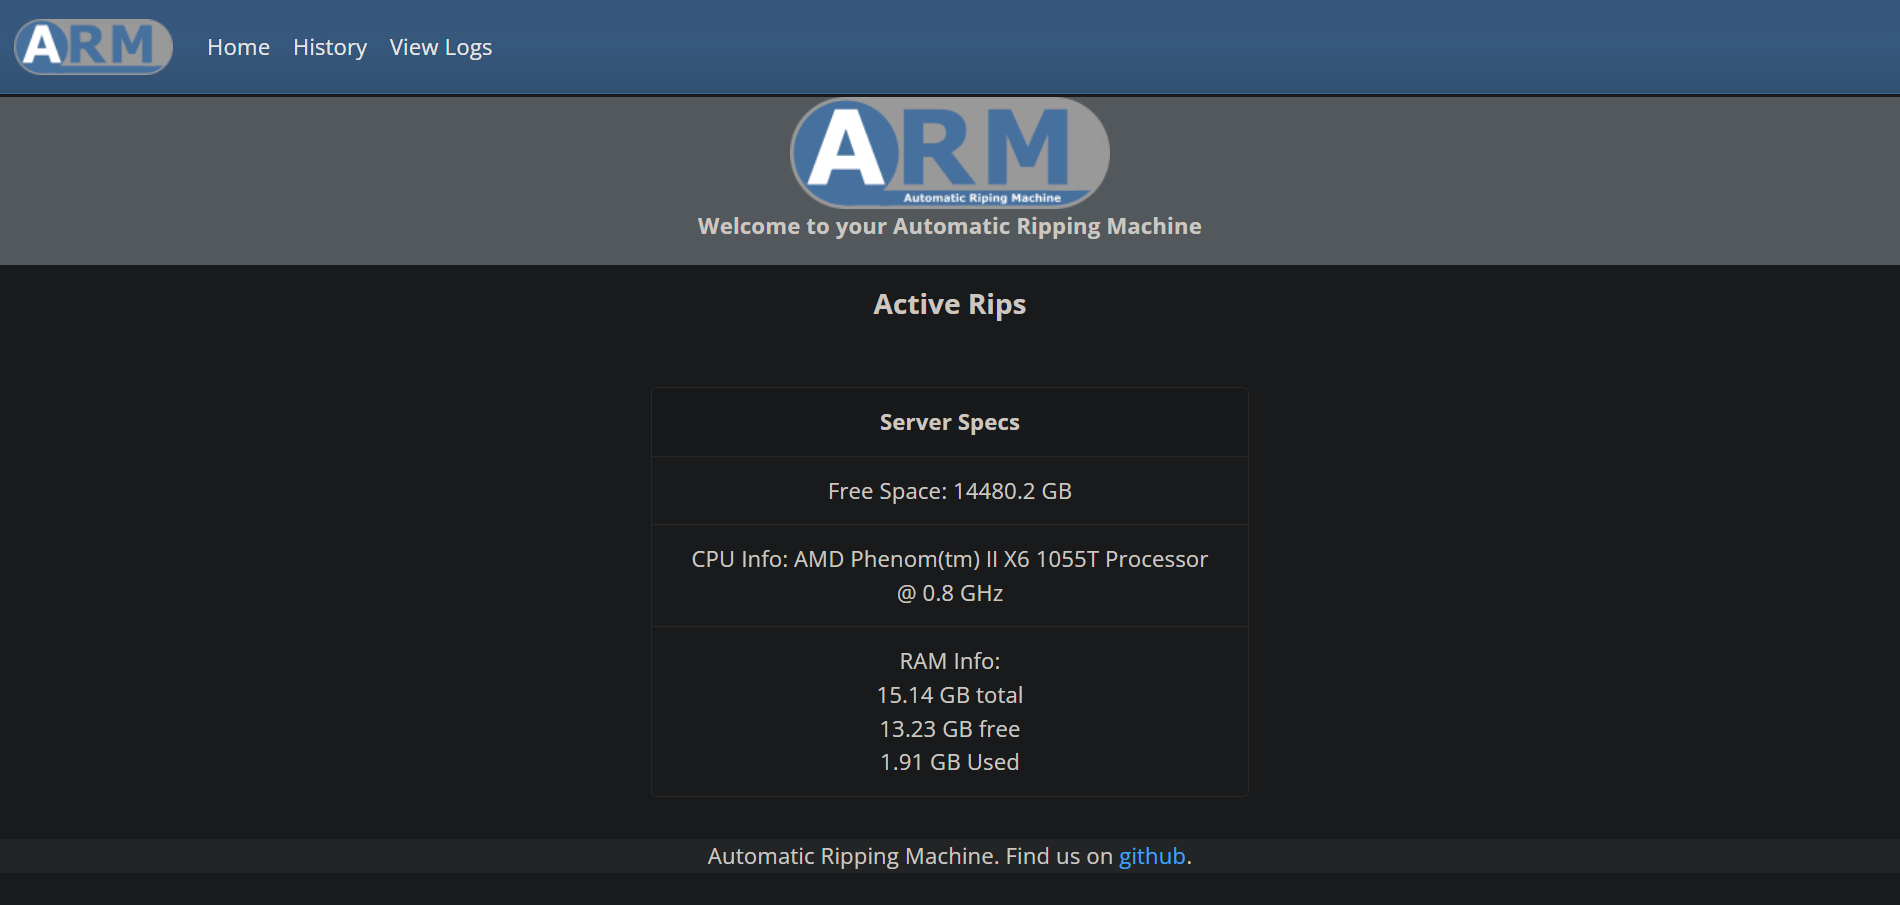
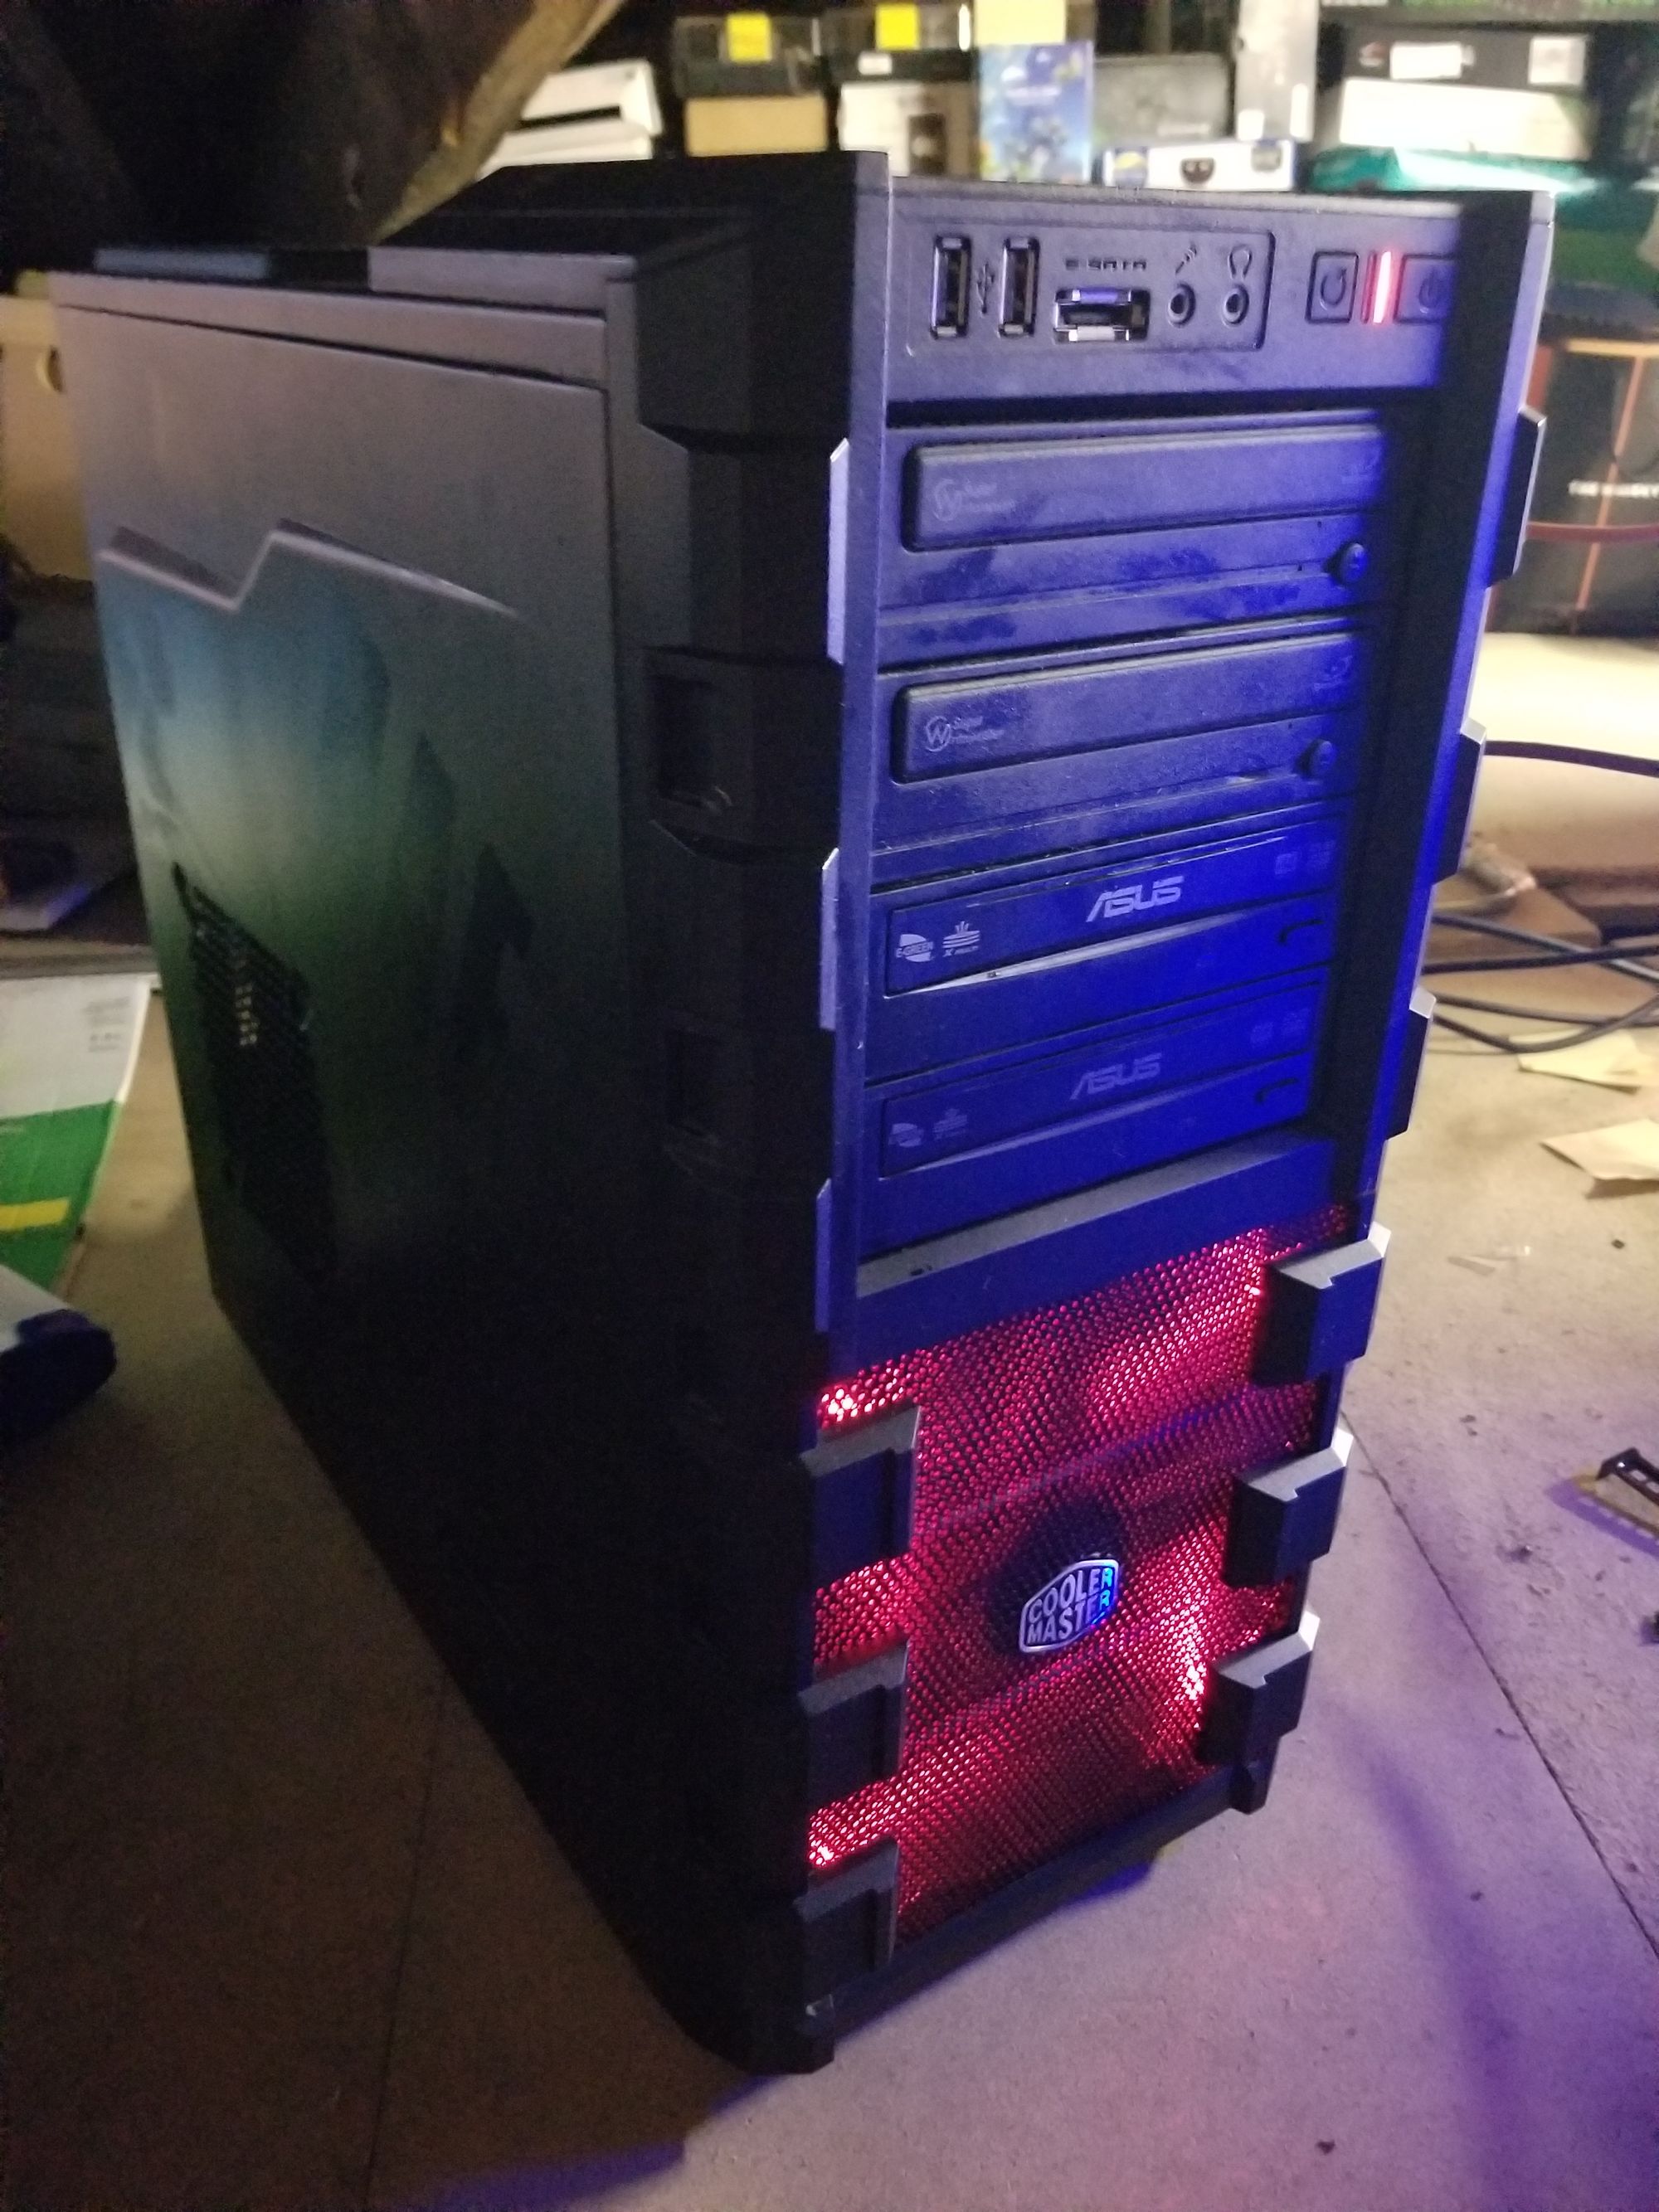
Moving on to the hardware part of the system. This is a zero cost project as I already had a number of old gaming machines all with either single or dual optical drives Anno 2011 sitting around. The system of choice was a Phenom based machine (specs below) as it already had one IDE DVD drive fitted plus a onboard GPU, the system will operate headless just fine though. I removed a drive from each of the other spare machines and installed them into this one, this gave me four drives.
- AMD Phenom II X6 1055T 2.8 Ghz CPU
- GA-MA78LMT-US2H motherboard
- 16 Gb RAM
- Corsair CMPSU-650TXV2UK 650 watt PSU
- ST500DM002 500 Gb Seagate HD
- 2 x Samsung SH-S223C DVD Drives
- 2 x ASUS DVD drives
- Cooler Master HAF 912 Mid tower
The OS of choice was Debian mainly because ARM has a fully automatic install process for Debian aside from a few variables the user needs to enter. Once installed it's a matter of editing the ARM config to suit your config needs. You'll be prompted in the CLI for any input the script needs, also if you have more than one drive you'll need to mount these drives in fstab. You'll have to figure out which device names correlate to the physical drives as you may find drive 2 is not second from top. An easy of doing this is tell it to eject drive 2 then swap the SATA cables over to reflect the physical layout and so on. The GitHub page has all the instructions for doing this here.
Currently, in it's primary mode, the machine is really just a extension of Ultron. I have ARM set to rip the disk to ISO saved to mounted network folder via LAN hosted on Ultron where it already has Handbrake monitor a watched folder for processing ISO's to MKV in x264, x264 is better for SD content. Handbrake then sends the processed files to a folder monitored by Emby so the files are available for viewing quickly before I categorise them properly. It's powerful enough to convert SD video but Ultron is much, much quicker and already has the profiles setup up. The Phenom machine is also very inefficient power wise, it's only powered on for the time it needs to do it's ripping, once it ejects the last disk...that's it...off it goes! Ripping to ISO only takes a few mins per disk, if I'm ripping Audio CDs then ARM processes to FLAC as it rips sending to Ultron on the fly.
Here's the entry in fstab for guidance. Note the section for mounting the network folder if you so choose. Please note that if you're going to rip to a mounted folder then the folder must be created by the user ARM. Both directories "/home/arm/ARM-DVDRips" & "/home/arm/ARM-AudioRips" were made using the ARM user account, don't use the root account to make these folders otherwise ARM can't write to them. You can then mount the folder at start up via fstab.
##<file system> <mount point>   <type>  <options>       <dump>  <pass>
##/ was on /dev/sda1 during installation
UUID=1cc6e953-ef5f-431a-8330-d5c316f2675c /               ext4    errors=remount-ro 0       1
## swap was on /dev/sda5 during installation
UUID=d79354af-e035-4b10-88bf-0f5023c17b4a none            swap    sw              0       0
/dev/sr0        /media/cdrom0   udf,iso9660 user,noauto     0       0
/dev/sr1        /media/cdrom1   udf,iso9660 user,noauto     0       0
/dev/sr2        /media/cdrom2   udf,iso9660 user,noauto     0       0
/dev/sr3        /media/cdrom3   udf,iso9660 user,noauto     0       0

//YOURSERVERIP/Videos/DVD-ISO/ARM-DVDRips /home/arm/ARM-DVDRips cifs username=YOURSERVERUSERNAME,password=YOURSERVERPASSWORD,rw,uid=1000,gid=500

//YOURSERVERIP/Videos/DVD-ISO/ARM-AudioRips /home/arm/ARM-AudioRips cifs username=YOURSERVERUSERNAME,password=YOURSERVERPASSWORD,rw,uid=1000,gid=500

/dev/sr0  /mnt/dev/sr0  udf,iso9660  users,noauto,exec,utf8  0  0
/dev/sr1  /mnt/dev/sr1  udf,iso9660  users,noauto,exec,utf8  0  0
/dev/sr2  /mnt/dev/sr2  udf,iso9660  users,noauto,exec,utf8  0  0
/dev/sr3  /mnt/dev/sr3  udf,iso9660  users,noauto,exec,utf8  0  0
In its secondary operating mode i.e. remotely, I installed Tailscale VPN. This will provide you a static VPN IP you can SSH into the machine securely over the WAN. Depending on the remote WAN bandwidth the machine can be set to either rip to the internal HD or to the network mounted folder as described before. My entire LAN subnet is routed via Tailscale so no change of IPs required in fstab for the mounted folder. To change the ripping directory I have two config files a .yaml and a .bak version, I just change the file extension for which one I want it to use as they are predefined with the directories required, then reboot. I may even write a small script to do this for me, laziness is key to an simple operation lol!
In order to login via SSH remotely you'll have to change this (assuming you have installed SSH to begin with)...
sudo nano /etc/ssh/sshd_config
FROM:
PermitRootLogin without-password
TO:
PermitRootLogin yes
Save and Exit.