

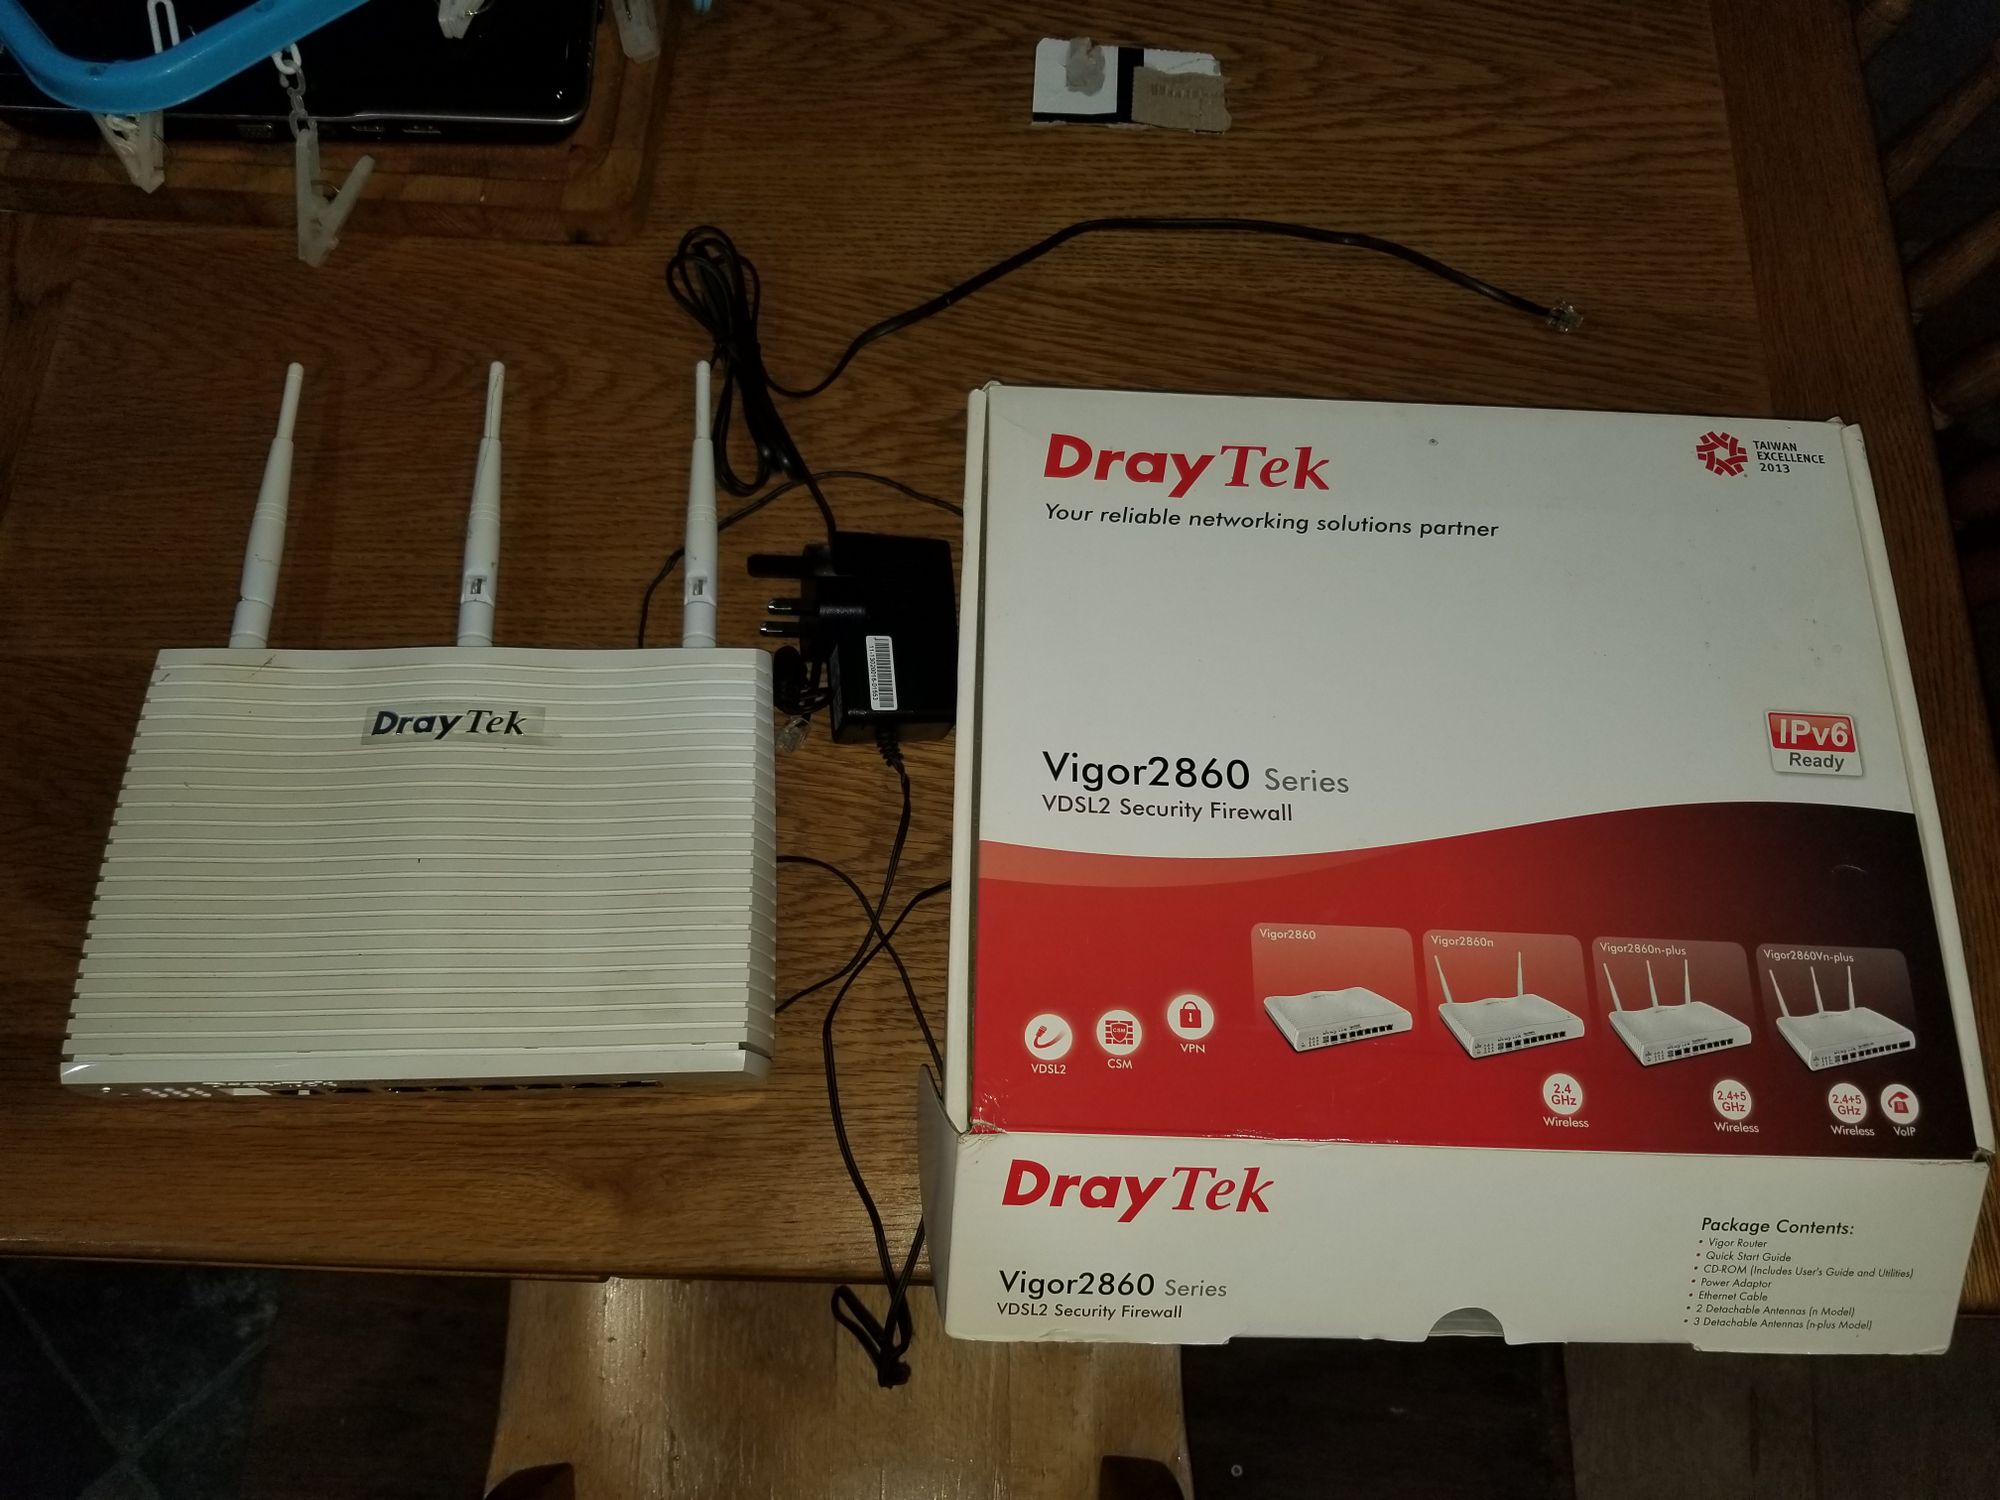
It was finally time to retire my trusty Draytek 2860N plus router after a good 7 years. While the functionality of the unit was excellent it simply wasn’t able to handle the 350Mb connection I have and with 1Gb available in my area, I needed a future proof machine. There are newer Draytek models available of course but as these are SMB oriented units they come with a hefty price tag. The unit also functioned as a hardware controller for my Draytek access points, these are also being replaced. See the TP-Link Omada article. Also, on the market, are prosumer devices capable of those speeds, fine if your only have a few PC’s in your house but for Homelaber such as myself, these don’t cut it either, far too lowbrow and limiting. More advanced machines such as the UDM Pro do offer a high level of functionality but yet again at a high price tag and locked into Ubiquity's ecosystem, I really don’t like being locked down plus they had a huge security breach recently
pfSense enterprise grade firewall is the way to go and very popular in the hobby or it’s open source fork, OPNsense. Both of these offer a huge amount of options including Multi-WAN connections, enterprise grade firewall, additional packages etc. Well that’s the software part decided, what about the hardware? Well there are a number of options available, including small boxes designed solely for running Pf/OPN, good units but again expensive for what they do, you could use any old PC but the power usage would be ridiculous for the function, or you can run it in a Virtual Machine. As I like to tinker, and because I need to to be reliable, I settled on both Virtual and Physical machine. The idea is to run OPNsense on Ultron as it’s already on 24/7 and have the SFF PC as a backup for when Ultron needs to be shut down.
Okay so I needed some additional equipment to achieve this goal..
- 1 x Quad Port NIC (HP 593743-001 NC365T Intel i340-T4) for Ultron, ebay £14
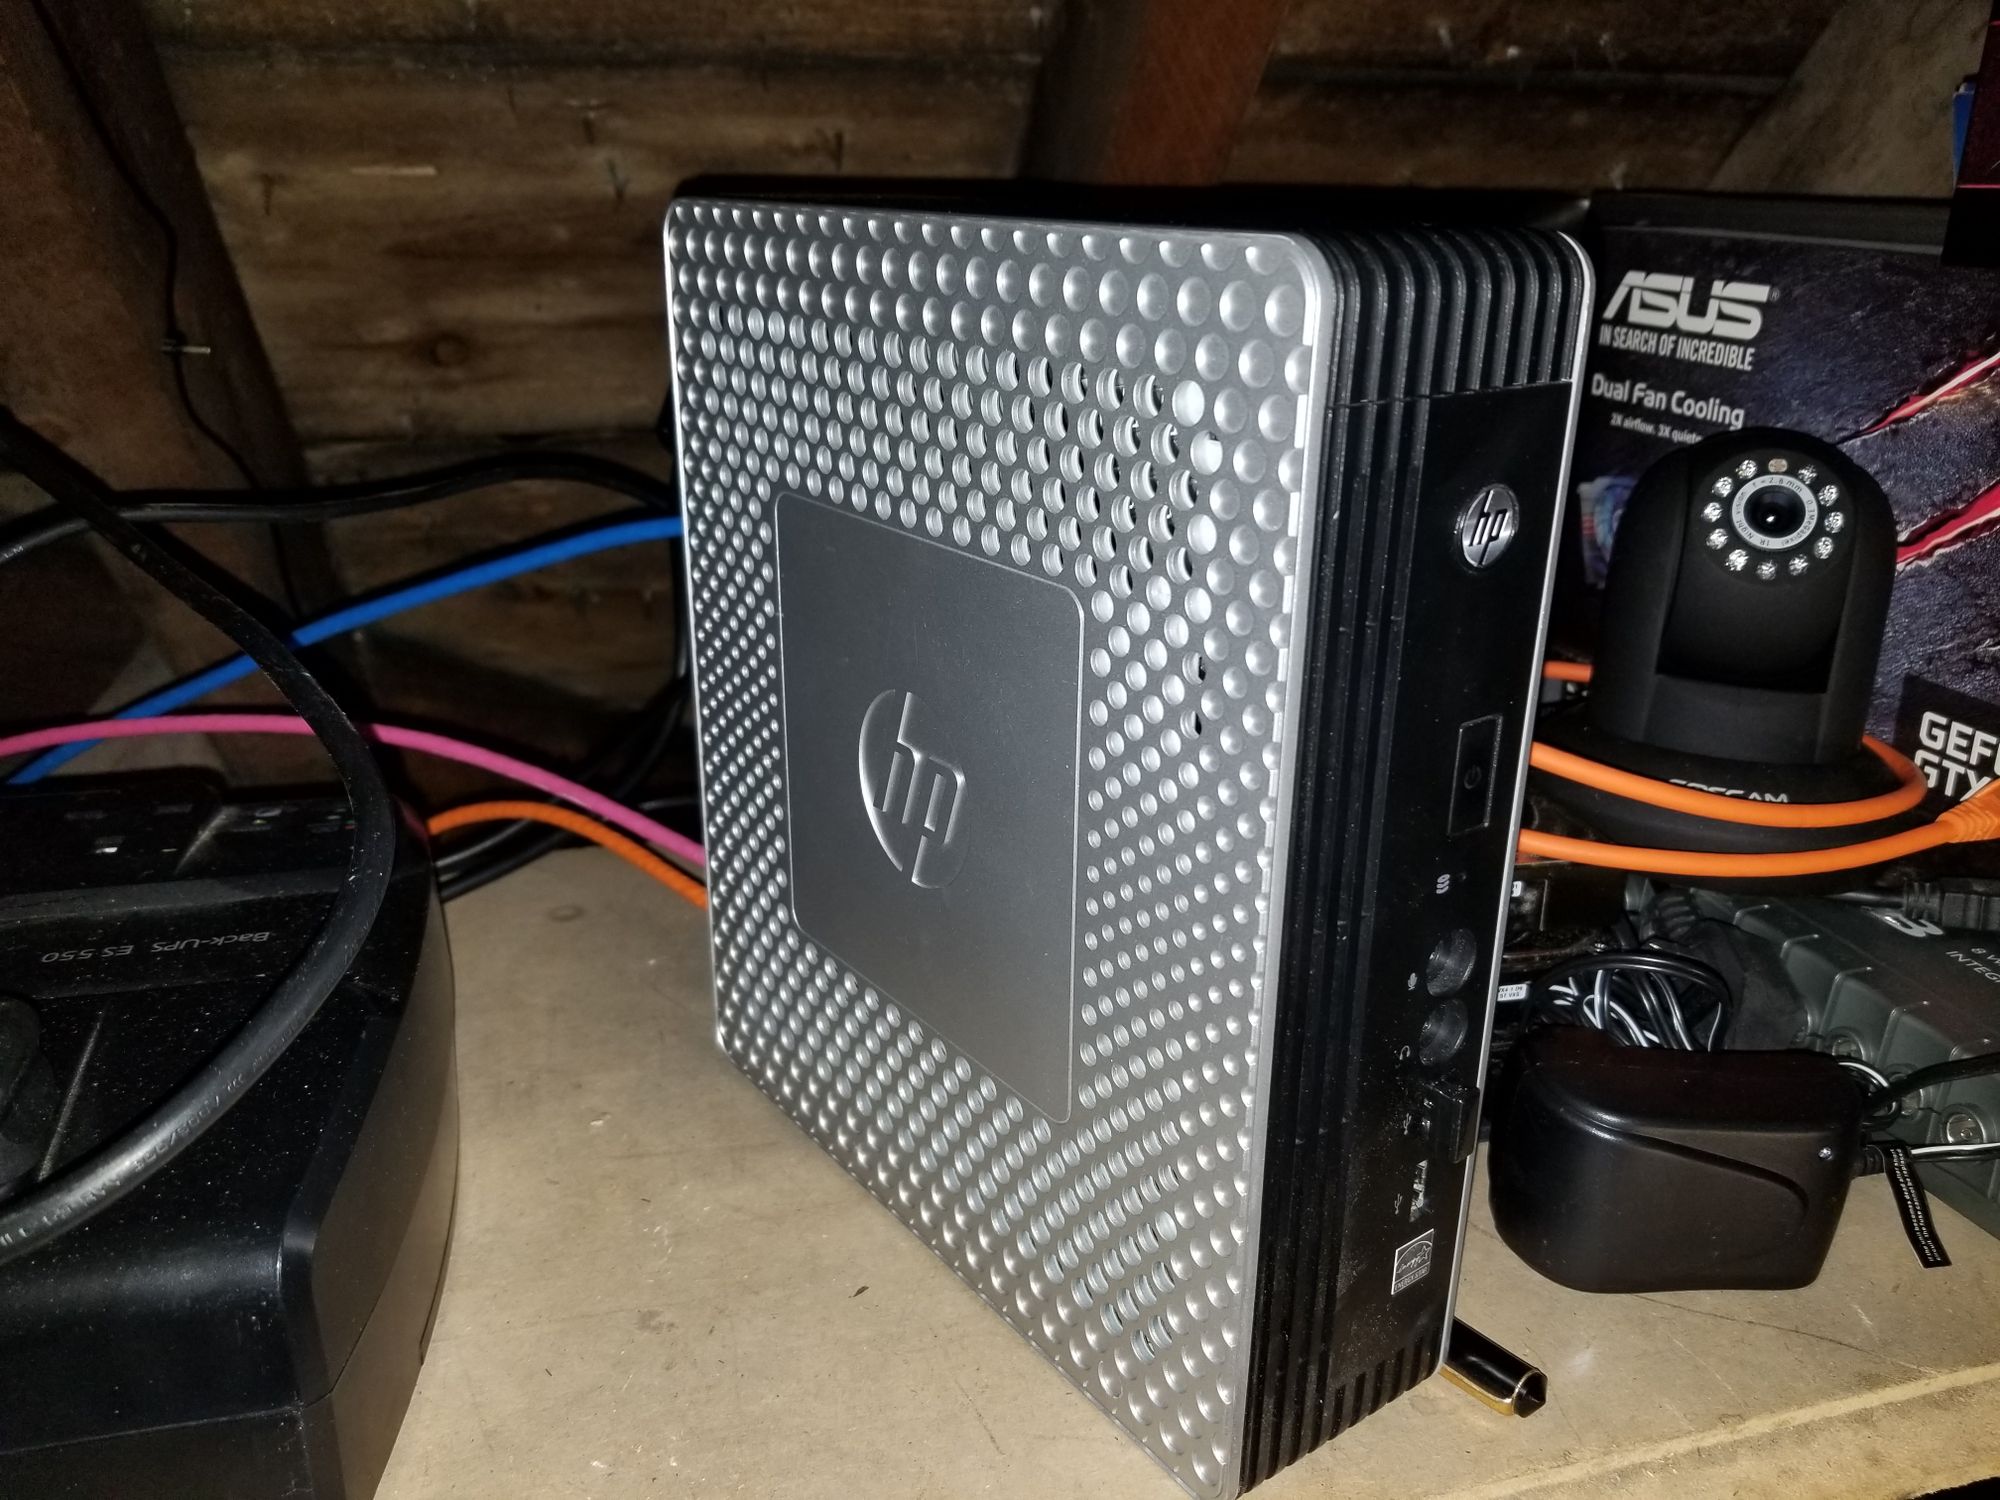
- 1 x HP T610 Plus (fits a full PCI-E card) SFF PC, ebay £50
- 1 x Quad Port NIC (HP 593743-001 NC365T Intel i340-T4) for SFF, ebay £14

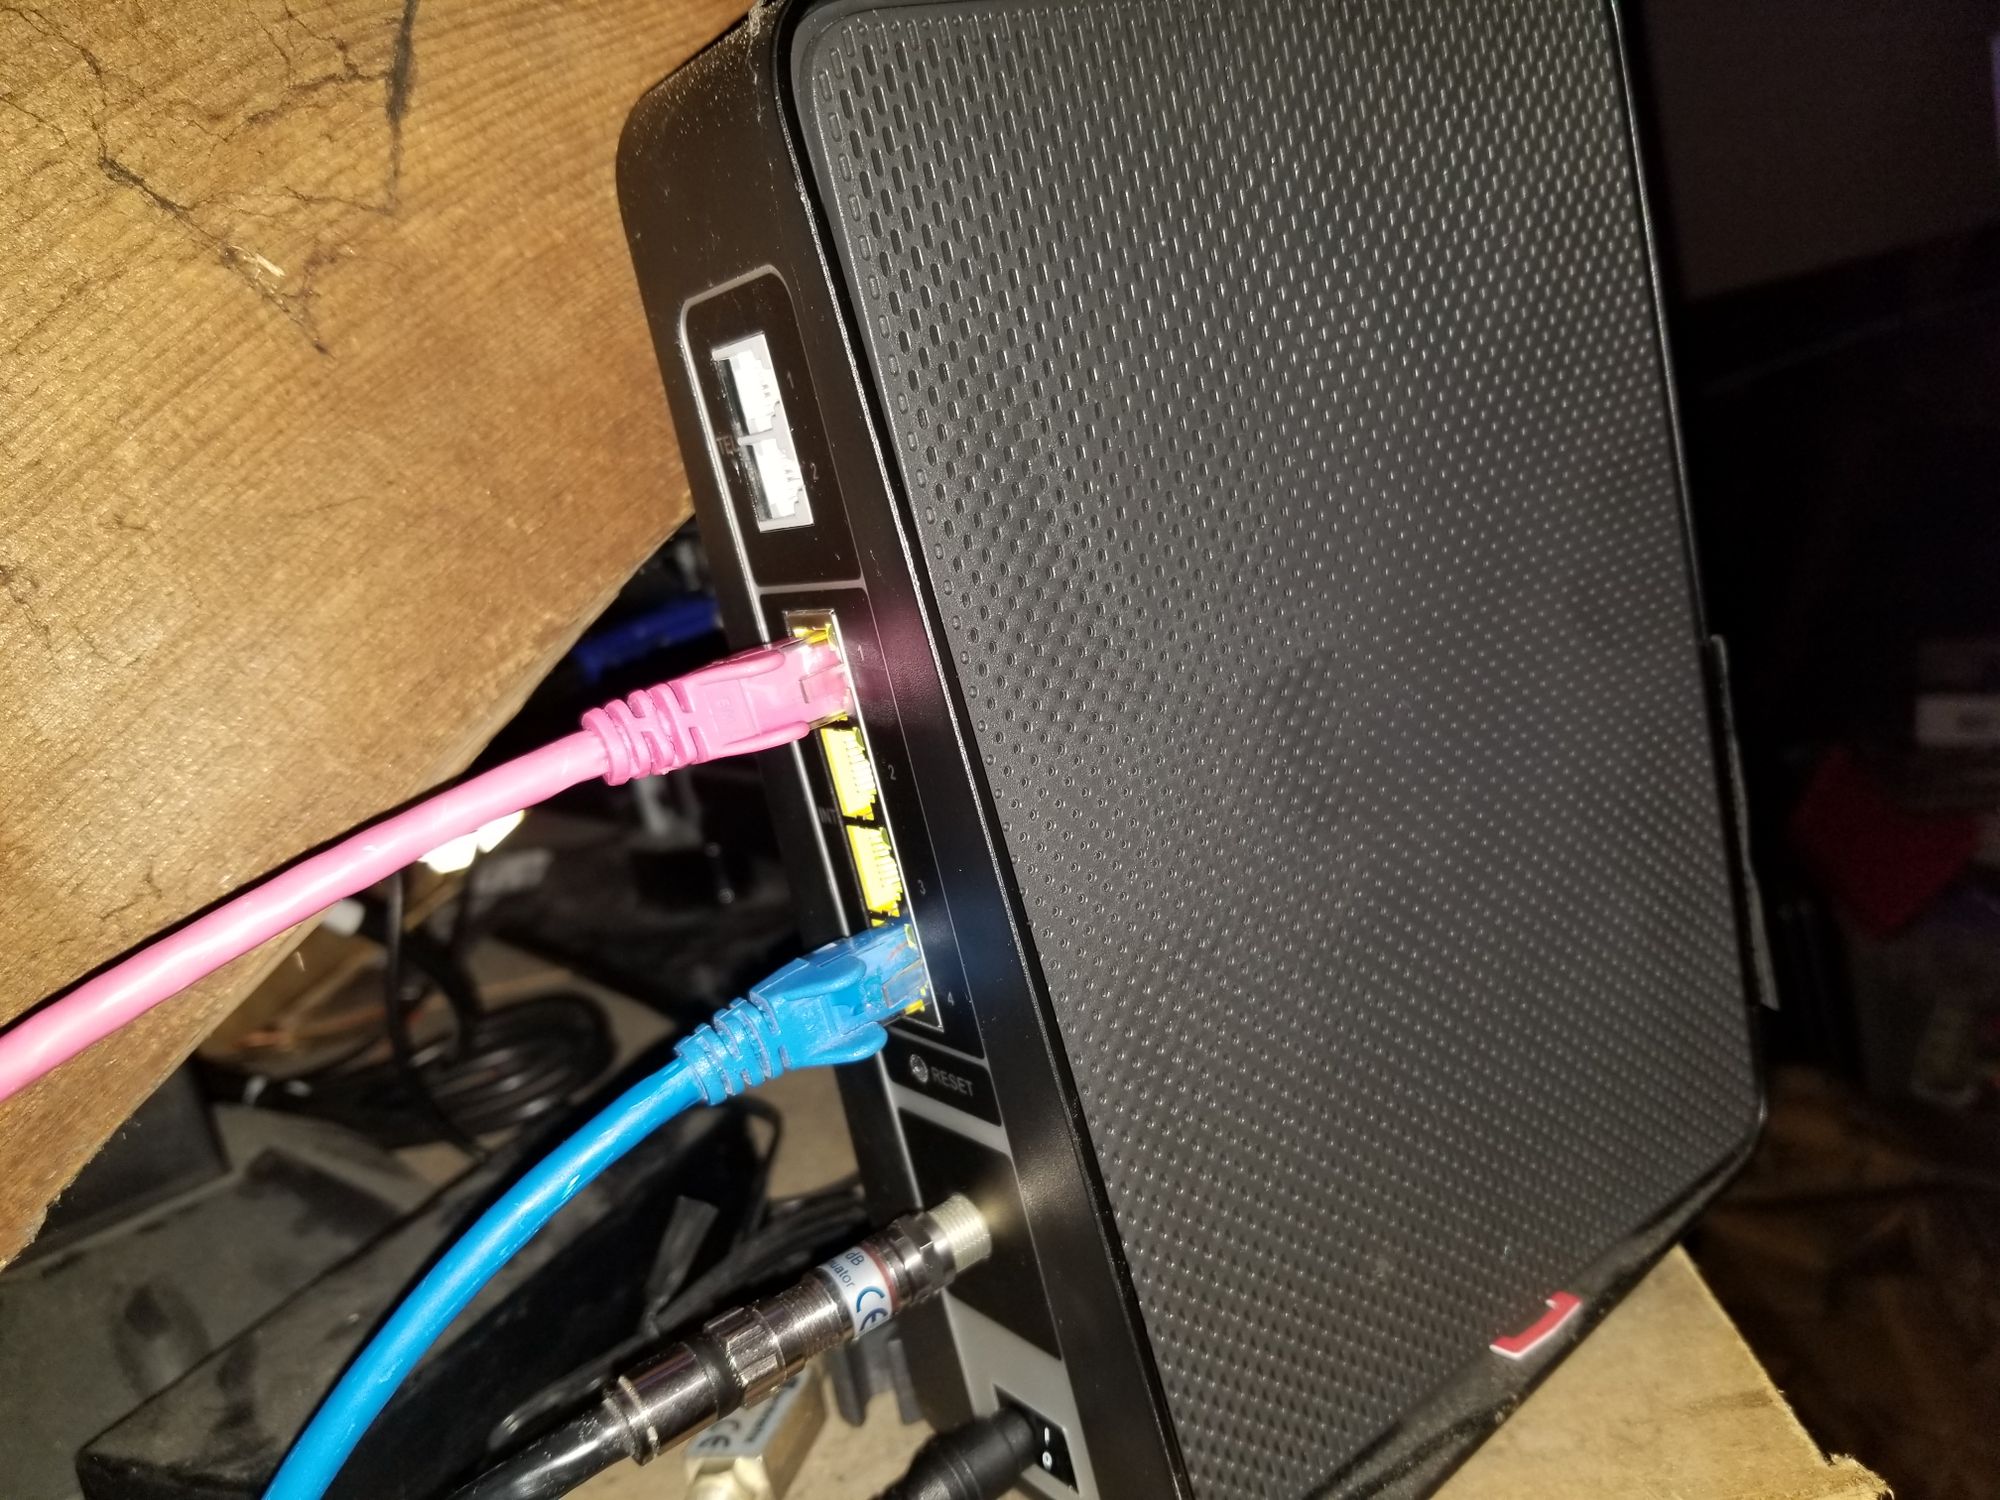
eBay is the place to go these days for ex-enterprise equipment, hardware is sold at a fraction of retail costs and as it’s enterprise grade, far more reliable and adaptable. The NICs are dirt cheap especially the OEM Dell/HP stuff plus they all use Intel chipsets. To get the VM firewall running all I need to do was install one Quad NIC into Ultron and pass through two of the NICS to the VM (making sure to VFIO it off). One NIC is reserved for future use and the other used by Unraid for containers. Ultron has two Intel NICs built into the motherboard already, one for VMs and the other for general access.
As for the SFF, install NIC, software using the downloaded ISO. The easiest way to do this is using Ventoy. Ventoy will turn a USB drive into a bootable stick with multiple ISO images of any description. I have a USB3 64Gb with Ventoy and all the common ISO images, truly excellent solution. I won’t go into much detail on the full installation process as Spaceinvader One already has an excellent series of videos on installing pfSense on both Virtual Machine and bare metal here.
Right so, as I stated earlier the HP SFF will boot when the VM is down or crashed. To achieve this I have a first gen Raspberry Pi that I use as a syslog server for Ultron. This was set to run a script a five minute CRON schedule, the script pings the VMs IP. If no response after three attempts, it then sends a WOL packet to the HP SFF MAC address booting it up. Now this is purely a backup scenario, not High Availability (which is build into pfSense & OPNsense). The issue here being is that any changes made in the VM config will not be available in the SFF. Currently that is a manual job of downloading the config from one and writing it to the other. It’s no big deal really as all my VLANs, static IPs, firewalls are there already.
Regarding High Availability, its entirely possible between virtual and bare metal machines but you need at least three WAN IPs from your ISP. Currently I have a domestic connection with Virgin Media with only one. This is where the third spare NIC on both Quad cards will come in useful as they may be need for High Availability.
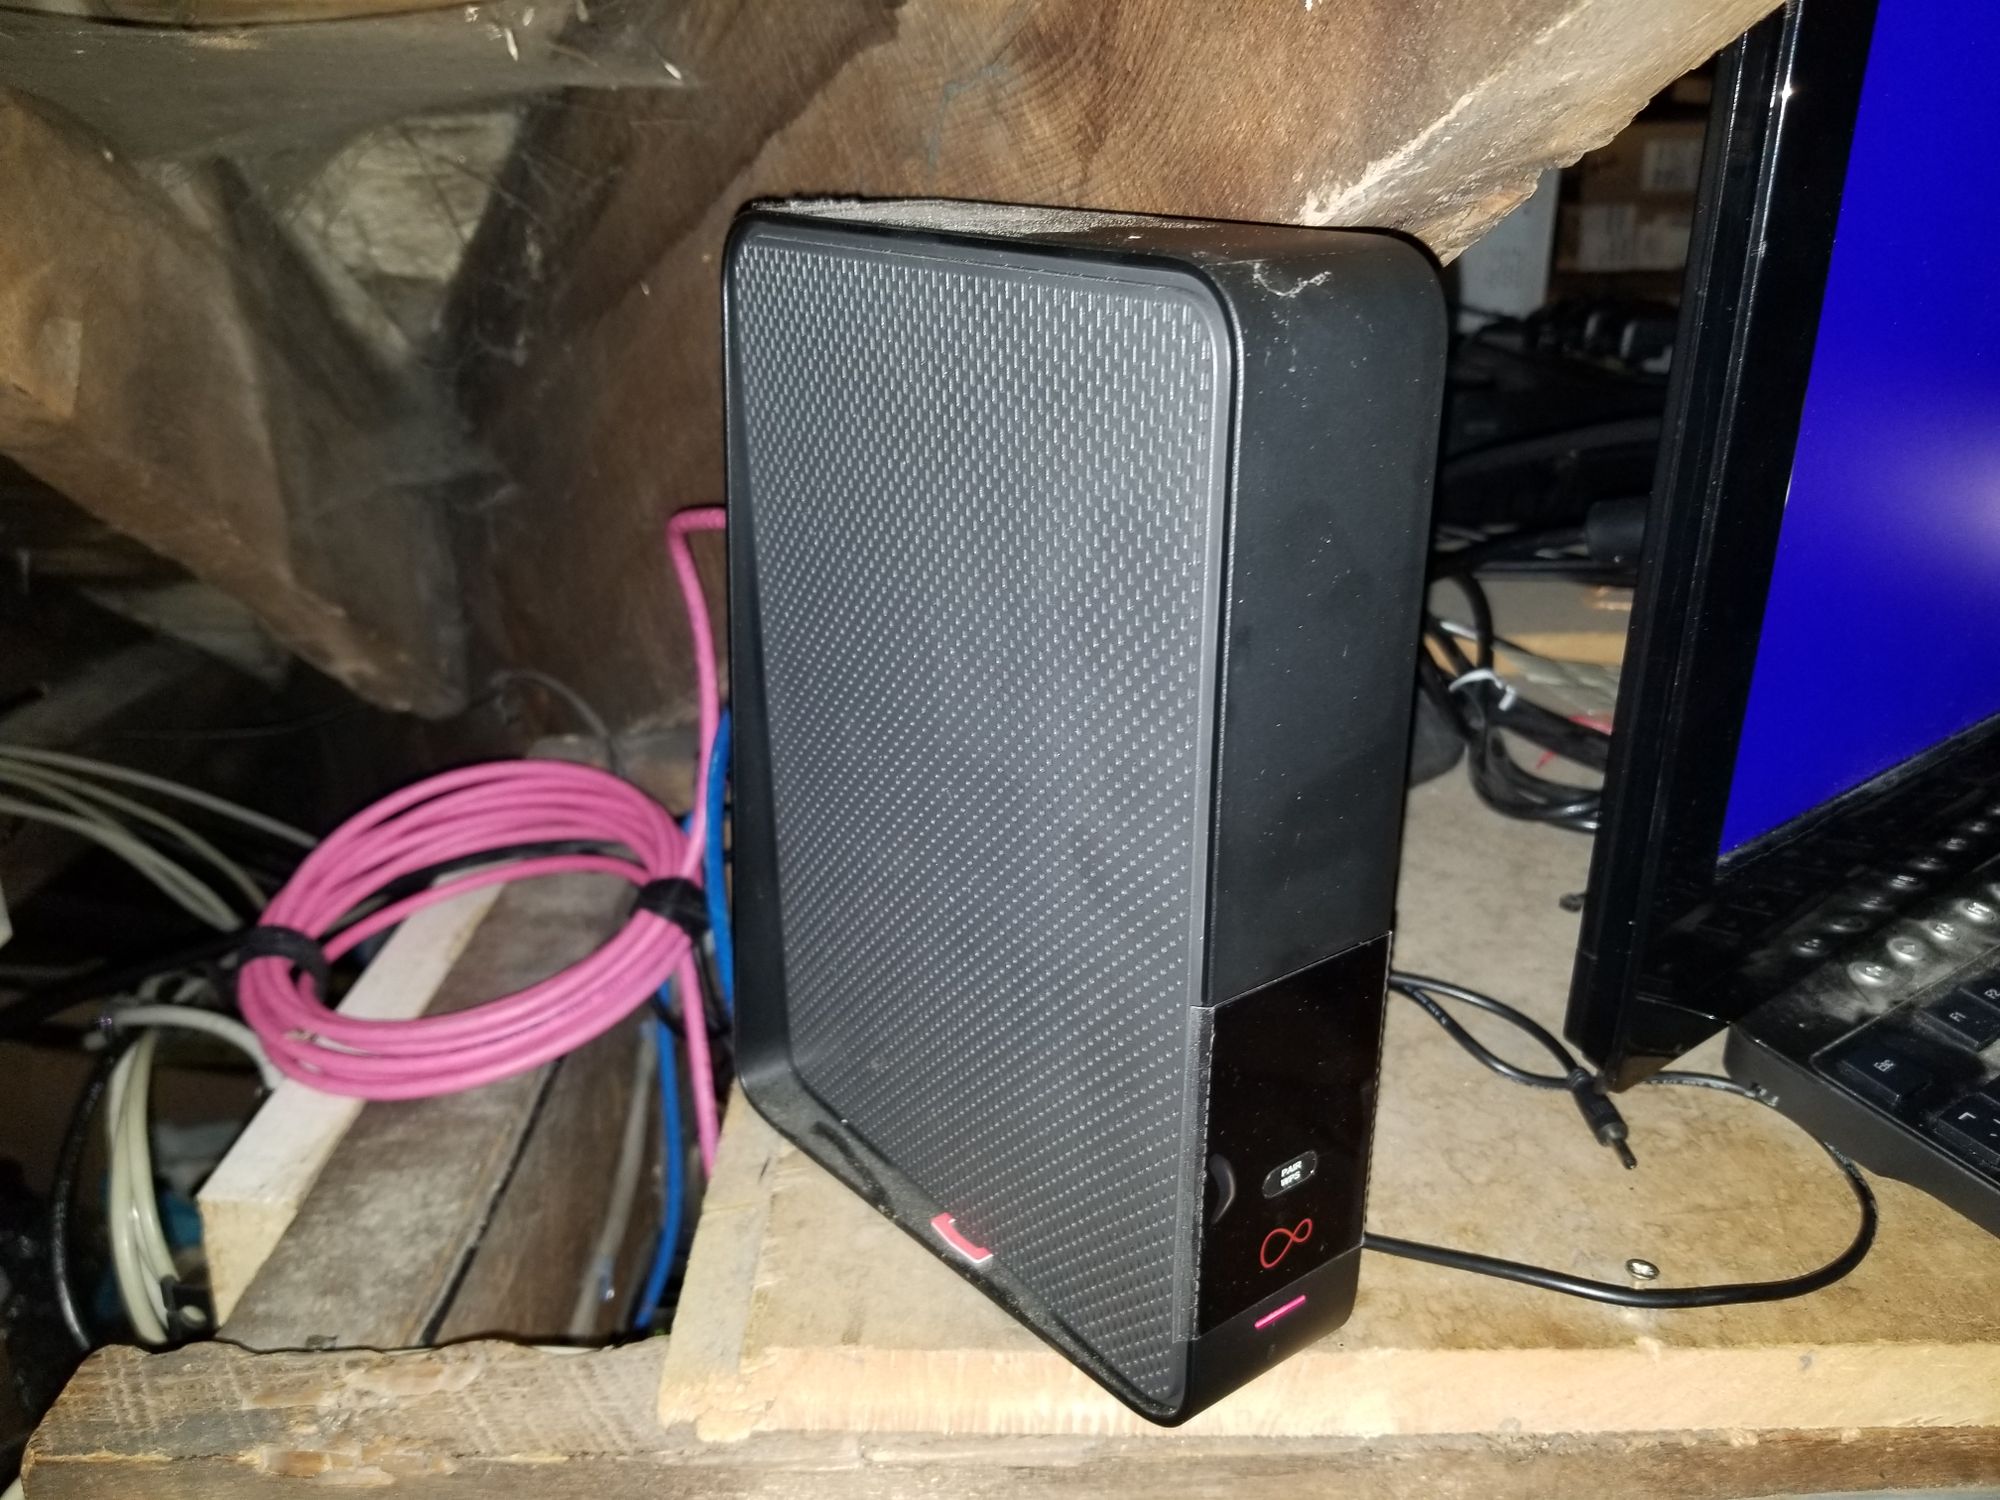
I ended up using OPNsense due to pfSense having an issue with the ISP provided cable modem. OPNsense doesn’t seem to suffer this so that’s the firewall of choice for now. Future mods will include a 4G backup WAN connection. I had no end of issues setting this up initially as the Virgin supplied Cable Modem (Super Hub 3) suffers from a variety of issues. One such annoying problem is it has a “Max-CPE” setting meaning it will lock to the first MAC address provided by the router, in my case the OPNsense VM. It would not give the HP SFF a WAN IP due to the change of MAC detected unless you power cycled the modem. Virgin, in the infinite wisdom, locked out any SSH/Telnet access meaning a manual power cycle, no use at all for a backup. Another solution would be to put the modem on smart plug and integrate that into the Pi script. To solve this I spoofed the MAC from the VM WAN NIC to the SFF WAN NIC, now the cable modem thinks it the same device, profit!
Despite what everyone says, the SH3 (cable modem) WILL issue a WAN IP to any port on the device but as stated it locks to the first MAC it gets. A further addition will be to add a script in Unraid that tells the SFF to power off when the VM starts.
If your going to do this yourself you'll need to make sure your bare metal machine has WOL enabled in the Bios. As for the Pi script, instructions are as follows....
SSH into your Pi and run the following commands
crontab -e
Enter the following line at the bottom of that file
*/5 * * * * bash /home/YOURHOMEFOLDER/router-check.sh
The CRON job will run the script called “router-check.sh” every 5 mins. Make sure you change the YOURHOMEFOLDER to the one that exists on your machine. Save this by Ctrl+O and Ctrl+X to exit.
sudo nano /home/YOURHOMEFOLDER/router-check.sh
Enter the following making sure you change the VM IP and MAC address of the backup machine to suit your setup.
#!/bin/bash

VM_IP=200.200.1.1
BACKUP_MAC=f8:0f:41:48:f1:e1

# pings IP, prints status to console, and send WoL packet to MAC address if ping fails
ping -c 3 $VM_IP > /dev/null 2>&1
if [ $? -ne 0 ]
then
   echo "IP address $VM_IP is offline, sending magic packet" < /dev/null
   sudo etherwake $BACKUP_MAC -D
else
   echo "IP address $VM_IP is online" < /dev/null
fi
Save this by Ctrl+O and Ctrl+X to exit.. Reboot the Pi.
grep -i router-check.sh /var/log/syslog
This will tell you if the job is running.
With thanks to MountainGod on Ibracorp for the script, cheers mate! You can also get me over at Ibracorp discord as a Team member.