This post will detail the hardware I've chosen for energy monitoring, remote control and basic cost analysis of all my tech gear running as, given the MESS the arse clowns we call "leaders" are making of the world, electricity is becoming expensive. Firstly a little bit of history to explain the choices I made regarding hardware.
LightWave RF
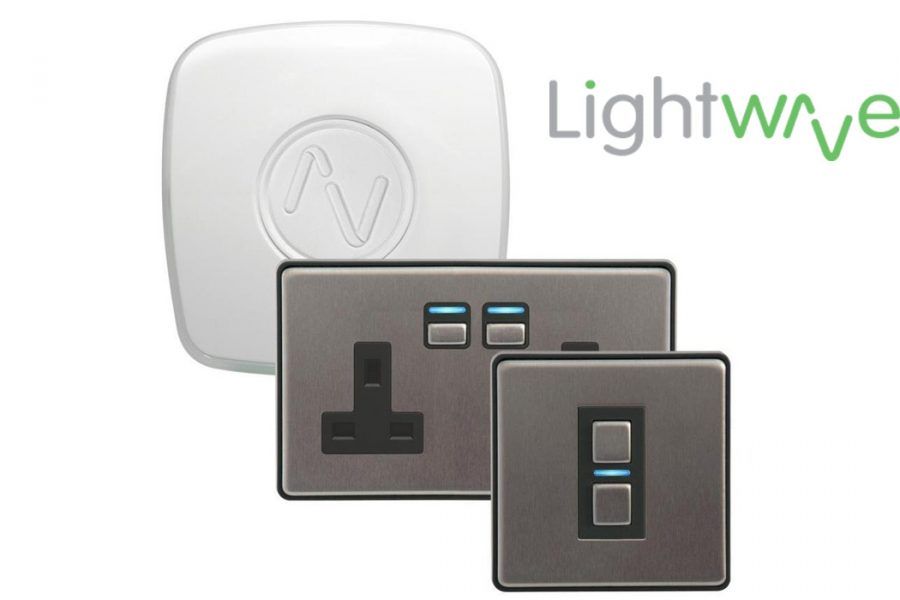
Back in 2012, I was an early adopter of the LightWave range of remote control devices. At this time I was really only interested in remote control and spent a good three figured sum on In-Wall Outlets and Dimmer switches. It wasn't a great success as the Hub/Network Bridge required was buggy and required access to the Cloud. Additionally, some of the outlets would jam in the off position requiring a complete power cycle of the ring main that particular outlet was on. The Android app was buggy, commands were slow and very often it would turn off neighbouring LightWave devices! Reliability improved over the years but some outlets still jam, they have been left in situ as I can't be arsed replacing them at this time.
Meross
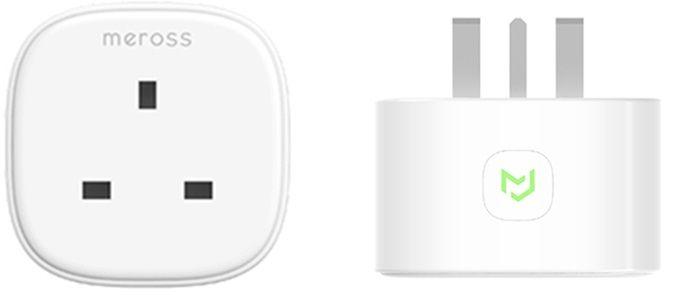
In 2019 I purchased a range of Meross MSS310 smart WiFi plugs to enable remote on/off of the many screens at the battle-station. I wanted WiFi as the wireless protocol as I don't want yet another bespoke HUB just to use them with. Three of the screens were Samsung TVs so one had to get creative with the remote or they would all respond, the auxiliary screens were manual only. They did feature energy monitoring but only a very basic sensor package, an additional correction would be needed in HA as the plugs measured Watt Hours (wH) not Kilo Watt Hours (kWh). I was planning on buying more but it seems that model was discontinued in it's UK form. Another drawback was the width, they would not allow neighbouring plugs to be inserted on a multi-gang. These have been kept for low powered lamps and such.
Tasmota Smart Plugs

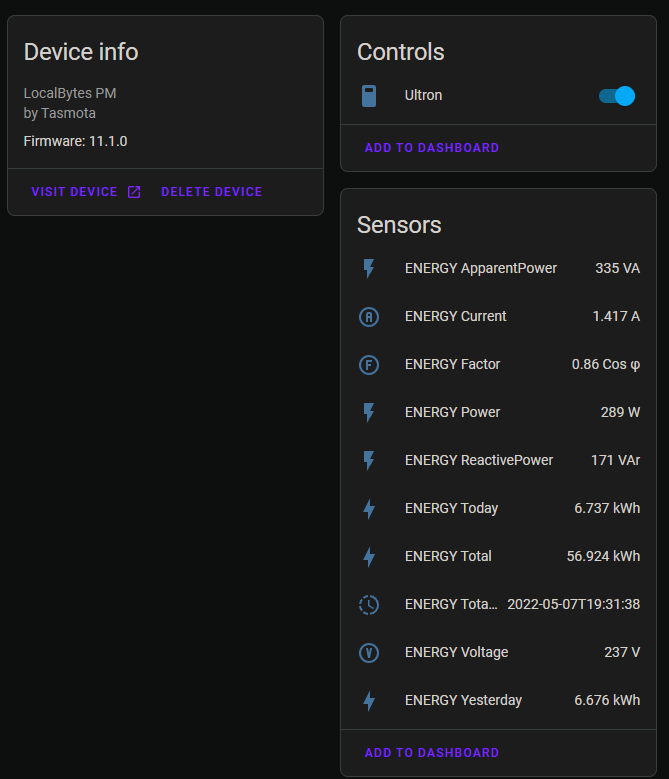
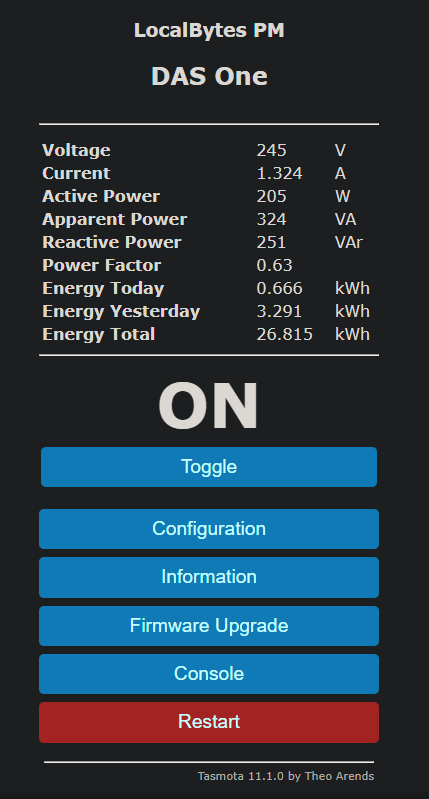
The tool of choice was some UK smart WiFi plugs pre-flashed with Tasmota available here, again I wanted WiFi as the comms protocol given I now have excellent coverage for the entire property. Tasmota is an open source firmware for ESP chipset devices offering a wide variety of control options using MQTT, Web UI, HTTP or serial plus OTA firmware upgrades. Designed to fit into the standard outlet profile, there's no trouble placing a few side by side in a multi-gang. Why not In-wall versions? Two reasons.....can't be bothered installing them and easy removal/upgrade if required. Integration is seamless with HA and provides a good number of sensors for HA to work with such as seen in the image below.
I bought 8 of these devices for the Battle-Station and Server Gear divided up between equipment differently depending on the device. I'll explain this more so you can understand why some plugs were placed BEFORE the UPS and some placed AFTER.
All the equipment is on 4 x APC 750i Smart UPS's divided up into two sets, 2 x for the battle-station and 2 x for the server gear. As the server gear is running 24/7 I want to be recording the FULL power draw which includes the UPS overhead, on/off control while present, isn't a priority as this gear must always be running. The battle-station is not a 24/7 operation and so on/off control along with energy monitoring per device is required. In this situation the plugs are divided up per device AFTER the UPS. Obviously the full overhead is not recorded however we can estimate it usage by introducing a static figure in HA for usage/costs once I determine the overhead of the UPS. The breakdown is as follows...
Server Gear
- Primary UPS - Ultron-Server, on it's own UPS due to it's power draw
- Secondary UPS - DAS One plus Auxiliaries which include 48P Gb Switch, 8P PoE Gb Switch (cameras, Raspberry Pi's, Wifi APs) and the HDHomerun TV tuners
Battle-Station
- Primary UPS - Optimus-PC, on it's own UPS due to it's power draw
- Secondary UPS - TVs 1,2 & 3, Monitors 5 & 6
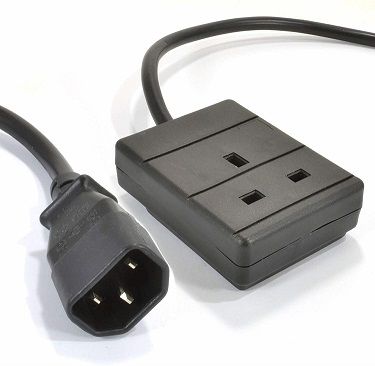
There are other devices on the battle-station secondary UPS which are not as yet on on smart plugs, mainly because they're hardly used or draw very little. These include a set of Logitech z5500 speakers, Wacom Cintiq 32" Graphics Tablet, Nintendo Wii U, 8P Gb switch & Brother Printer. IEC C14 plug adapters, which are a few pounds each off amazon, were required to use UK plugs with the UPS.

Home Assistant Configuration
Okay so first of all we need to configure HA to talk to your new plugs. We'll need an MQTT broker followed by the Tasmota integration, so head into HA settings...
- Add-Ons
- Add-on Store
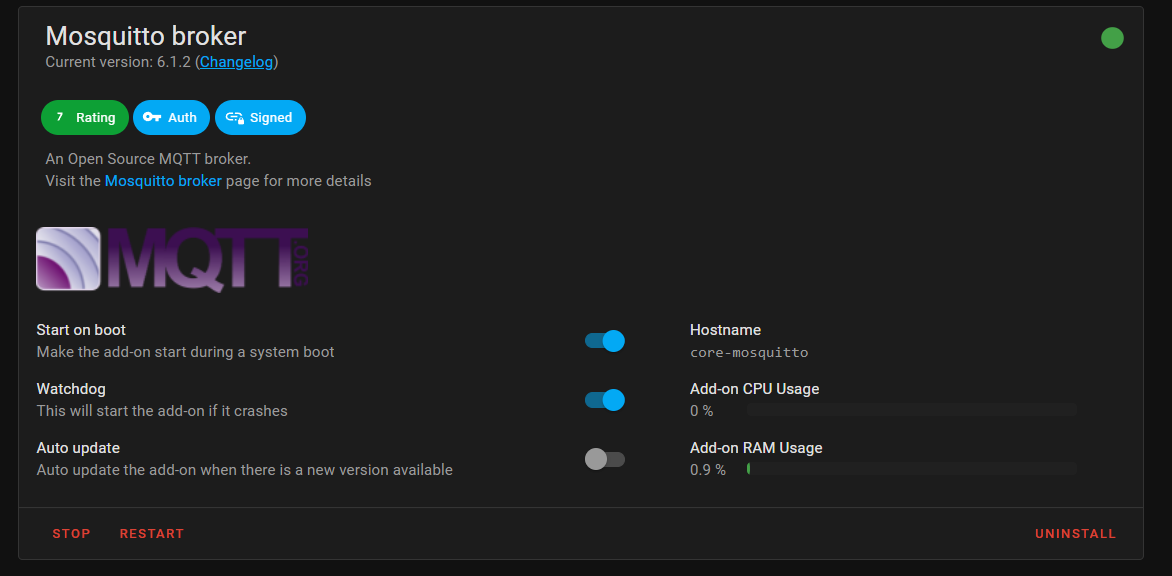
- Search for Mosquitto Broker (MQTT Broker)
- Install Mosquitto and start it up making sure the watchdog option is enabled
Now we need to set up a user credentials for the devices to use...
- Settings
- People
- Users (Top Right)
- Add User
- Fill out details as appropriate making sure its set for local network only and NOT an administrator
- Reboot HA
Once HA has restarted we need to setup the broker with the new credentials created...
- Settings
- Devices & Services
- You should now see the MQTT broker integration
- Hit Configure
- Enter the Host IP of your HA
- Enter username/password you just setup in the last step
- Hit Next
- Leave everything as is and select submit
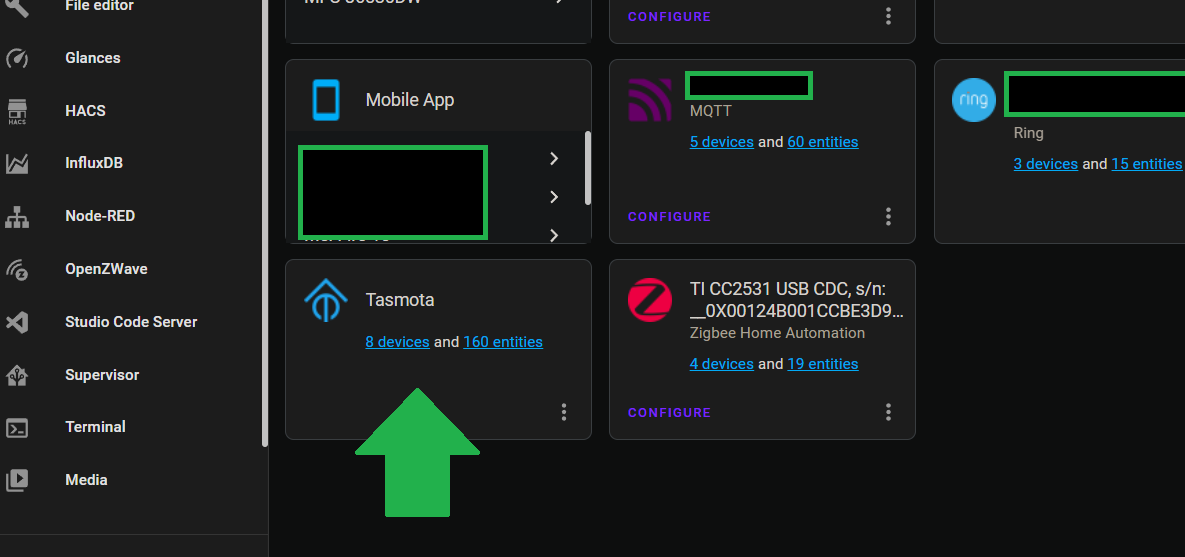
Now we have to install the Tasmota Integration...
- Settings
- Devices & Services
- Add Integration
- Search for Tasmota
- Install Tasmota
- Reboot HA
Tasmota Config
Time to setup the Tasmota plugs themselves. Plug it into the mains and scan for the Tasmota device via WiFi and connect, this will bring up the Tasmota admin page where it will ask for your WiFi SSID, you may want to do this on a phone/ tabletp if a PC is not nearby. Enter the WiFi details and connect, the device will then reboot. I have mine connected via my NoT VLAN SSID which is completely blocked from going online, I highly suggest you do the same! As there's no WAN access allowed, the NTP function is blocked along with OTA updates. In my case Ultron functions as the NTP server so I can instruct the plug to use it by using the command NTPServer1 ULTRONS_IP in the console. Firmware updates are performed manually although running a private OTA server is possible.
Once it's reset it will have a new IP which you'll find in your router management page. The device can now be managed by this IP address which I recommend you make static to save on any headaches down the road. Put the new IP into your browser and go to the admin page.
We will now name the device and enter the MQTT details...
- Select Configuration
- Configure Other
- Enter the device name and friendly name, you can also set an admin password for the admin page at this stage if you want
- Save
The device may restart at this stage...
- Back into Configuration
- Configure MQTT
- Enter Home Assistants IP
- Enter the MQTT username/password setup previously
Now we need to set the device to show up in HA...
- Back into Configuration
- Console
- Enter
SetOption19 0 - It should return a result of {"SetOption19":"OFF"}
That's the device now fully configured for use in HA, go back into the integrations page on HA and you should see it showing up under the Tasmota tab. If you click on the device entry you should now see all the sensors the devices features.
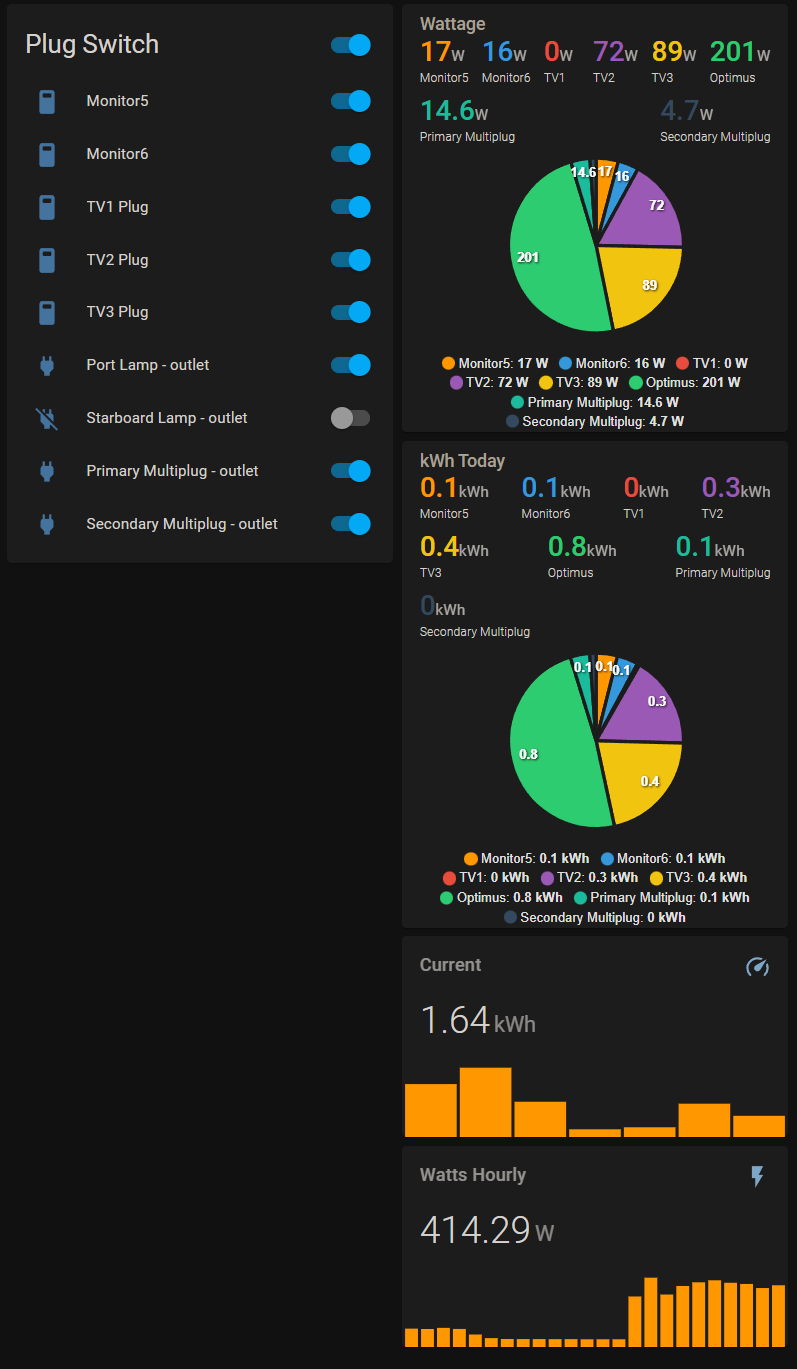
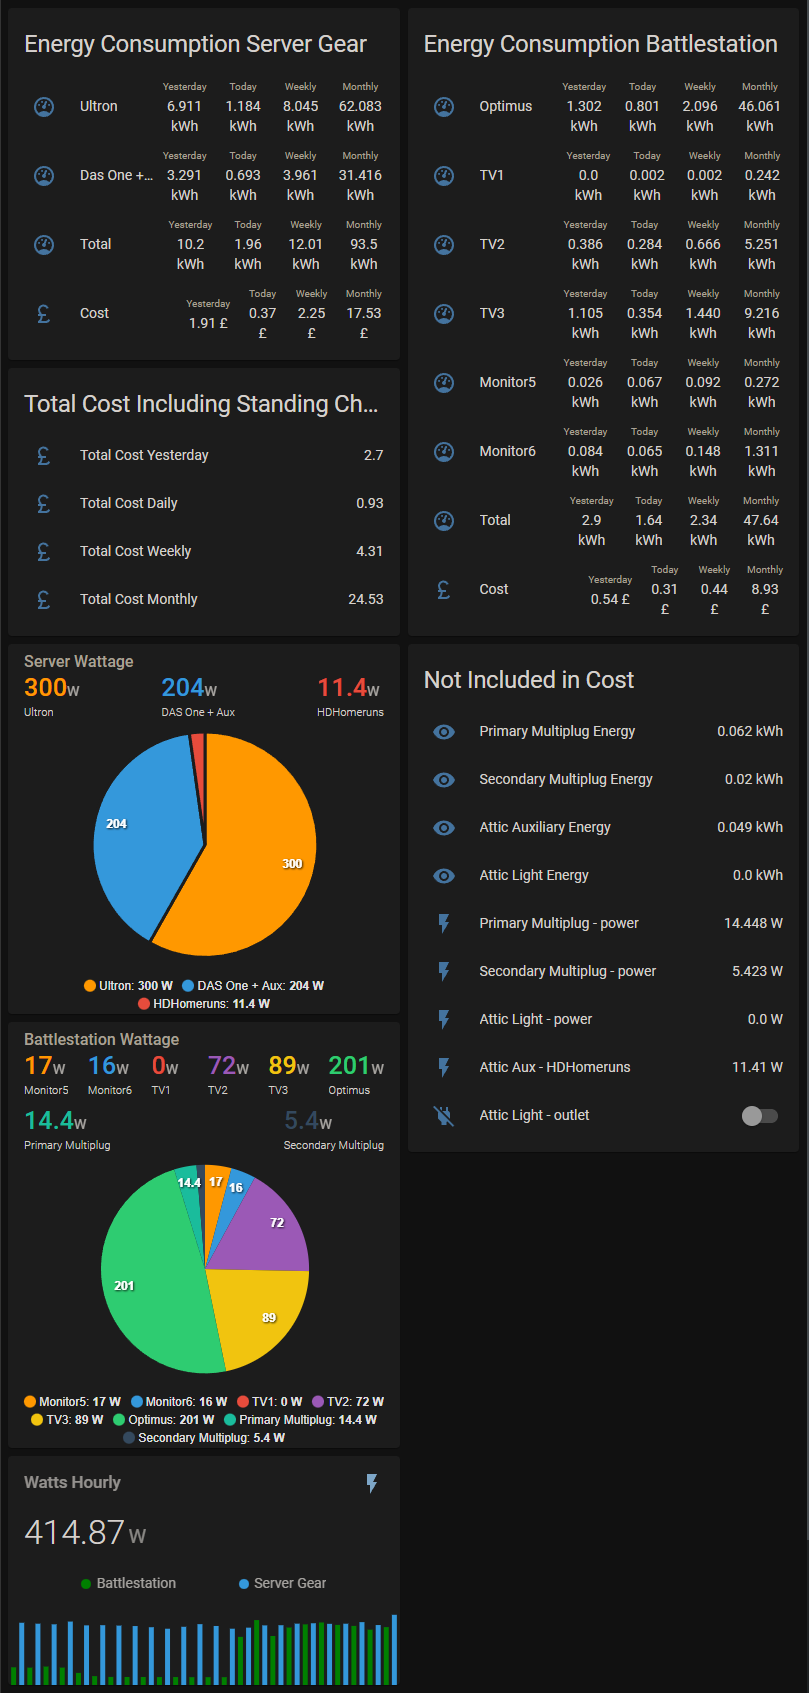
In the next post we'll look at using these sensors to create an energy dashboard such as the one below...cool huh?