
This is the first part of many in a series of Home Assistant posts detailing my setup using a combination of various hardware and instructions on how to duplicate my setup. Home Assistant is a central control system for home automation with a focus on privacy for IoT devices from different manufacturers through a modular plugin system and includes native integration components for wireless communication protocols such as Zigbee, and Z-Wave. It also supports automation either through the built-in GUI, YAML or via Node-Red. It can be run on ARM or x86 platforms on Linux, Mac, Windows, Pi, Android, Docker and others with Android, iOS, http remote control being a key aspect. You are not tied down to any one ecosystem and can be 100% off the cloud! Some examples of supported devices...
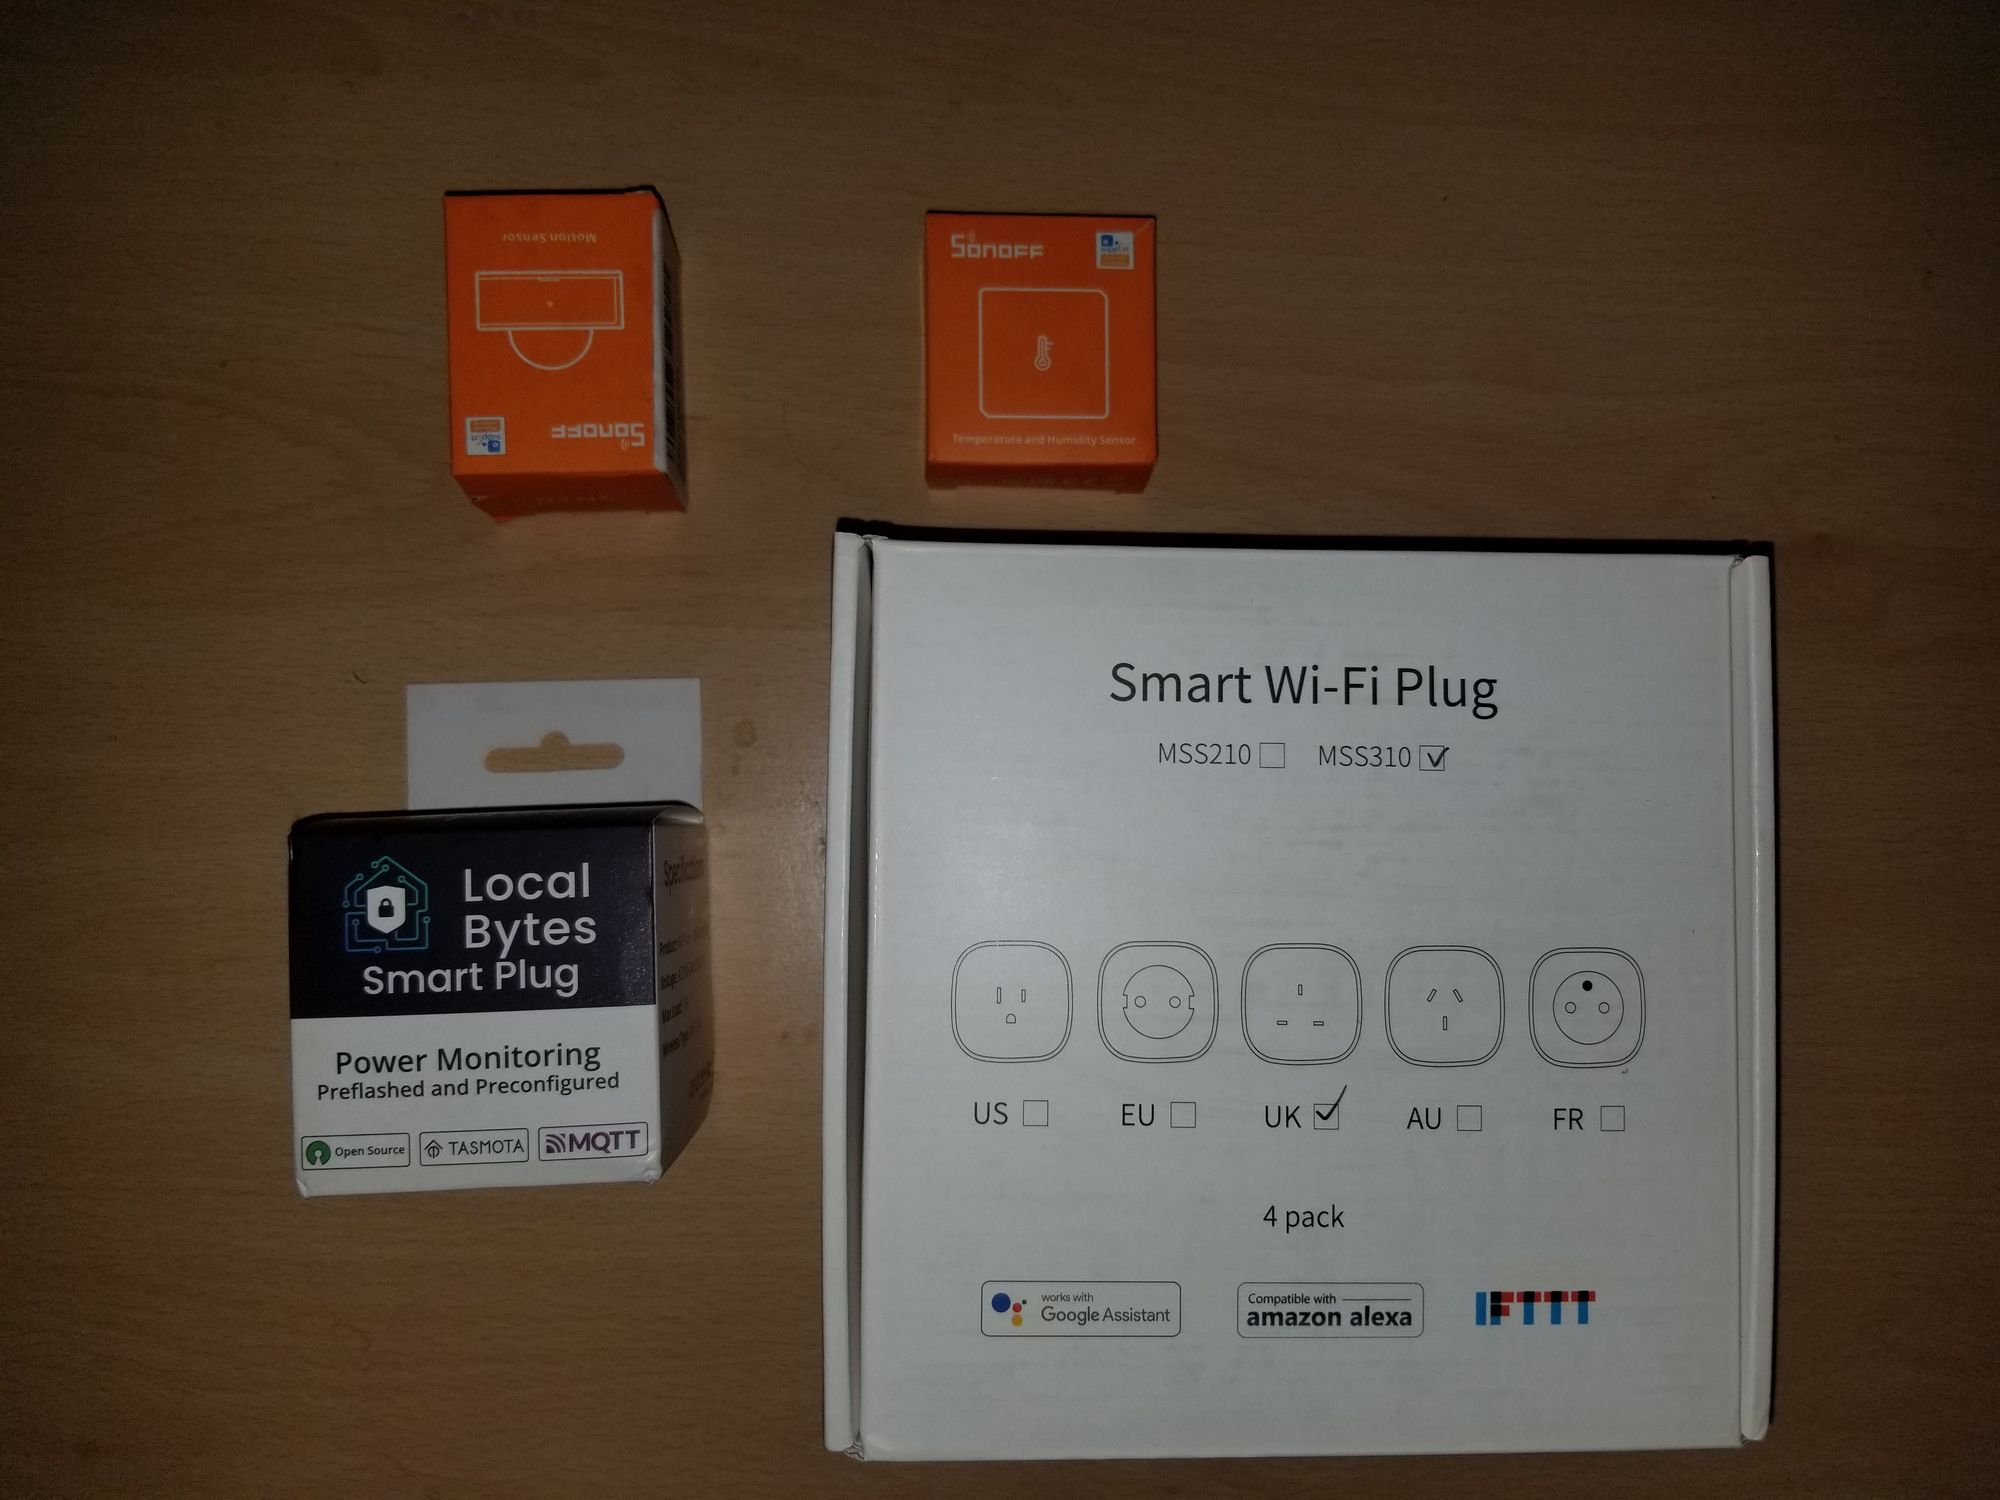
- Smart Plugs
- Smart In-wall Outlets
- Lights
- In-wall light controls
- Flood Sensors
- PIR Sensors
- Boiler Control
- Thermometers
- Humidity Sensors
- Thermostats
- Fire/CO2 Alarms
- Door Sensors
- Cameras
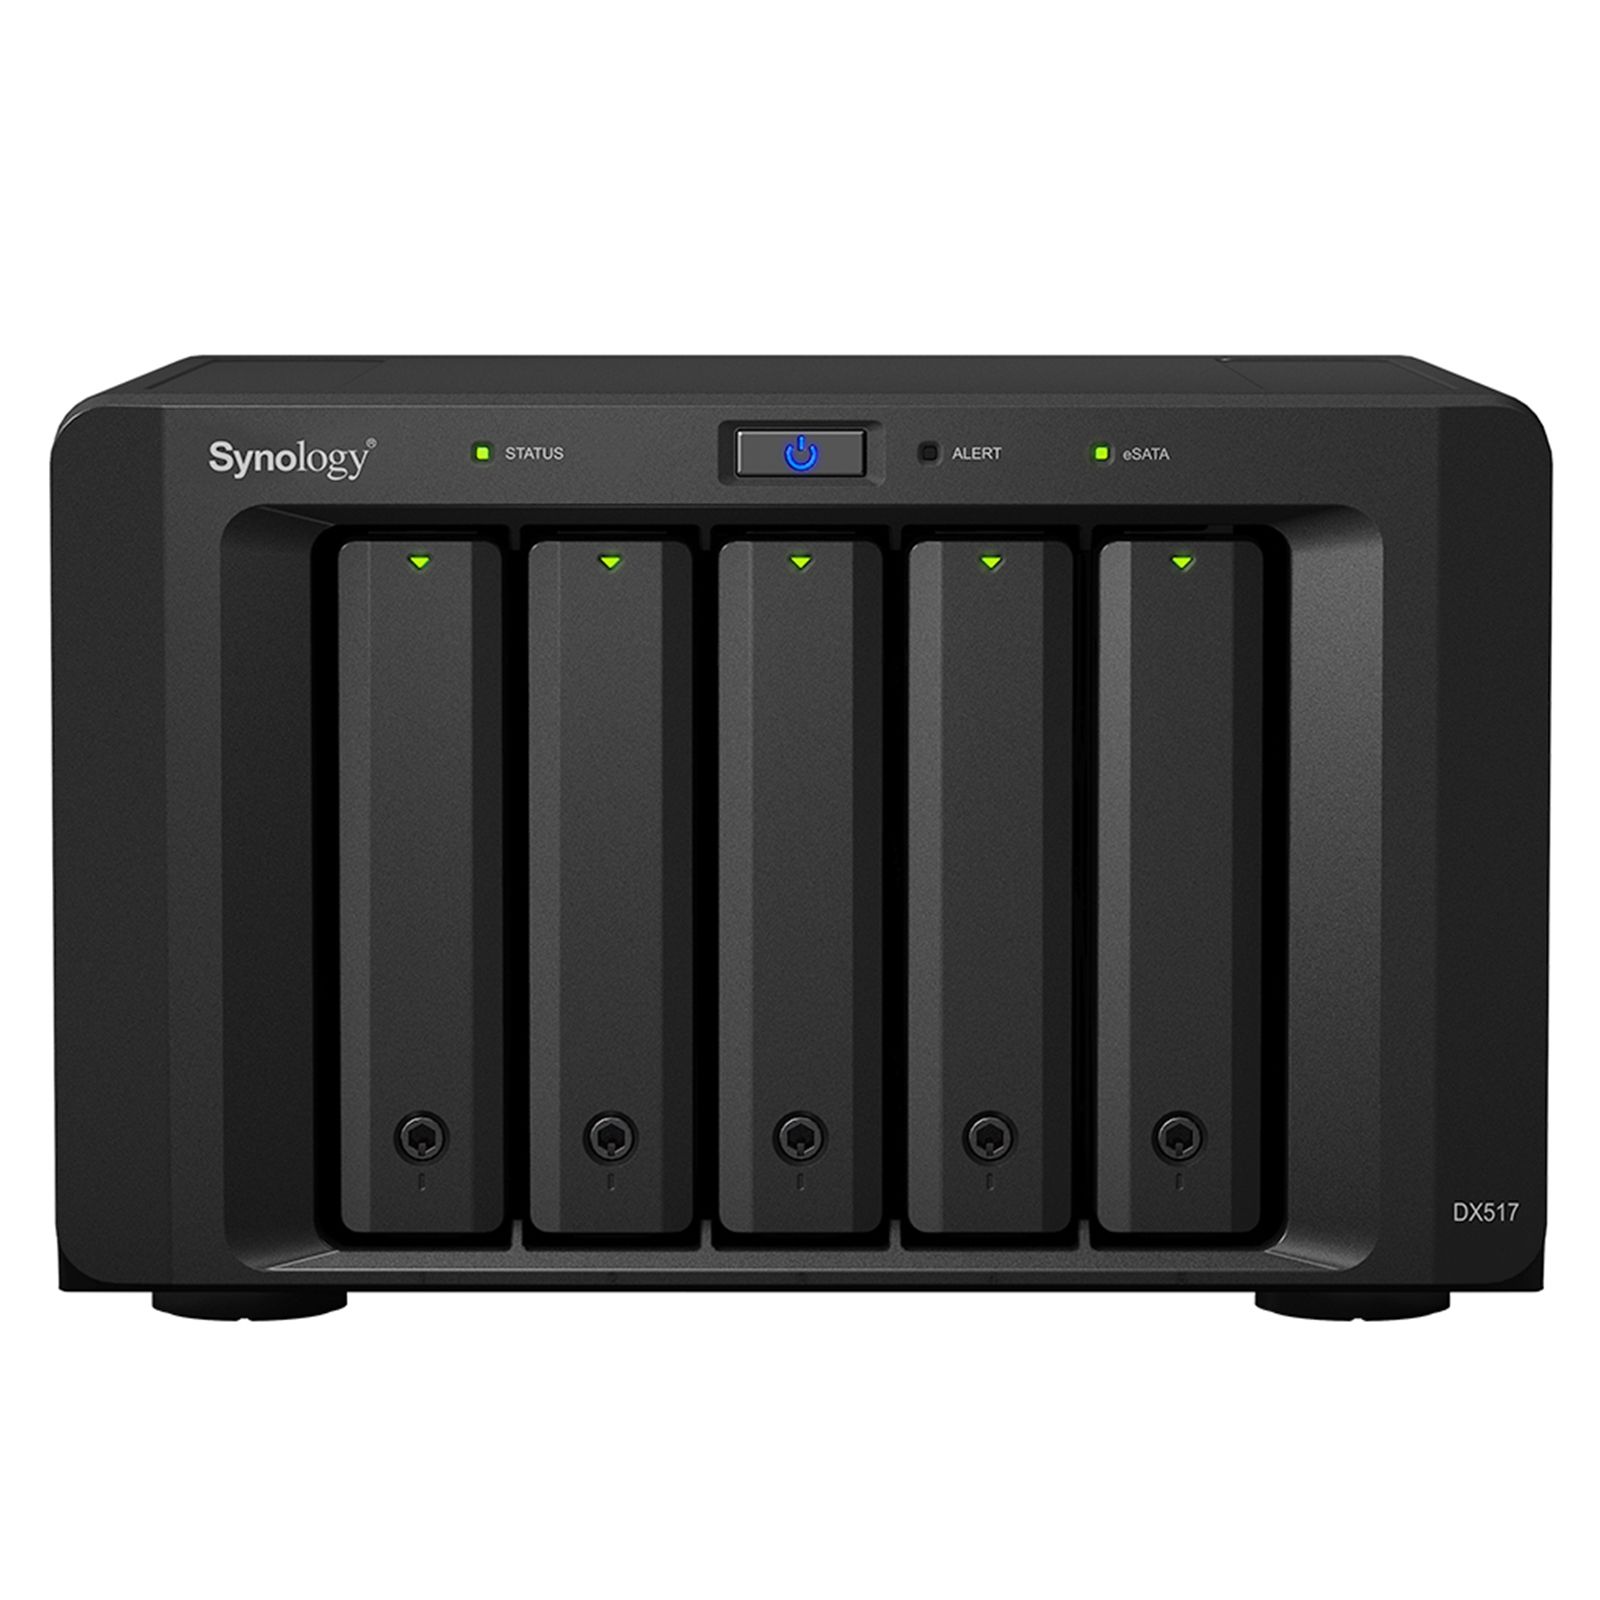
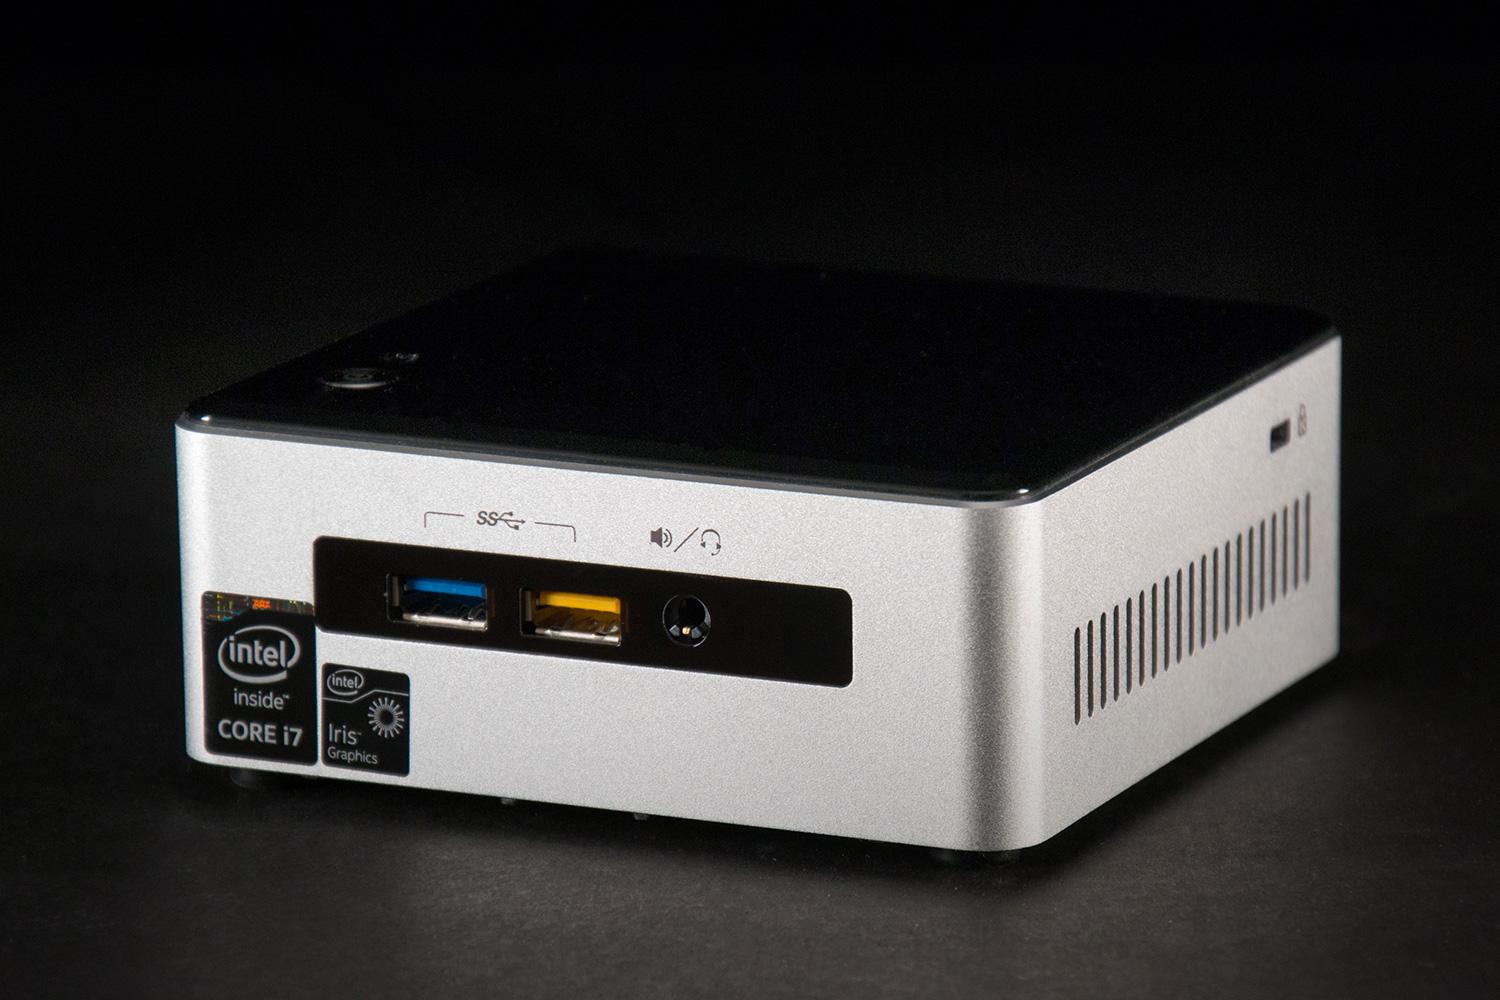
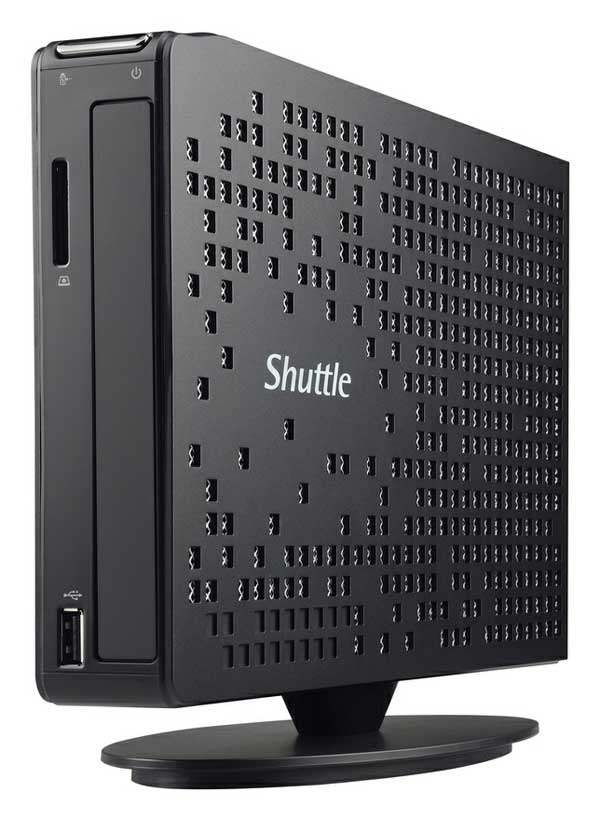
There's wide variety of hardware options for running HA such as dedicated SFF PCs, Raspberry Pi's, Macs/ Mac Mini's, Full PCs, Virtual Machines & NAS devices. Recently they released their own dedicated hardware named "Blue" which is a small compact device solely for running HA. HA needs to be running 24/7 so your hardware choice is critical as you don't want to be running a high power draw machine. HA is very light weight and doesn't need much to run on.
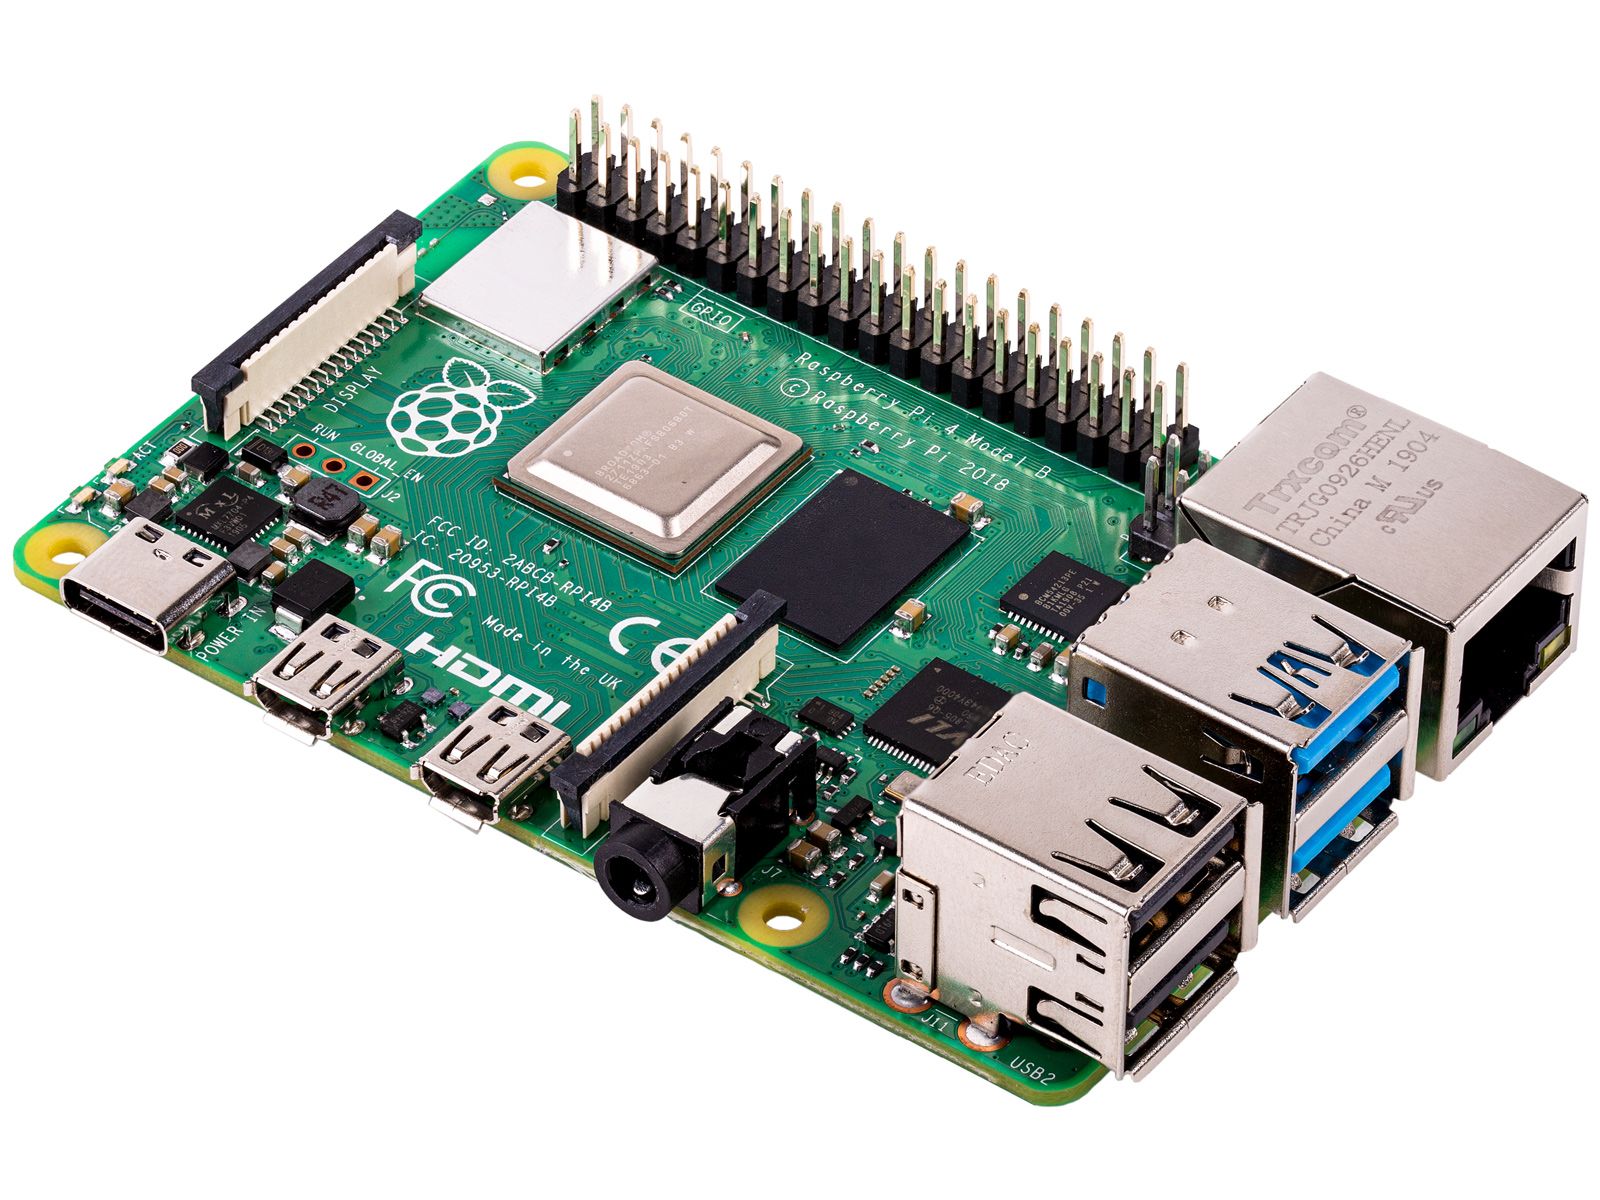
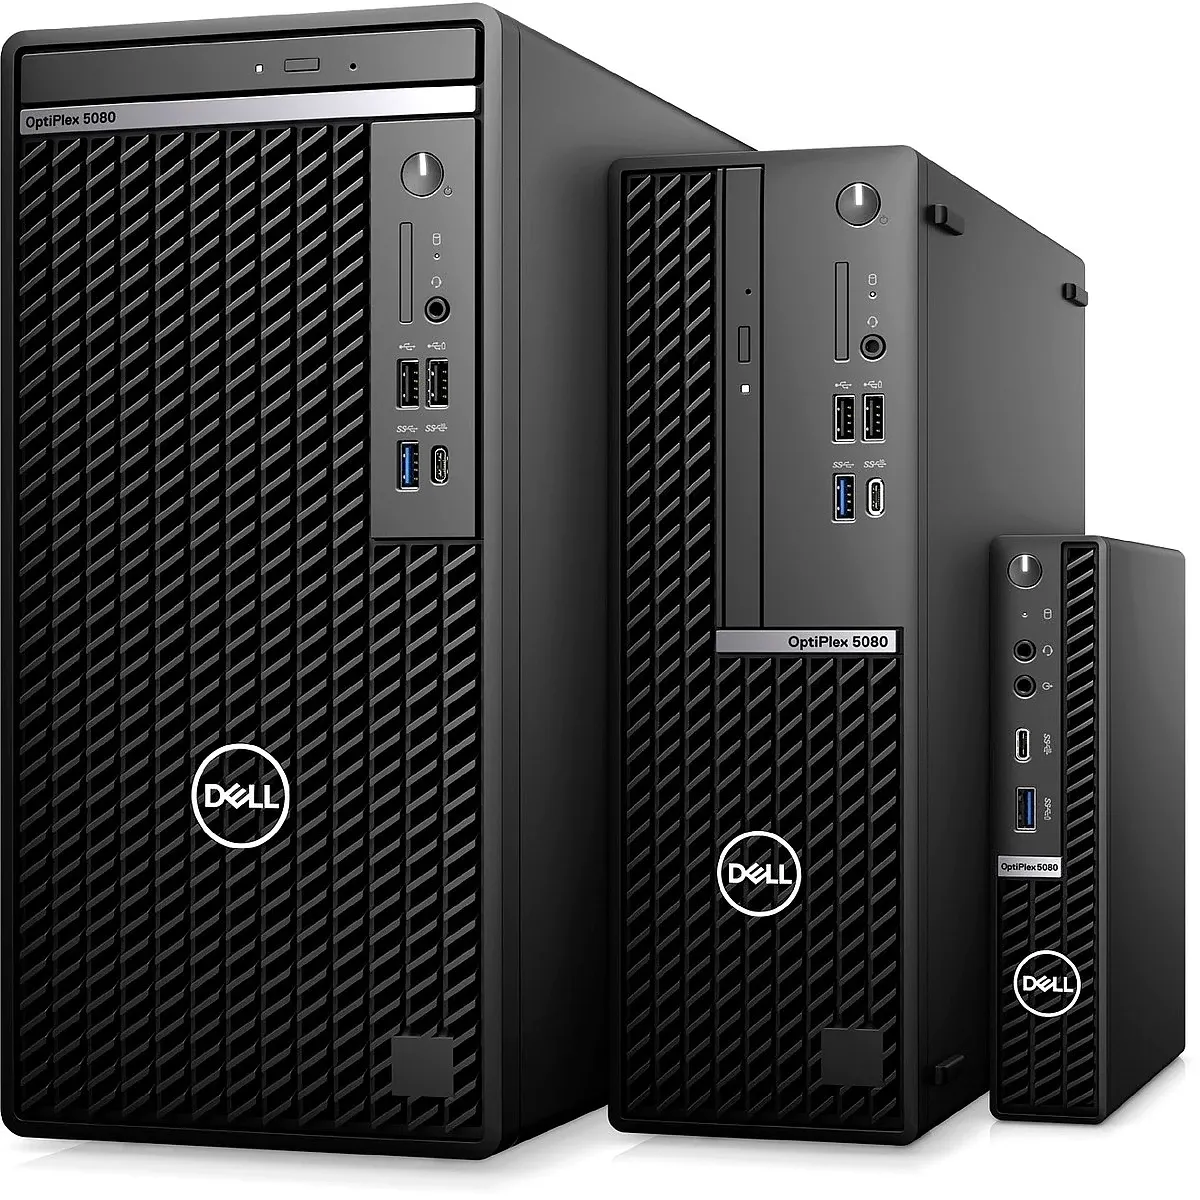
Basically it comes down to this, if you have mid range NAS/ PC or Server running 24/7 then run it on there, if not use, a low powered device such as the HA Blue or Raspberry Pi. Another good option are second hand SFF/ Thin clients from HP (EliteDesk) or Dell (Optiplex) which came be found for very responsible prices on eBay, often cheaper than Raspberry Pi's, they are also very low in power consumption. If I wasn't running a server then these would be my choice as you get the full power of the x86 platform, full SSD and better expansion options. If you do go for these find one of the T models as these are even lower in power consumption. You'll find that while they draw twice the power, at around ten watts Vs the Pi's four watts, the performance is many times that of the Pi. Raspberry Pi's a good machines but they are slower had can develop issues with the SD card being corrupted as HA likes to write data, also good luck finding one these days.
As I already have a 24/7 server in the form of Ultron, I'll be installing Home Assistant OS in a VM in place of the container version as it's much more powerful and is the recommended installation. To install a VM normally you'd use an ISO image however we'll be downloading the pre-assembled qcow2 vDisk image.
- Go here and download the latest qcow2 vDisk image
- Go to your Domains folder on Unraid and create a new folder for the VM, name it as you wish
- Place the downloaded qcow2 image in there
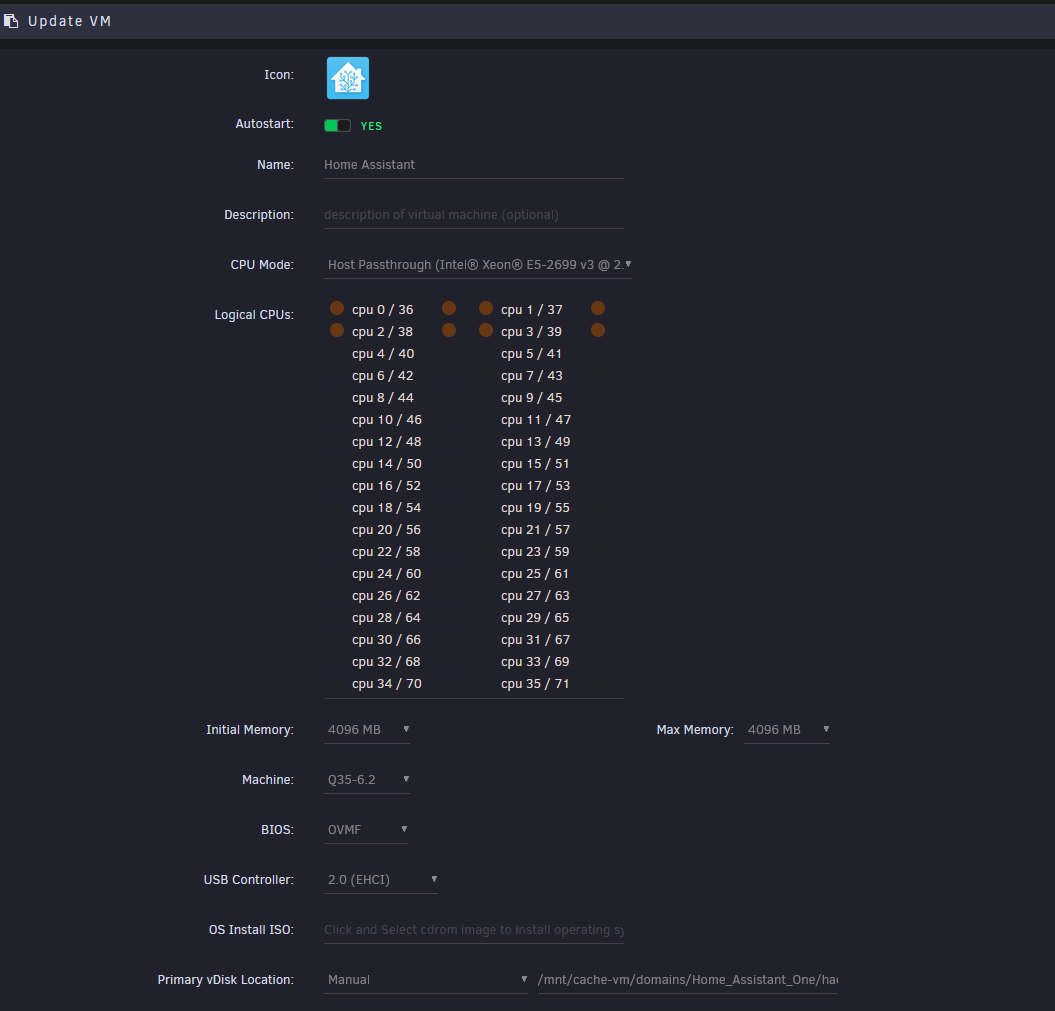
- Setup a new VM in Unraid by choosing the generic Linux profile
- Name your VM
- Select the cores you want to give it
- Set the RAM amount (4Gb in my case, it won't need anymore than that)
- Set the Machine variable to Q34-6.2 or whatever the latest is
- BIOS should be OVMF
- Set the Primary vDisk location to the folder containing the qcow2 image
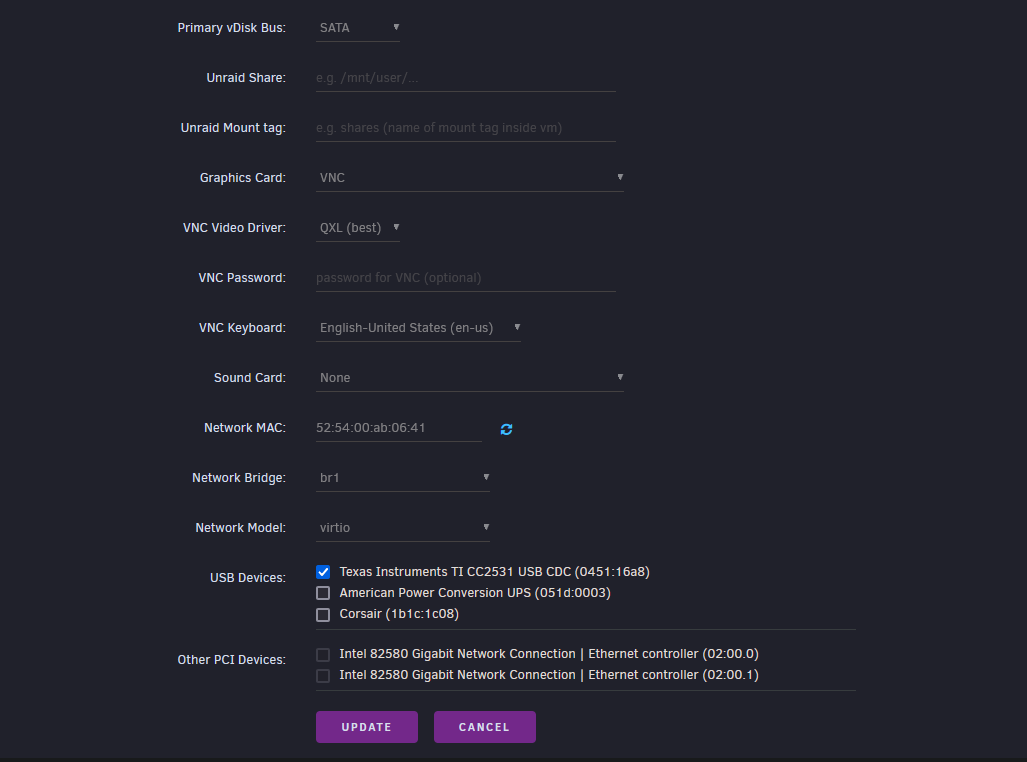
- Set vDisk bus to SATA
- Set the Network Bridge to whatever you're using for VM's
- Start your new VM
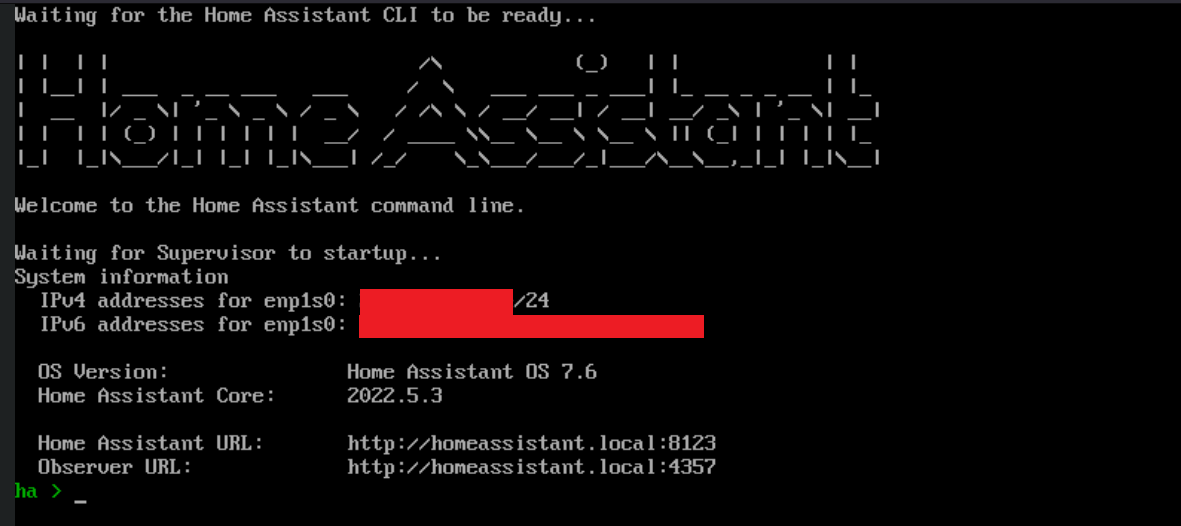
Okay now that it's running click on the VM and use the VNC remote option. Once HA is ready you'll be presented with the the HA CLI, just navigate to the http address or IP given to begin configuring HA. Just follow the on screen instructions to tailor the installation as required. I highly recommend you assign a static IP for your VM or this will create issues down the line!
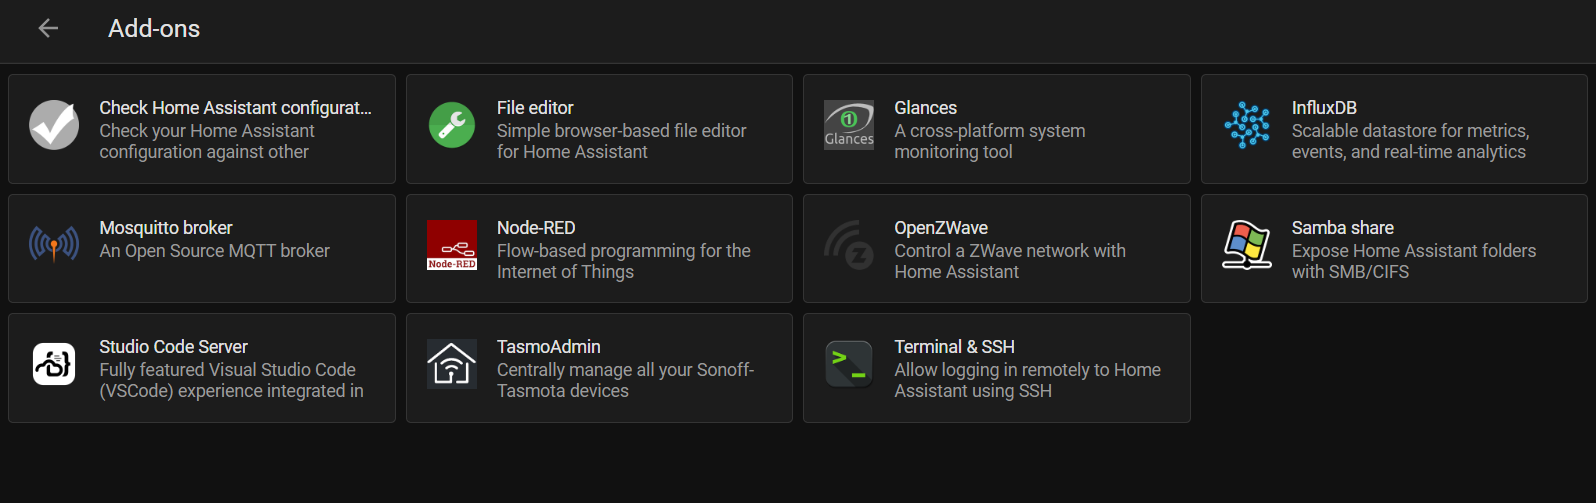
So now we have a vanilla installation to work with, there's some addons I recommend installing at this stage for future use. These can all be found in Settings - Add-Ons - Add-On Store.
- Studio Code Server (VSCode) - HA is YAML based so we need an easy way of editing the various config files. This undoubtedly the best method and comes with syntax highlighting as not everything can be done in the GUI.
- Samba Share - You'll need this on the off chance you screw up your configurations.yaml
- Terminal & SSH - Same reason as above plus CLI interface
- HACS - Community store, you'll need this for the to install the dashboards covered in the next article. Installation is different, see here
In the next post I'll cover the setup of the energy monitoring devices